Saturday, June 27, 2020

Next Project


  Reading is a dangerous thing.  Especially for those of us with butterfly tendency.  After reading, and rereading "The Road to Charleston " I have taken a real interest in the period from April to September 1781 in South Carolina.  While not as well know as the time period between Camden and Guilford Courthouse it is nevertheless a fascinating petiod.  Plus for the table top a most interesting variety of troop types. State Line, Militia and Continental.  Rifles, legion infantry and rangers.  Mounted infantry, mounted militia and regular cavalry.

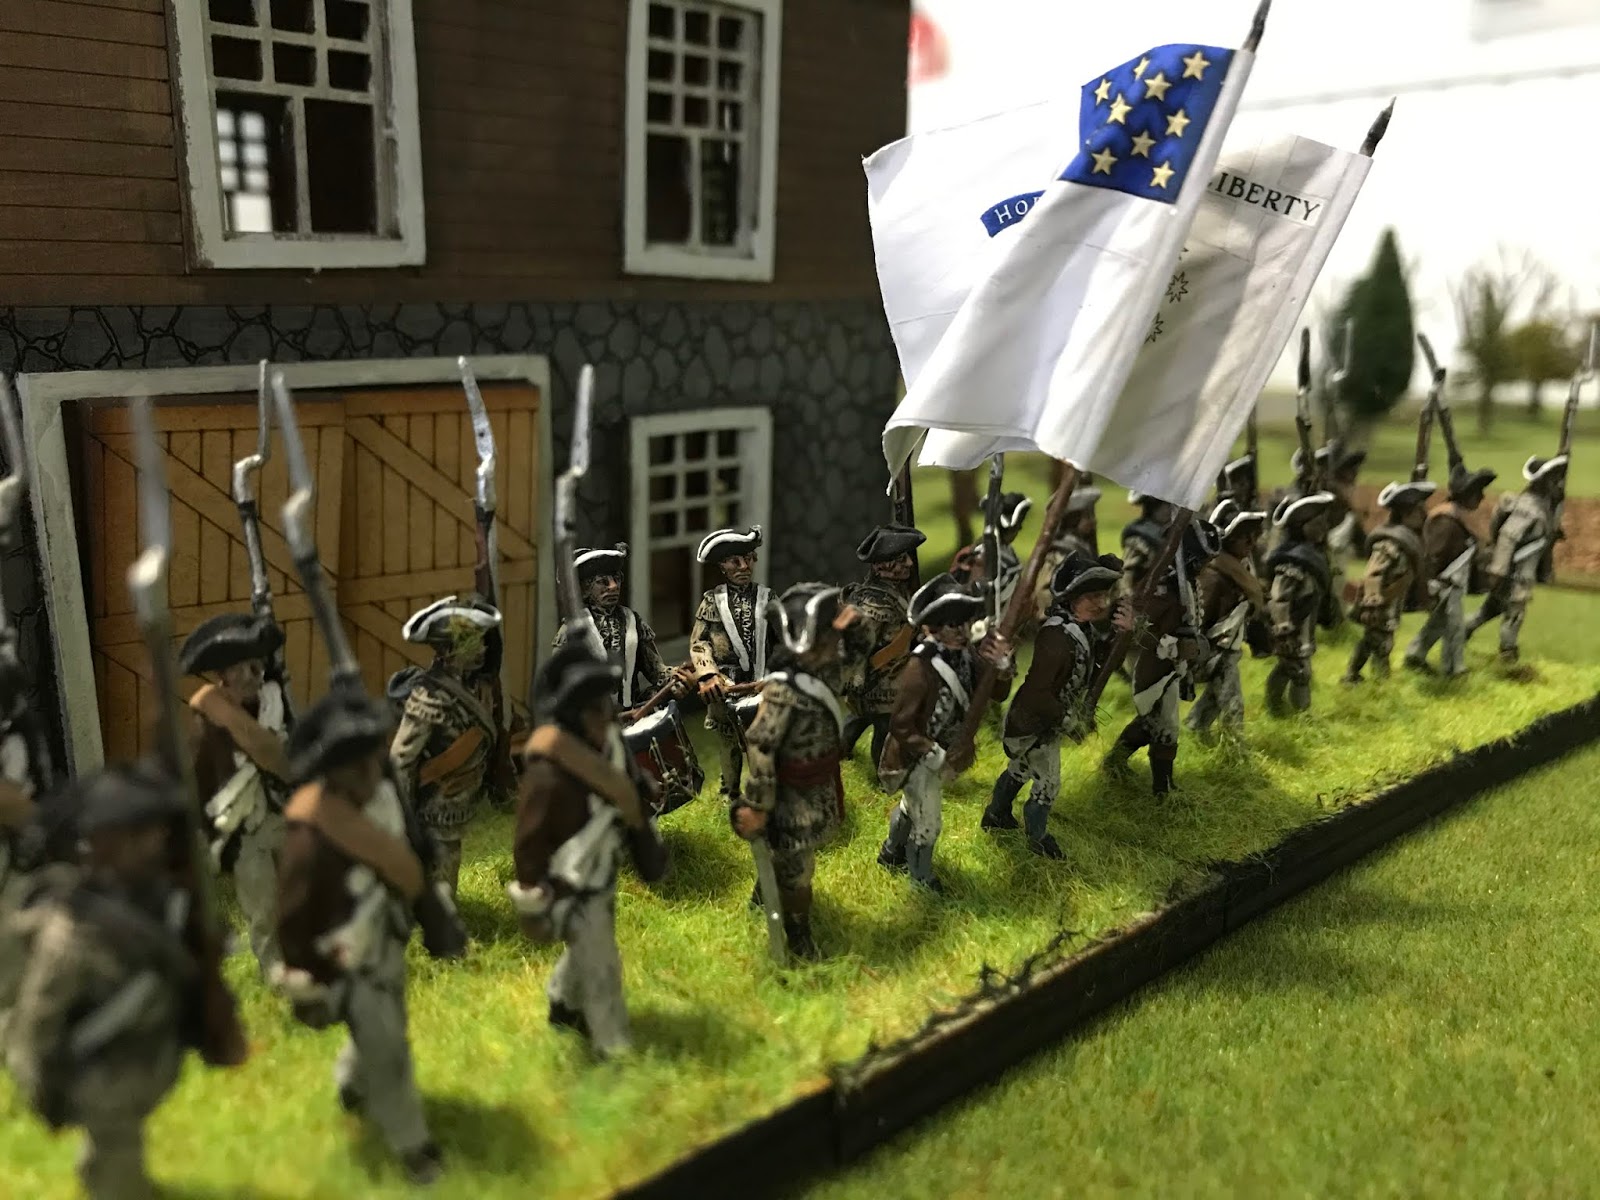
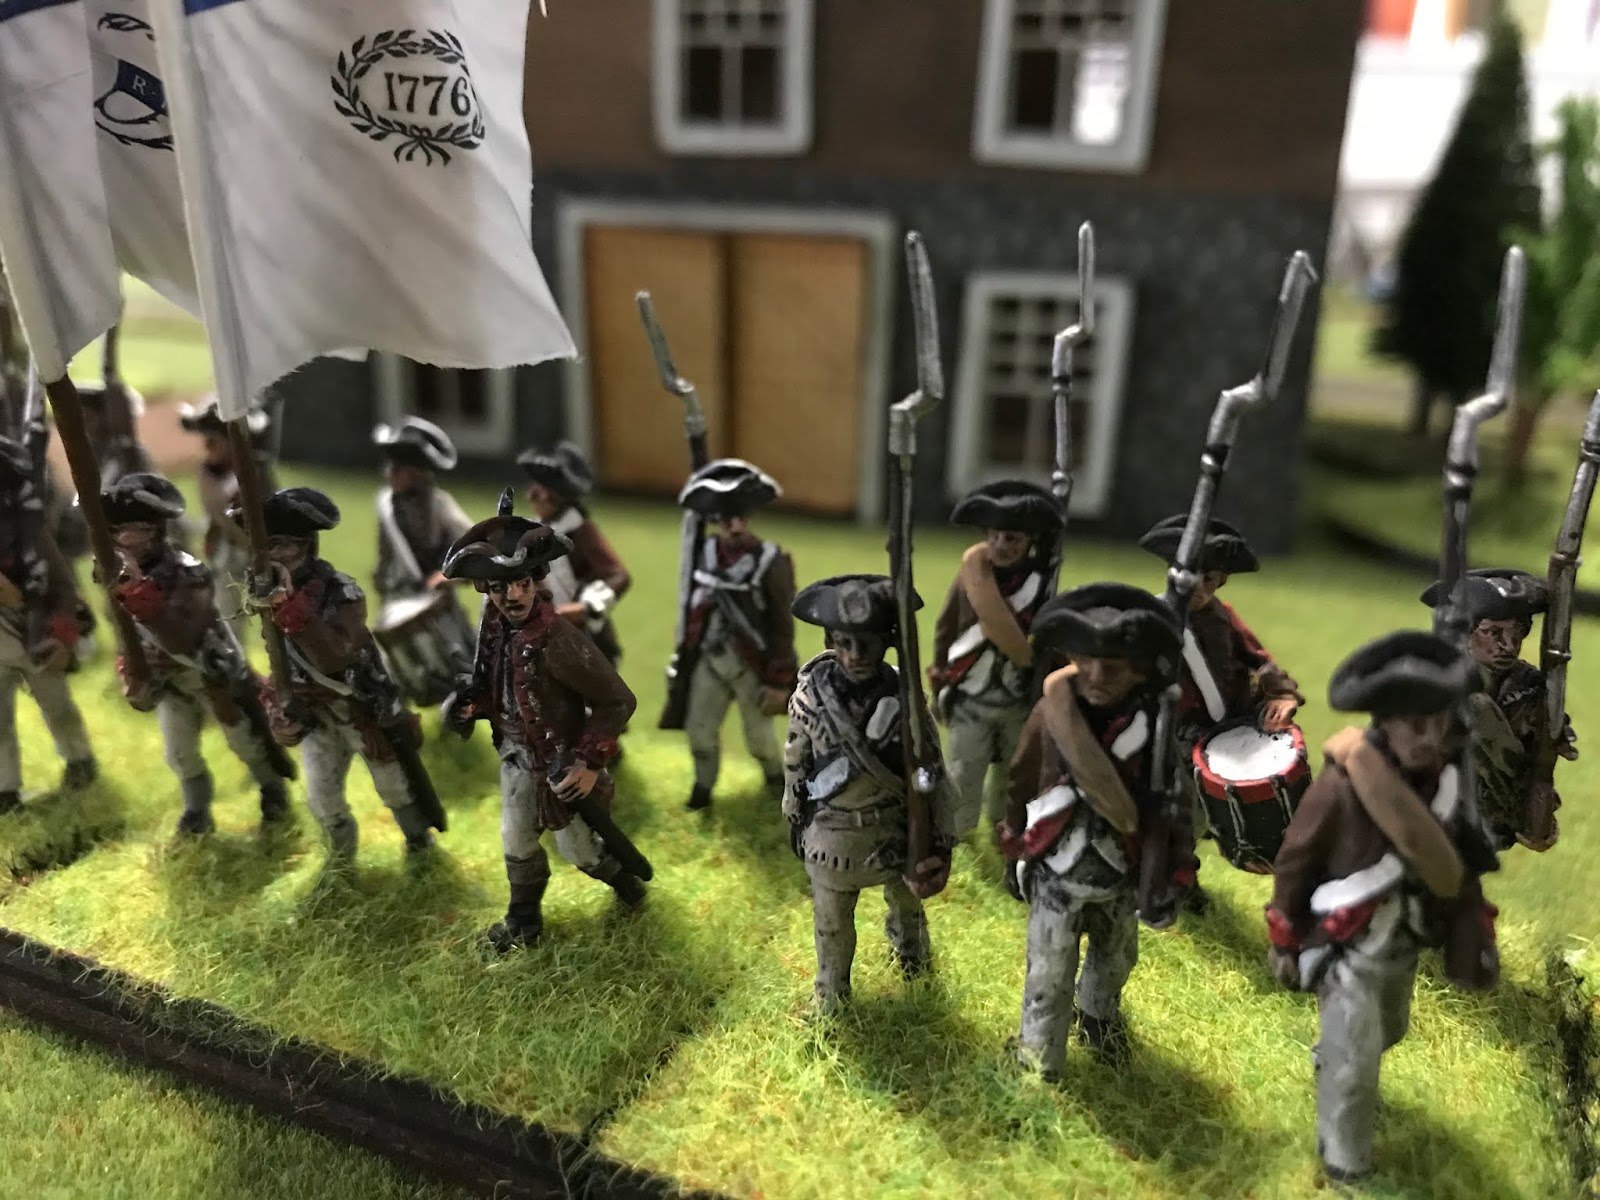
New York Volunteers Regiment near completion.  Waiting for colors To arrive and based To be flocked.

  To start this new theater I am raising a Loyalist brigade.  Based around Lord Rawdon's forces at Hobkirk Hill these will include Volunteers of Ireland, King's American Regiment, New York Volunteers and South Carolina Royalists.  The Provincial Light Infantry battalion will not be painted, but will be represented by other units in my collection.  I would like to raise Captain Coffin's mounted company of the New York Volunteers and am studying returns of equipment scalable to make a educated guess at what they were wearing.  Although I am not planning on raising any addition American Regiments for Greene's army additional rifle units and militia are always needed.  We will see!

  In addition I have been working on the British 20th and 62nd regiments from the Saratoga campaign.  These are new figures from Fife and Drum miniatures.  They look great but are coming along very slowly.

Start of the 20th Regiment of Foot.

  Lastly I am working on a game based on the Battle of Hobkirk Hill.  I think this has the potential to be a interesting game.  I am using the actual order of battle;  but increasing the size of the regiments.  In addition both sides have posts able reinforcements that may (or may not) arrive to help.  Stay tuned for more to come


Sunday, June 21, 2020

An unexpected surprise on our walk.


  As I mentioned Janine, Fritz and I have been taken a series of walks over at the old Fort Devens.  There are a number of areas which are seldom traveled and very deserted.  While strolling along one of these abandoned roads I spied a sign post up ahead.


On walking up to it there was a map on one side and pictures of  a shell and a hand grenade!


Warning!  Area may contain unexploded ordnance!


Well, talk about taking things home from wirk!  I think it time to turn around and walk the other way.

Thursday, June 11, 2020

Walking at Fort Devens

Final parade of the 26th Yankee Division at Fort Devens 1919

Janine and I have been doing daily walks over at Fort Devens.  It is a chance to get out, get some exercise and fresh air.  The Fort was mostly closed years ago.  There is still a very small  military presence but the majority of the fort is open to the public and being developed for public use.  We are very familiar with the area as we lived there for six years.

Fritz loves going to Fort Devens

Gardens near old Commandant House.

Steps to another adventure.


There is a lot of open areas.  Since not too many people are familiar with it we sometimes feel we have the base to ourselves.


The crown jewel of the base is Rogers Field.  One can still imagine formations of troops drilling there.  Janine's father (3rd Ranger battalion) at the end of WW2 and my grandfather (101st regiment, Yankee Division) at end of WW1 both were on the base when they were mustered out of service. So we have a connection with the site.


One reminder of our present situation was discovered the other day.  Along with memorials to veterans in many ways was a new market out up last year.  It was to the Spanish Flu epidemics that swept through the base at the end of WW1.


Monday, June 8, 2020

11th Continental Regiment 1776


The General Assembly of Rhode Island decided to raise a brigade of three regiments to join the Army of Observation during the Siege of Boston in April 1775.  these three regiments were organized and marched to Boston in May.  The three regiments were named after their commanding officers;  Hitchcock,  Varnum and Church.   Brigadier General Nathanael Greene commanded the brigade. The regiments were adopted into the Continental Army when General George Washington arrived in Cambridge and took command on 3 July 1775.


The regiment was re-organized as the 11th Continental Infantry on 1 January 1776. Following the British evacuation of Boston in March 1776, the regiment,  was sent to defend New York City. The British landed in force on Long Island in September 1776 and defeated the  Continentals at the Battle of Long Island. Later the Rhode Island regiments played a prominent part in the Battle of Harlem Heights.  After the retreat across the Jerseys they took part in the fighting at Second Trenton and Princeton.  In the 1777 reorganization the 11th Continental became the 2nd Rhode Island regiment.


Once again there is very little primary documents concerning the 1776 uniforms.  It appears they had either brown faced white regimental coats or hunting shirts.  Again the regimental colors are from later in the war.  They are from GMB  and figures are from Fife and Drum.

Dedicated to my old friend Carl Becker, 2nd Rhode Island regiment.  To cousin Carl from Cousin Mark.

Saturday, June 6, 2020

9th Continental Regiment 1776


 After reading a history the two Rhode Island regiments of the Continental line I just had to add both reginents

The Continental Army was completely reorganized at the beginning of 1776, with many regiments receiving new names and others being disbanded. Enlistments were for one year. Varnum's 1775 Regiment was reorganized  1 January 1776 and re-designated as the 9th Continental Regiment. Under Colonel Varnum, the regiment remained near Boston until the British evacuation. It was then ordered to Long Island and took part in the New York and New Jersey campaign, including the battles of Long Island and Harlem Heights. They later took part in the second battle of Trenton and Princeton.   When the Continental Army was reorganized in early 1777 they became the 1st Rhode Island regiment.


Uniforms for this time period have few references.  From what I could find (mostly secondary sources) it appears they had hunting shirts or brown regimental uniform coats faced red.  Flags for the regiment are the colors used later in the war.  They are from GMB.  Figures are from Fife and Drum miniatures.  

Thursday, June 4, 2020

Battle Cook's Mill: Hard Fighting and conclusions


Deploying his infantry regiments, the American commander determined to drive off his enemy.  While the 1st US Infantry regiment engaged the flank companies and GLI the 5th US Infantry would fight the BIMUC.  The 1st Infantry succeeded in driving off the GLI to their front.  They then advanced to engage the British flank companies.


But as the 5th Infantry advanced, fate intervened.  The Rocket battery for once scored a direct hit!  This caused a casualty and a morale check which the Americans failed and felled back shaken.


The American commander brought up another regiment to take the place of the 5th and continued his advance. The British commander had little time to celebrate.  His right flank was falling apart and was exposed.  And the enemy was bringing up more troops.  Not skirmishers but good line infantry. The Incorporated Militia and Artillery would hold, but his flanks were in danger.


The 25th US Infantry charged the Flank companies.  Heavily outnumbered the issue was not in doubt.  They routed and now the British flank was wide open.  On the other flank casualties caused the remaining GLI to also fall back.  The American commander now positioned his line to advance against the remaining crown forces.


At this point I called the game.  There would be little reason to risk the loss of guns and rockets and one line battalion would not hold against three battalions.  It was a great game and a very good scenario which I will play again.  On reflection it was error to break up the GLI into two skirmisher groups.  The flank companies should have been able to do the job.  Also, to advance the Incorporated Militia in line when a column would have gotten into action quicker would have been better.  But it is all hindsight, at least untill I play again.  This scenario is a real keeper!

Tuesday, June 2, 2020

Battle at Cook's Mill, opening shots.


British/Canadian forces set up on the board on the North West corner.  The Glengarry Light Infantry (GLI) split into two divisions, one heading towards the mill, the other the farm house.  The Royal Artillery advanced down the road to find a good firing position.  The flank companies advanced through the woods to clear it of riflemen and protect the crown forces right flank.  The Battalion of Incorporated Militia of Upper Canada (BIMUC) advanced steadily forward.


 The American commander deployed his rifles in divisions in the woods on both flanks. This way they could take advantage of the terrain and harass the advancing red coats.  Although they had superior range they were slower to load and he choose to fire half his men each turn to insure a steady fire.  (due to slower rate of fire rifles fire every other turn) He wanted to buy enough time to bring his line infantry into the table.


 Once in position the Royal Artillery opened fire on the American infantry crossing the bridge.  The Royal Marine Rocket battery continued to fire; and continued to send rockets flying off in all directions except towards the enemy.


 The American 5th Infantry regiment shrugged off the morale check and quickly deployed into line.  They moved forward to engage the enemy and to give room for the remainder of the brigade to deploy.  The Rifle men were driven back by superior numbers with a few casualties were caused on either side.


But the 1st Rifle Regiment and 5th Infantry had bought time.  The American commander now had two line battalions deployed and two more battalions were arriving.  It was time to advance and drive off the enemy.

To be continued.....


situation at end of this phase.

more action to come lads!

Monday, June 1, 2020

Battle of Cook's Mill, part 1 Preliminaries


 The battle of Cook's Mill was a small afair, evan for the War of 1812.  It is a seldom remembered action towards the end of the 1814 Niagara campaign.  As such it would make a perfect action to fight on my table top.  My refighting of the battle would not be a straight simulation but rather based on what happened.  A slight change in the order of battle to make a much more interesting fight and a chance to field some of my favorite regiments on the table top...


What happened historically?  Here is a brief synopsis from our friend Wikipedia:
"Attempting to deprive the British of their chief source of flour, Izard sent a brigade of about 1,200 men, consisting of the 5th, 14th, 15th and 16th U.S. Infantry with some detachments of riflemen and U.S. Dragoons under Brigadier General Daniel Bissell, to take Cooks Mills on Lyon's Creek in Crowland township. In response, Drummond dispatched about 750 men (the 6th Regiment, the Glengarry Light Infantry and the flank companies of the 104th Regiment, with a 6-pounder gun and a Congreve rocket detachment) under Lieutenant Colonel Christopher Myers to reconnoitre the American force."


So, a reinforced American brigade is sent to seize Cook's Mill and destroy the British Army's supply of flour.  It appears the Rifle Regiment was sent ahead with the brigade of infantry following.  The Americans have better training (morale) and numbers.  The British/Canadians are on the table with a chance to defeat the enemy in detail.  It should be a fun game and interesting tactical problem.


American Order of Battle:
1st Rifle Regiment (24)
1st US Regiment (24)
5th US Regiment (24)
25th US Regiment (24)

All regiments are rated as regulars.  The Rifle Regiment starts the game deployed by the cross roads West of the bridge.  The remaining regiments enter the game one regiment each move  on the east road. 

British/Canadian Order of Battle:
Battalion of Incorporated Militia of Upper Canada (24)
Glengarry Light Infantry (24)
Flank companies British Regiment  (12)
Royal Artillery (medium gun)
Royal Marine Artillery (rocket)
This force deploys on the table top at the North West corner.

Where is Laura Secord?


The village of Cook's Mill.  


The Mill is near the center of the table.  The American Rifle Regiment is deployed to the west of the mill near the cross roads.  The American infantry enter in the road to the right side of the picture. One regiment enters each turn.   The British /Canadian forces are deployed in the upper left corner.  The river can only be crossed at the bridge. There may be a ford on the river but it can only be  discovered by troops moving along it.   Woods along the river provide cover for troops inside it.

Once a command is reduced to less the 50% that side must withdraw off the field. Victory belongs to the side who holds the mill (and the important flour supply) at the end of the game.

I do hope they do not make a mess of things!