
Finished up the 1st Squadron of the Legion cavalry. These are the Hussars dressed in yellow trousers and trim. A most handsome unit and now ready to take the field.


Finished up the 1st Squadron of the Legion cavalry. These are the Hussars dressed in yellow trousers and trim. A most handsome unit and now ready to take the field.

I have long wanted to add Lauzun's Legion to my armies. The fight between Tarleton and Lauzun would make an excellent, very colorful game. Staring with the infantry element I have finally gotten on my way.

The infantry of the Legion was supposed to contain a grenadier company of 100 men, a chasseur company of 170 men, and two line infantry (fusilier) companies of 170 men each. When Rocheambeau’s force left France there was a shortage of transport ships so the Fusilier companies were left behind. The Grenadier Company sailed with 116 men and wore a bearskin hat without a front plate. The Chasseur Company sailed with 99 men and wore a black cocked hat with white tape (and not a helmet). I decided to combine the two infantry elements into a single unit if 24 fugures. Rather then the Grenadier uniform I went with the Chassaur uniform as I wanted to have some skirmishes type troops for thus legion. Also I believe the chassaurs were involved n the battle with Tarleton. Perhaps later on I might add Grenadiers but we will see.
It felt good to be back in the saddle so to speak painting wise. I know they are not my best effort but I am still pleased with them.
Next up the Hussars of the 1st Squadron then the Hussars/Lancers of the 2nd Squadron.
The Charge: The Real Reason Why the Light Brigade was Lost. By Mark Adkin
" An officer named Captain Nolan, who writes books, and was a great man in his own estimation..."
Colonel Lord George Paget
With the anniversary of the battle coming up I thought I would post this book review. A fascinating read no matter if you are interested in the Crimean War or not. Highly recommend as Hal used to say.
This is the kind of book that shows how military history should be written. It is a careful analysis of the Battle of Balaclava and especially the Light Brigade's charge with the emphasis on untangling the hows and whys that resulted in the charge. The book is extremely well researched, with well thought out explanations, good illustrations and especially outstanding maps. Many, many maps. I do wish more military history books followed his example.
Complimenting the maps (and tied into them) are a series of battle and topographical drawings which are very effective in understanding the battle. These drawings are based on a series of photographs done by the photographer Fenton which show the actual battlefield from where Lord Raglan watched and sent his infamous order from. The photographs were taken slightly after the battle so they provide a you are there view. To actually see the battlefield as the participants did is priceless.
The usual villain responsible for the disaster in most books was Lord Lucan the Cavalry Division commander. I am glad to say he is given a fair shake here and is partly exonerated; but with some very serious serious criticism. I do wish the author discussed more about Lucan's decision to pull back The Heavy Brigade during the Light Brigades charge. A fascinating what if.
The primary culprits in Adkin's view are Lord Raglan and his ADC Captain Nolan. Raglan was clearly over his head as army commander. I find little positive about him and blame him for the disaster that the army suffered that terrible winter. Cardigan by the way comes out as a very brave man who had not the foggest idea of what was what. If you saw the 1968 movie of the Charge of the Light Brigade these three main actors really captured and look the part of their historical characters. In my opinion of course.
Adkin believes Captain Nolan (who carried the order down from Raglan to Lucan) may have deliberately indicated the incorrect objective. In my opinion the author makes an excellent case that Nolan deliberately misrepresented Lord Raglan's order when he delivered It to Lord Lucan. Nolan, a self educated authority on cavalry had never served on campaign and had never been in battle. But he was certain that British cavalry were being misused and was very vocally critical of all commanders throughout the army but especialy Lucan And Cardigan. He was certain Light Cavalry could overthrow anything in its way and that neither infantry nor artillery could stop them. He had once demonstrated in a classroom how light cavalry alone could charge and take out a battery from the front. Nolan possibly did not have second thoughts about the liberty he took as aide-de-camp in misinterpreting Lord Raglan's written order. His death, the first casualty of The Charge prevented his being questioned after. The author suggests and I agree Nolan wasn't trying to stop the charge when he was killed. The canard about his trying to stop the charge when killed was invented by Kinglake in his multiple volume history of the war; "The Invasion of the Crimea, Its Origin, and an Account of Its Progress Down to the Death of Lord Raglan." Most Of the officers who took part in the action certainly though King lake was non sense and Noland was taking them right where he wanted.
Also interesting is the account of the actual charge. Details such as such as how many rounds were fired at the brigade, how a artillery battery operated, how cavalry horses were so trained they remained in formation after their riders were killed, and how the casualties were not as spectacular as is often claimed. The Light Brigade was no longer combat efficient due to the horrendous number of horses killed which could not be replaced. His account if the stand of the 93rd Highlanders is also outstanding and he points out details most authors don't. Having a battery handy didn't hurt their stand.
I especially enjoyed the epilogue - A Balaclava Banquet about the 1875 dinner for the survivors, which sounds like a rockous good time. The appendix section entitled The Last Survivors was very moving to read. Those who were impoverished were provided for by a wealthy Fleet Street publisher who established the Roberts Relief Fund to provide them with a pension. The last survivor passed away in 1927.
Its taken a while but I am finally well on my way to completing a project. My paintung has been on hold due to my head injury but rehab has greatly assisted in helping me out. Its taken a while but I am back at the table painting.
But first a little background and explanation of what I am doing before posting some pictures.
Lauzun's Legion was one (the 2nd) of eight foreign legionary corps to be formed by the Ministry of Marine for service overseas. The project was abandoned after only three legions had been formed. The 1st was sent to the Caribbean; the 2nd to Africa; and the 3rd to India.
Each legion was supposed to be made up of a company each of hussars, gunners and workmen as well as a small infantry battalion of one Grenadier company, one Chasseur company and two Fusilier companies. There was also a "Compagnie Generale" (a sort of HQ formation), of one company of hussars. This unit was thought to be the one armed with lances.
The 2eme Legion became "Lauzun's Legion" around 1779/80. The new Legion was composed of the 2nd Legion Volontaires Étrangers de la Marine and new recruits, was named Volontaires Étrangers de Lauzun (Foreign Volunteers of Lauzun). This new Legion was made up of 800 infantry and 400 cavalry divided into 5 companies of infantry. These included 2 companies of Fusiliers, one Grenadier, one Artillery and one Chasseur company. Each squadrons of hussars were to be made up of two companies; one of French hussars and the other of Polish lancers. The uniform of the Legion would be the same as the previous 2nd Legion except that all hussars were supposed to be dressed as the Compagnie Generale company. As with all things in Lauzon Legion its doubtful that happened and a mix of the two Hussar uniforms probably occurred.
Hussars:
The first, and most famous part of the Legion were its two hussar squadrons; the 1st Squadron of Hussars and the 2nd Squadron of Hussars. Both were supposed to have 150 men each. Due to transport space issues the 1st Squadron arrived with 159 men while the 2nd Squadron arrived with 136 men. In addition at Yorktown Hussars from the 1st Legion arrived from the West Indies and possibly were added. Because of the nature of supplies and the amalgamation of legions and recruits there appears to be two styles of Hussars uniforms. The company's with Lances appear to have red trousers while the "French" style Hussars wore yellow.
Wargames Organization:
I plan on addition the Legion to my table top armies. They will comprise two squadrons of Hussars of 14 figures each and a light infantry unit of 24 figures. Perhaps later I will add the artillery and Grenadiers.
The Hussars will have one company dressed in the French style with yellow trim and trousers. The second squadron will be trimmed in red and be armed with lances. Each will be two figures per stand and a HQ stand to command the legion. The infantry will wear the chassaurs uniform and be mounted 3per stand. A light four pounder gun and crew rounds it out. All figures are from Perry miniatures. Stay tuned!
.jpeg)
Perhaps better known for his American Civil War drawings George Woodbridge is one of the lesser known artists of the American Revolution. This is sad because his soldier studies are outstanding and show a understanding of the clothing and equipment of the era. Must importantly his soldiers looked like people and not models.
.jpeg)
Woodbridge was commander of the reenactment organization "The Brigade of the American Revolution" during the Bicentennial. His deep knowledge of uniforms helped mold the groups reputation for historical authenticity. In addition he was a Fellow of the Company of Military Historians. Many of his drawings can be found in George Neumann's books on weapons of the American Revolution. He is better know as an artist for "Mad" magazine. If you were in the Brigade during the 1970's you might have found yourself in one of his drawings in that magazine.


Some individual soldier studies
.jpeg)

.jpeg)
.jpeg)
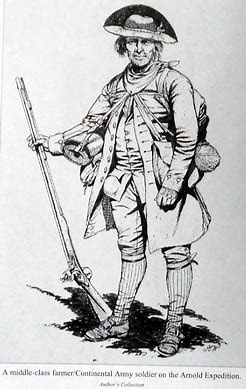

Soldiers of the Arnold Expedition to Quebec.


More interesting pictures.

A terrain piece I picked up long ago at the Cold Wars convention. Not sure who made it, its been that long ago! But its made of resin and plenty solid. Time to get it ready for the table.

Very nice detailing on the gun platforms and wood supporting the walls and the gabbions. These required just a simple painting brown then lots of dry brushing. For the piled up earth in front I just covered it in the flicking to match my table cloth. Couple hours work and a nice terrain piece for the table.

(For the order of battle and background for this game please checkout my introduction post here:https://bravefusiliers.blogspot.com/2022/10/wagon-train-game.html)


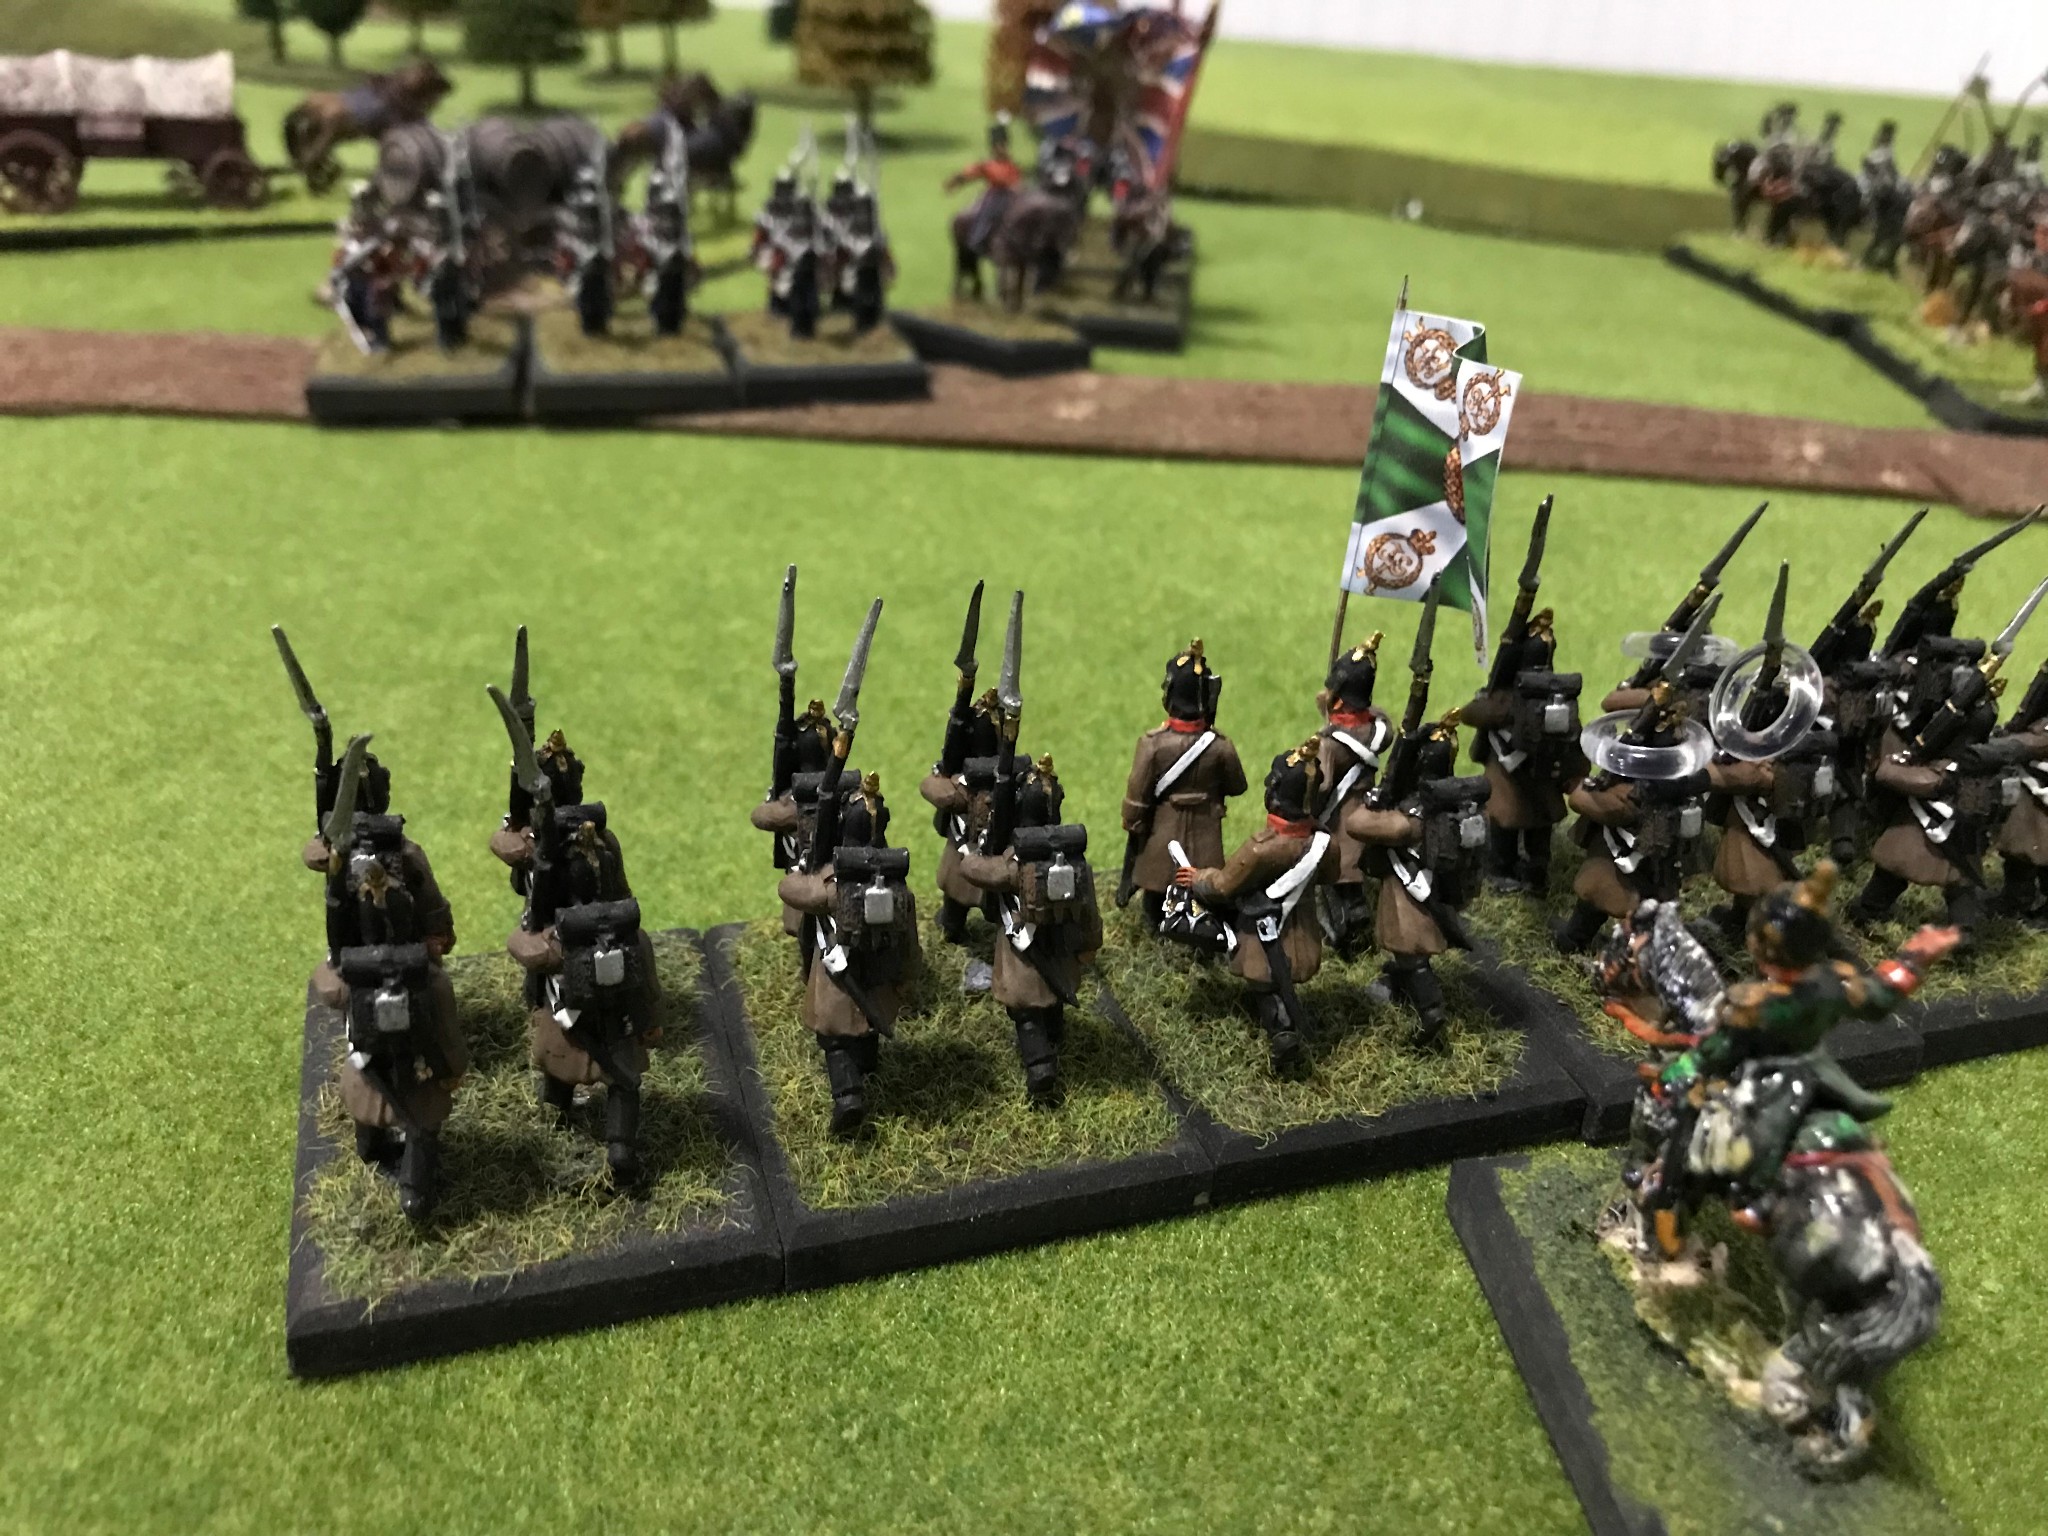
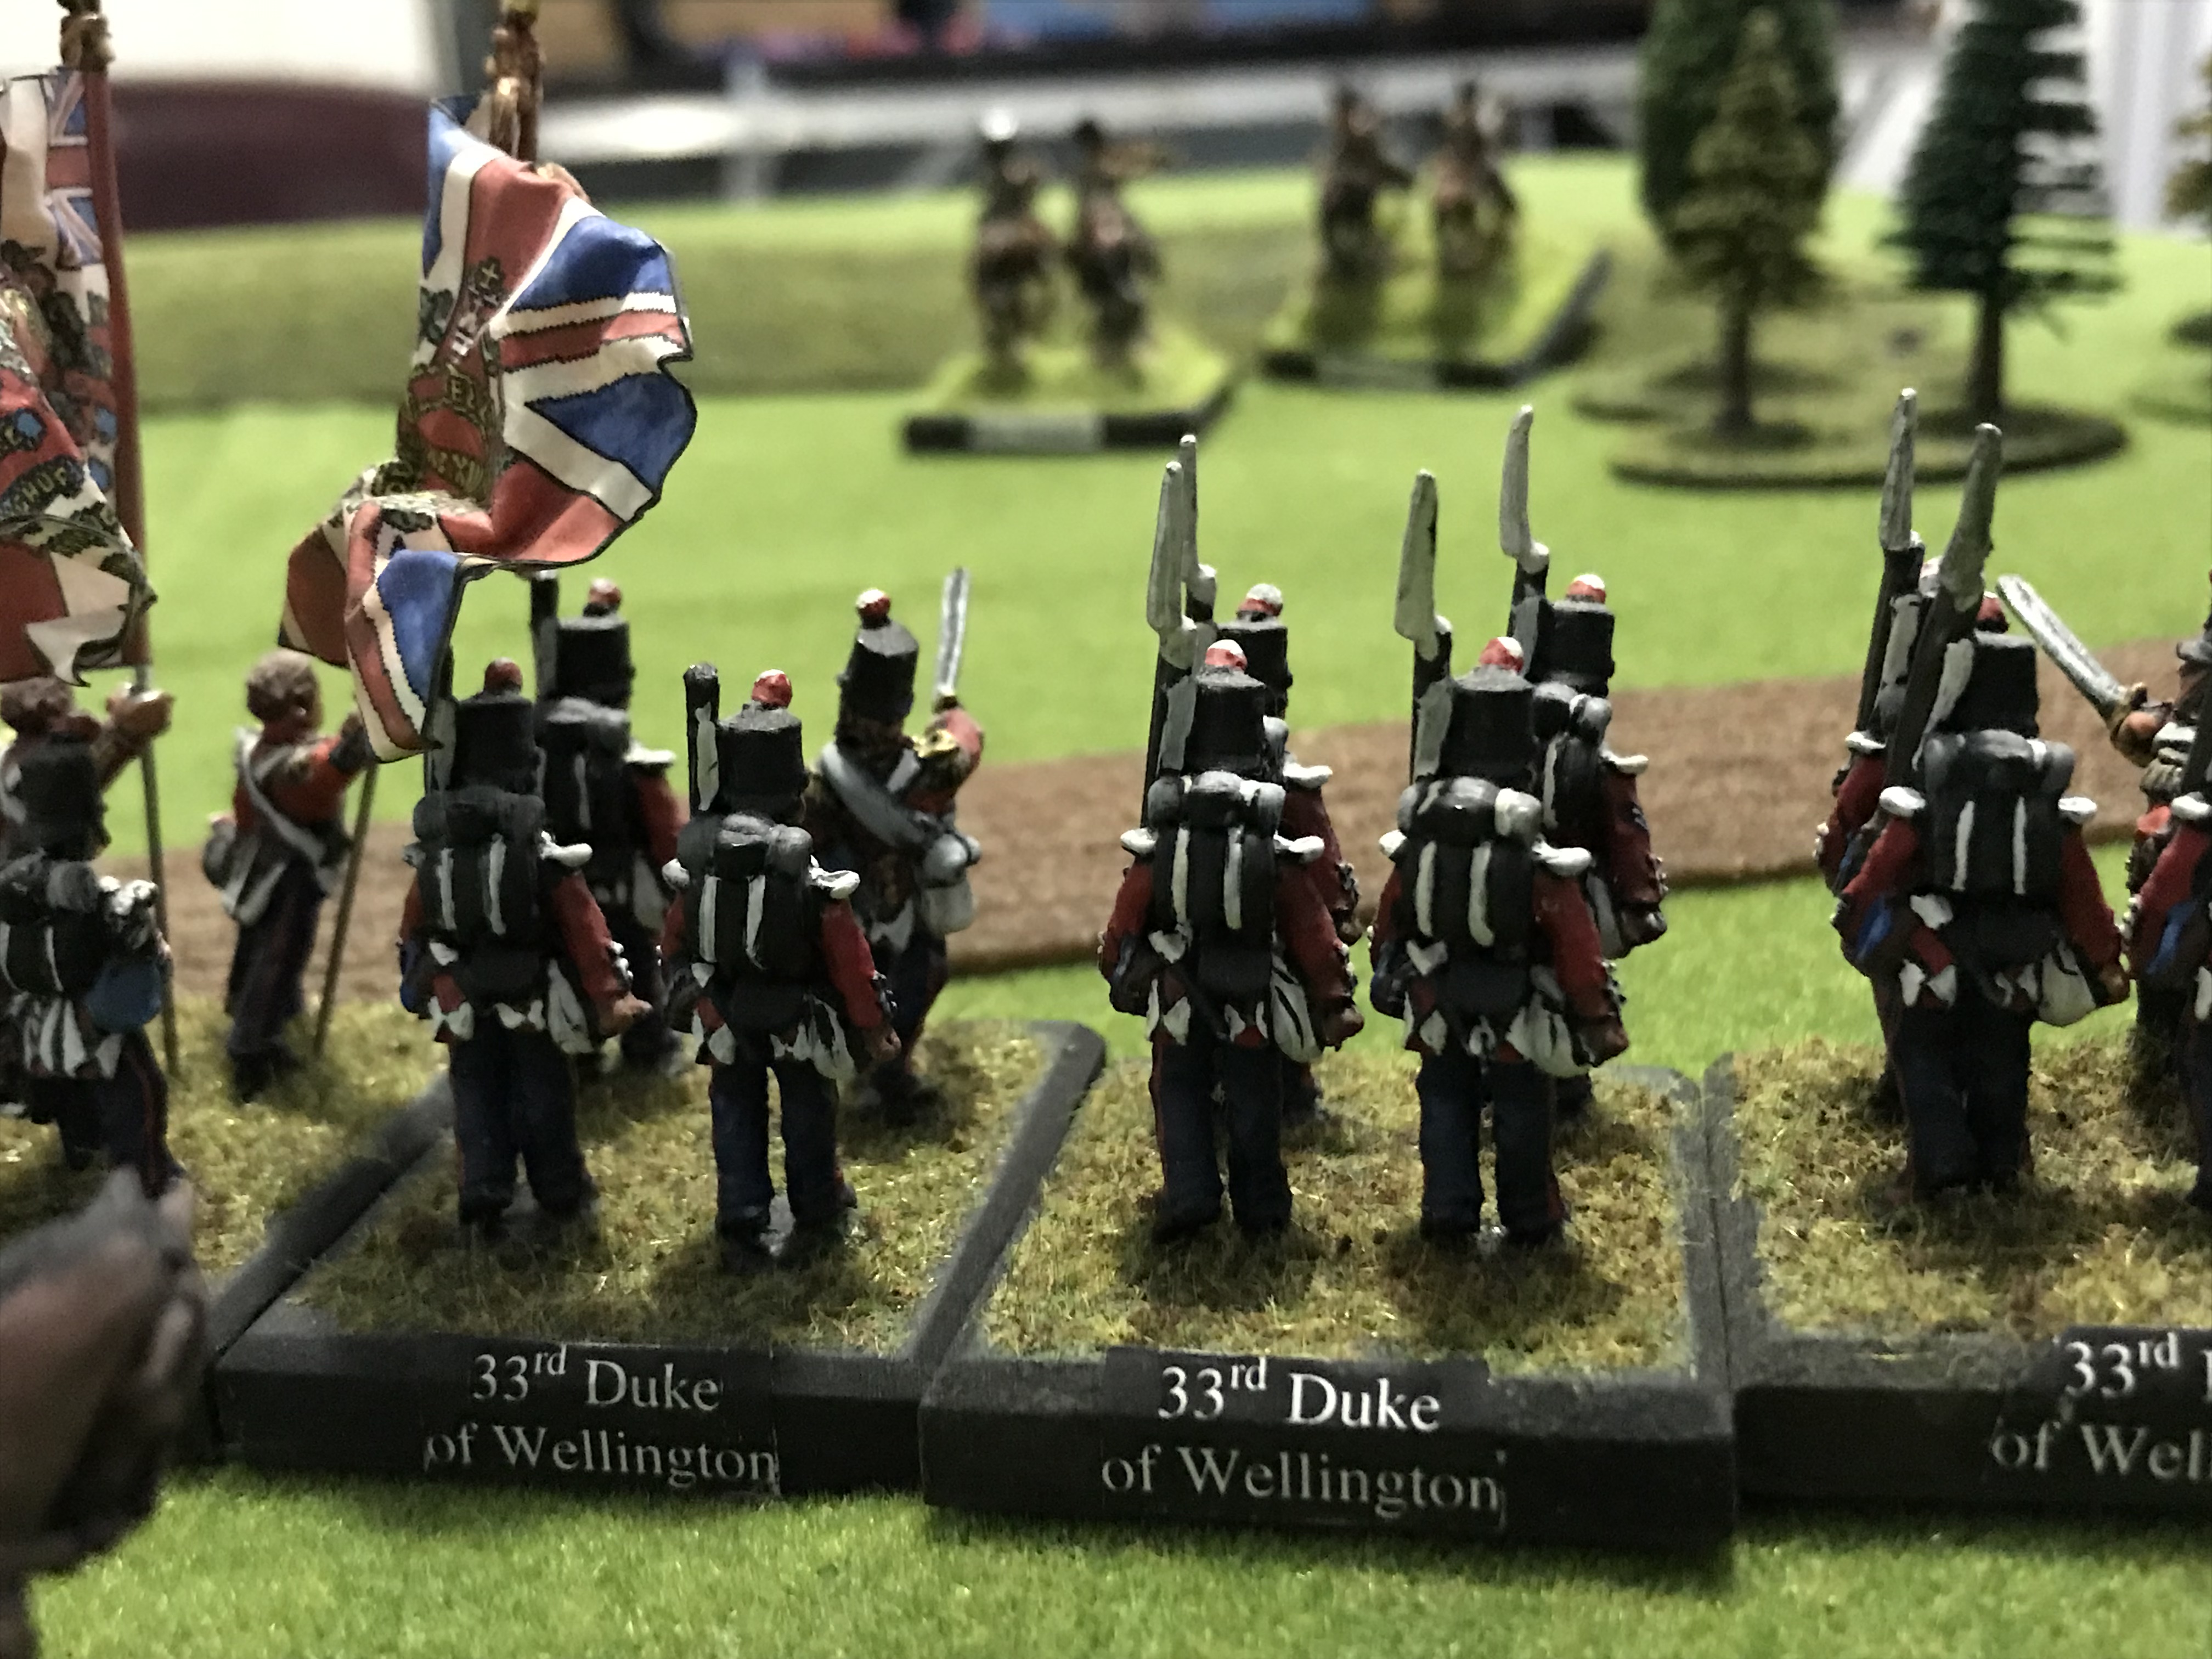
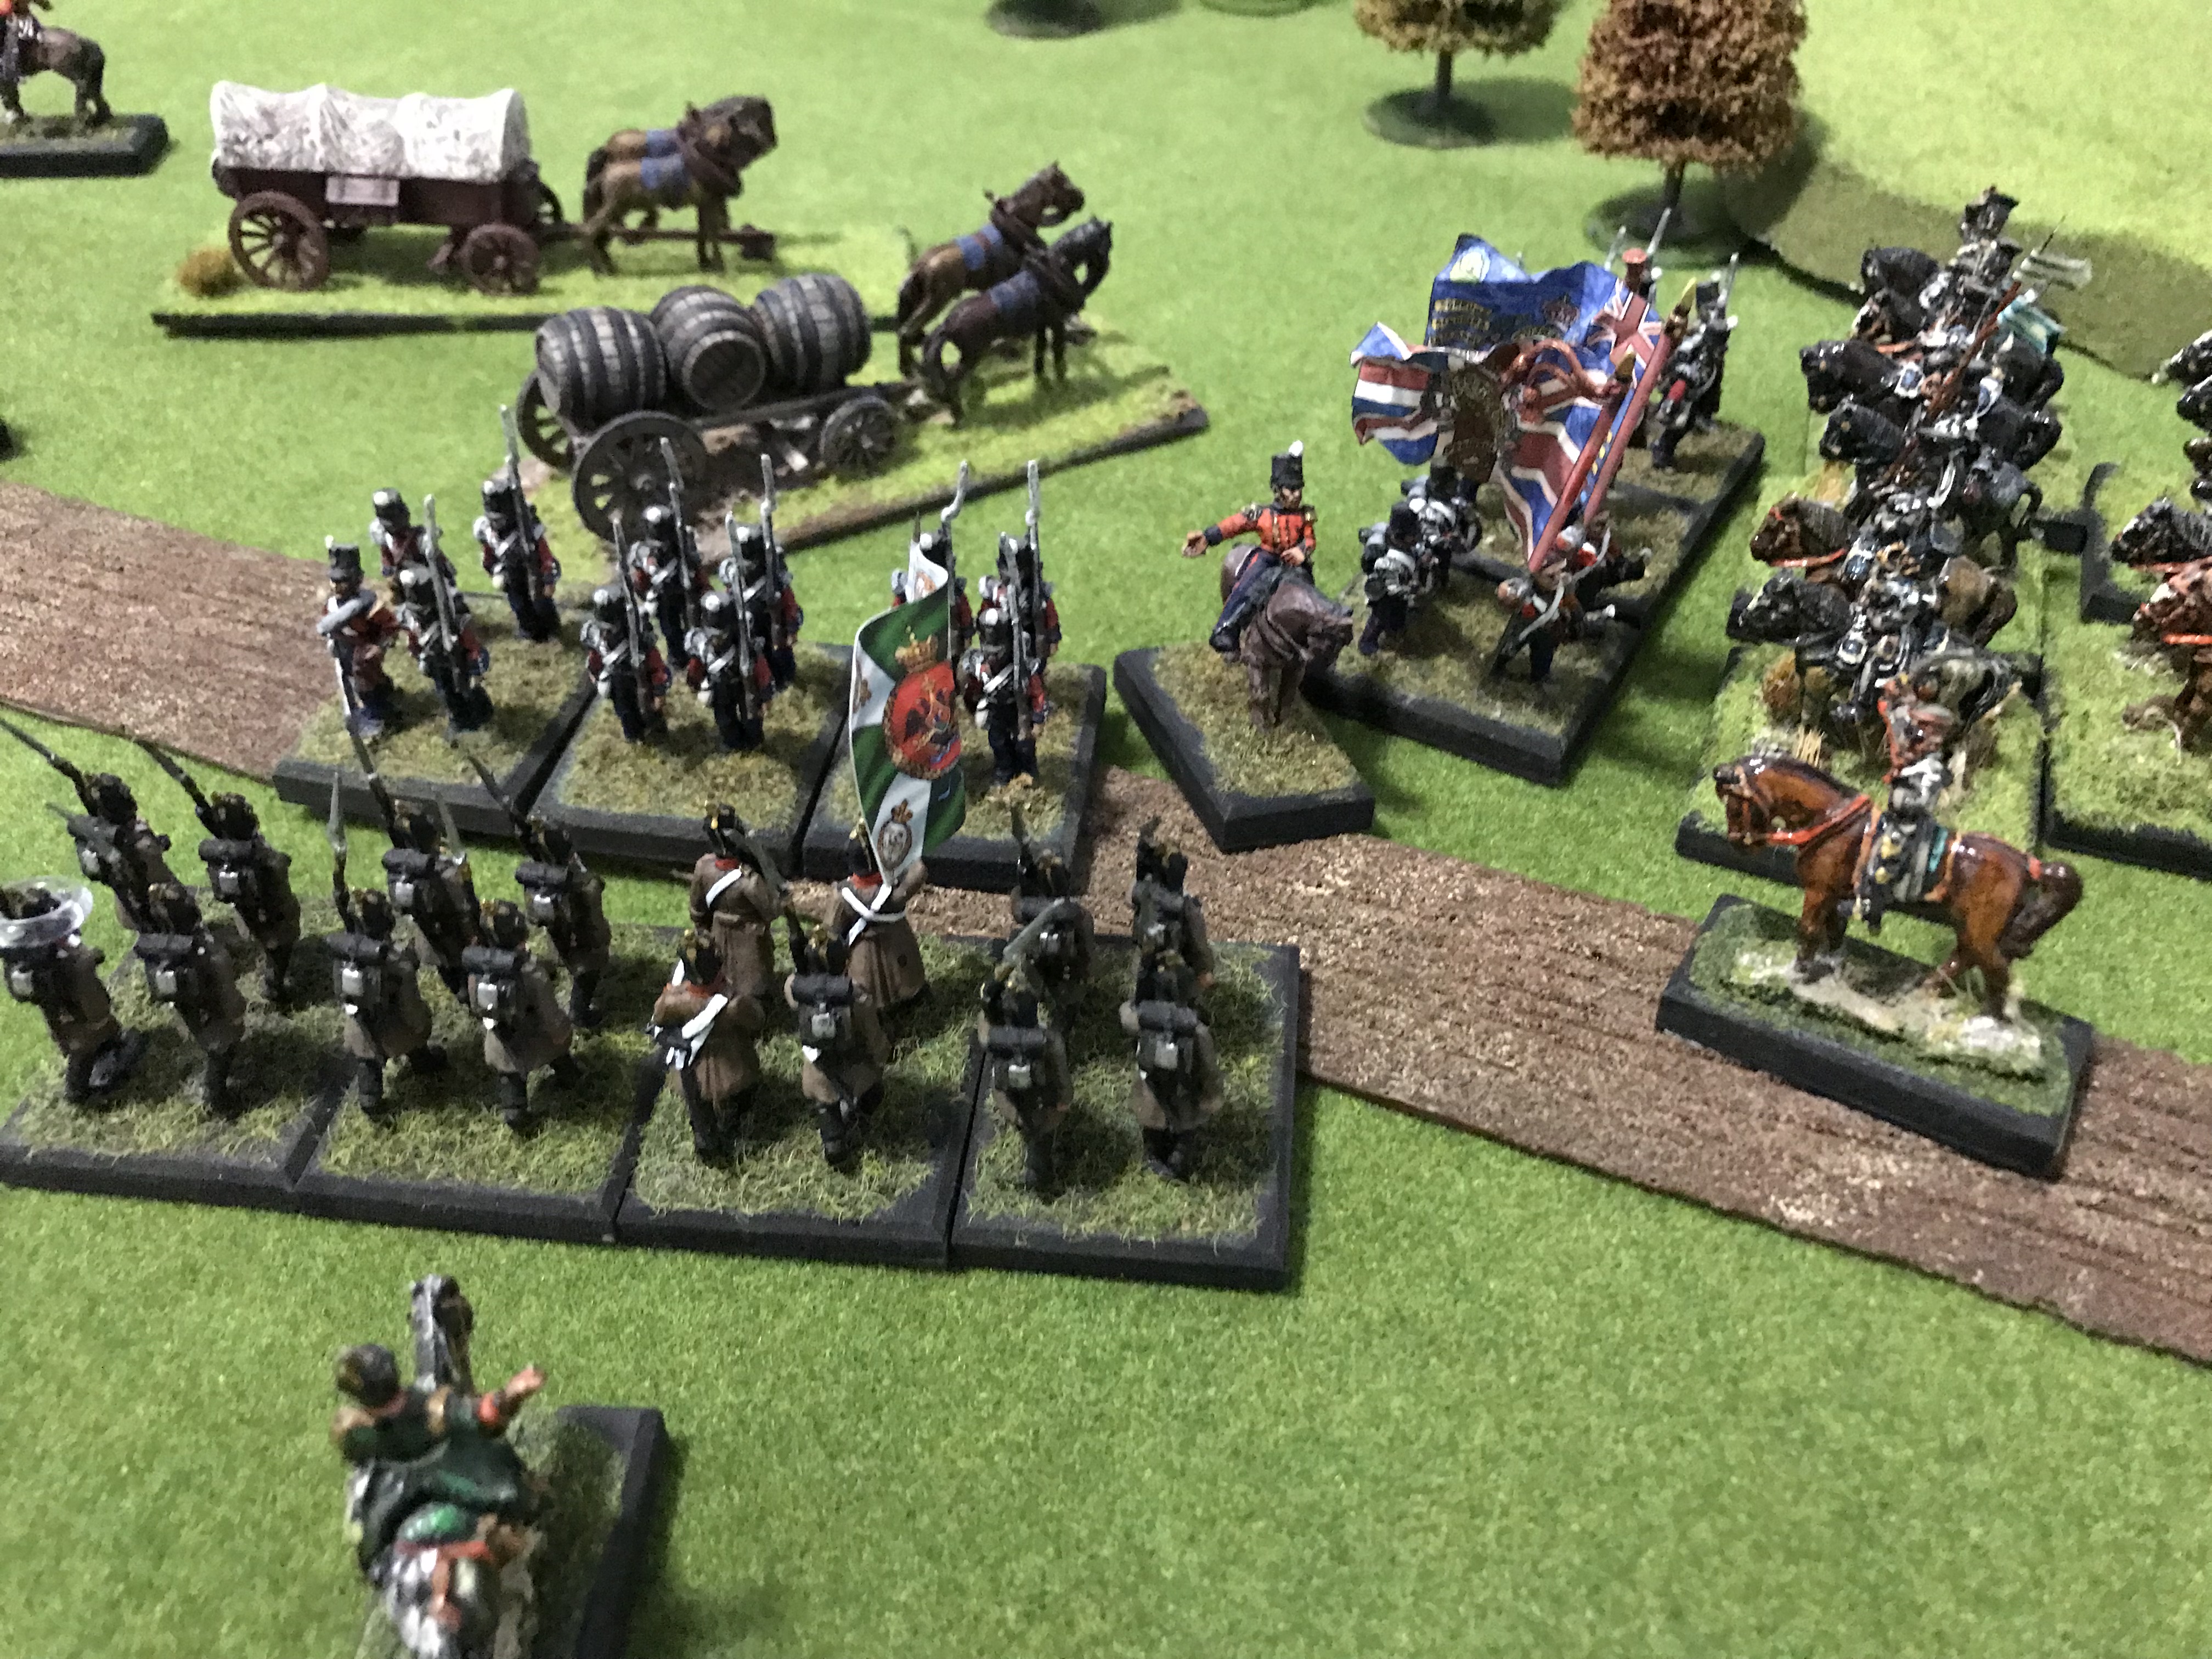
The British supply column and its escort (23rd and 33rd regiments) advances from Balaclava harbour towards the Allied siege lines. As they round the bend a Russian Infantry battalion (1/Valdimirski Regiment) deployed on the hills to their right. Ahead, a Russian cavalry Regiment (Combined Lancers Regiment) advances towards them.

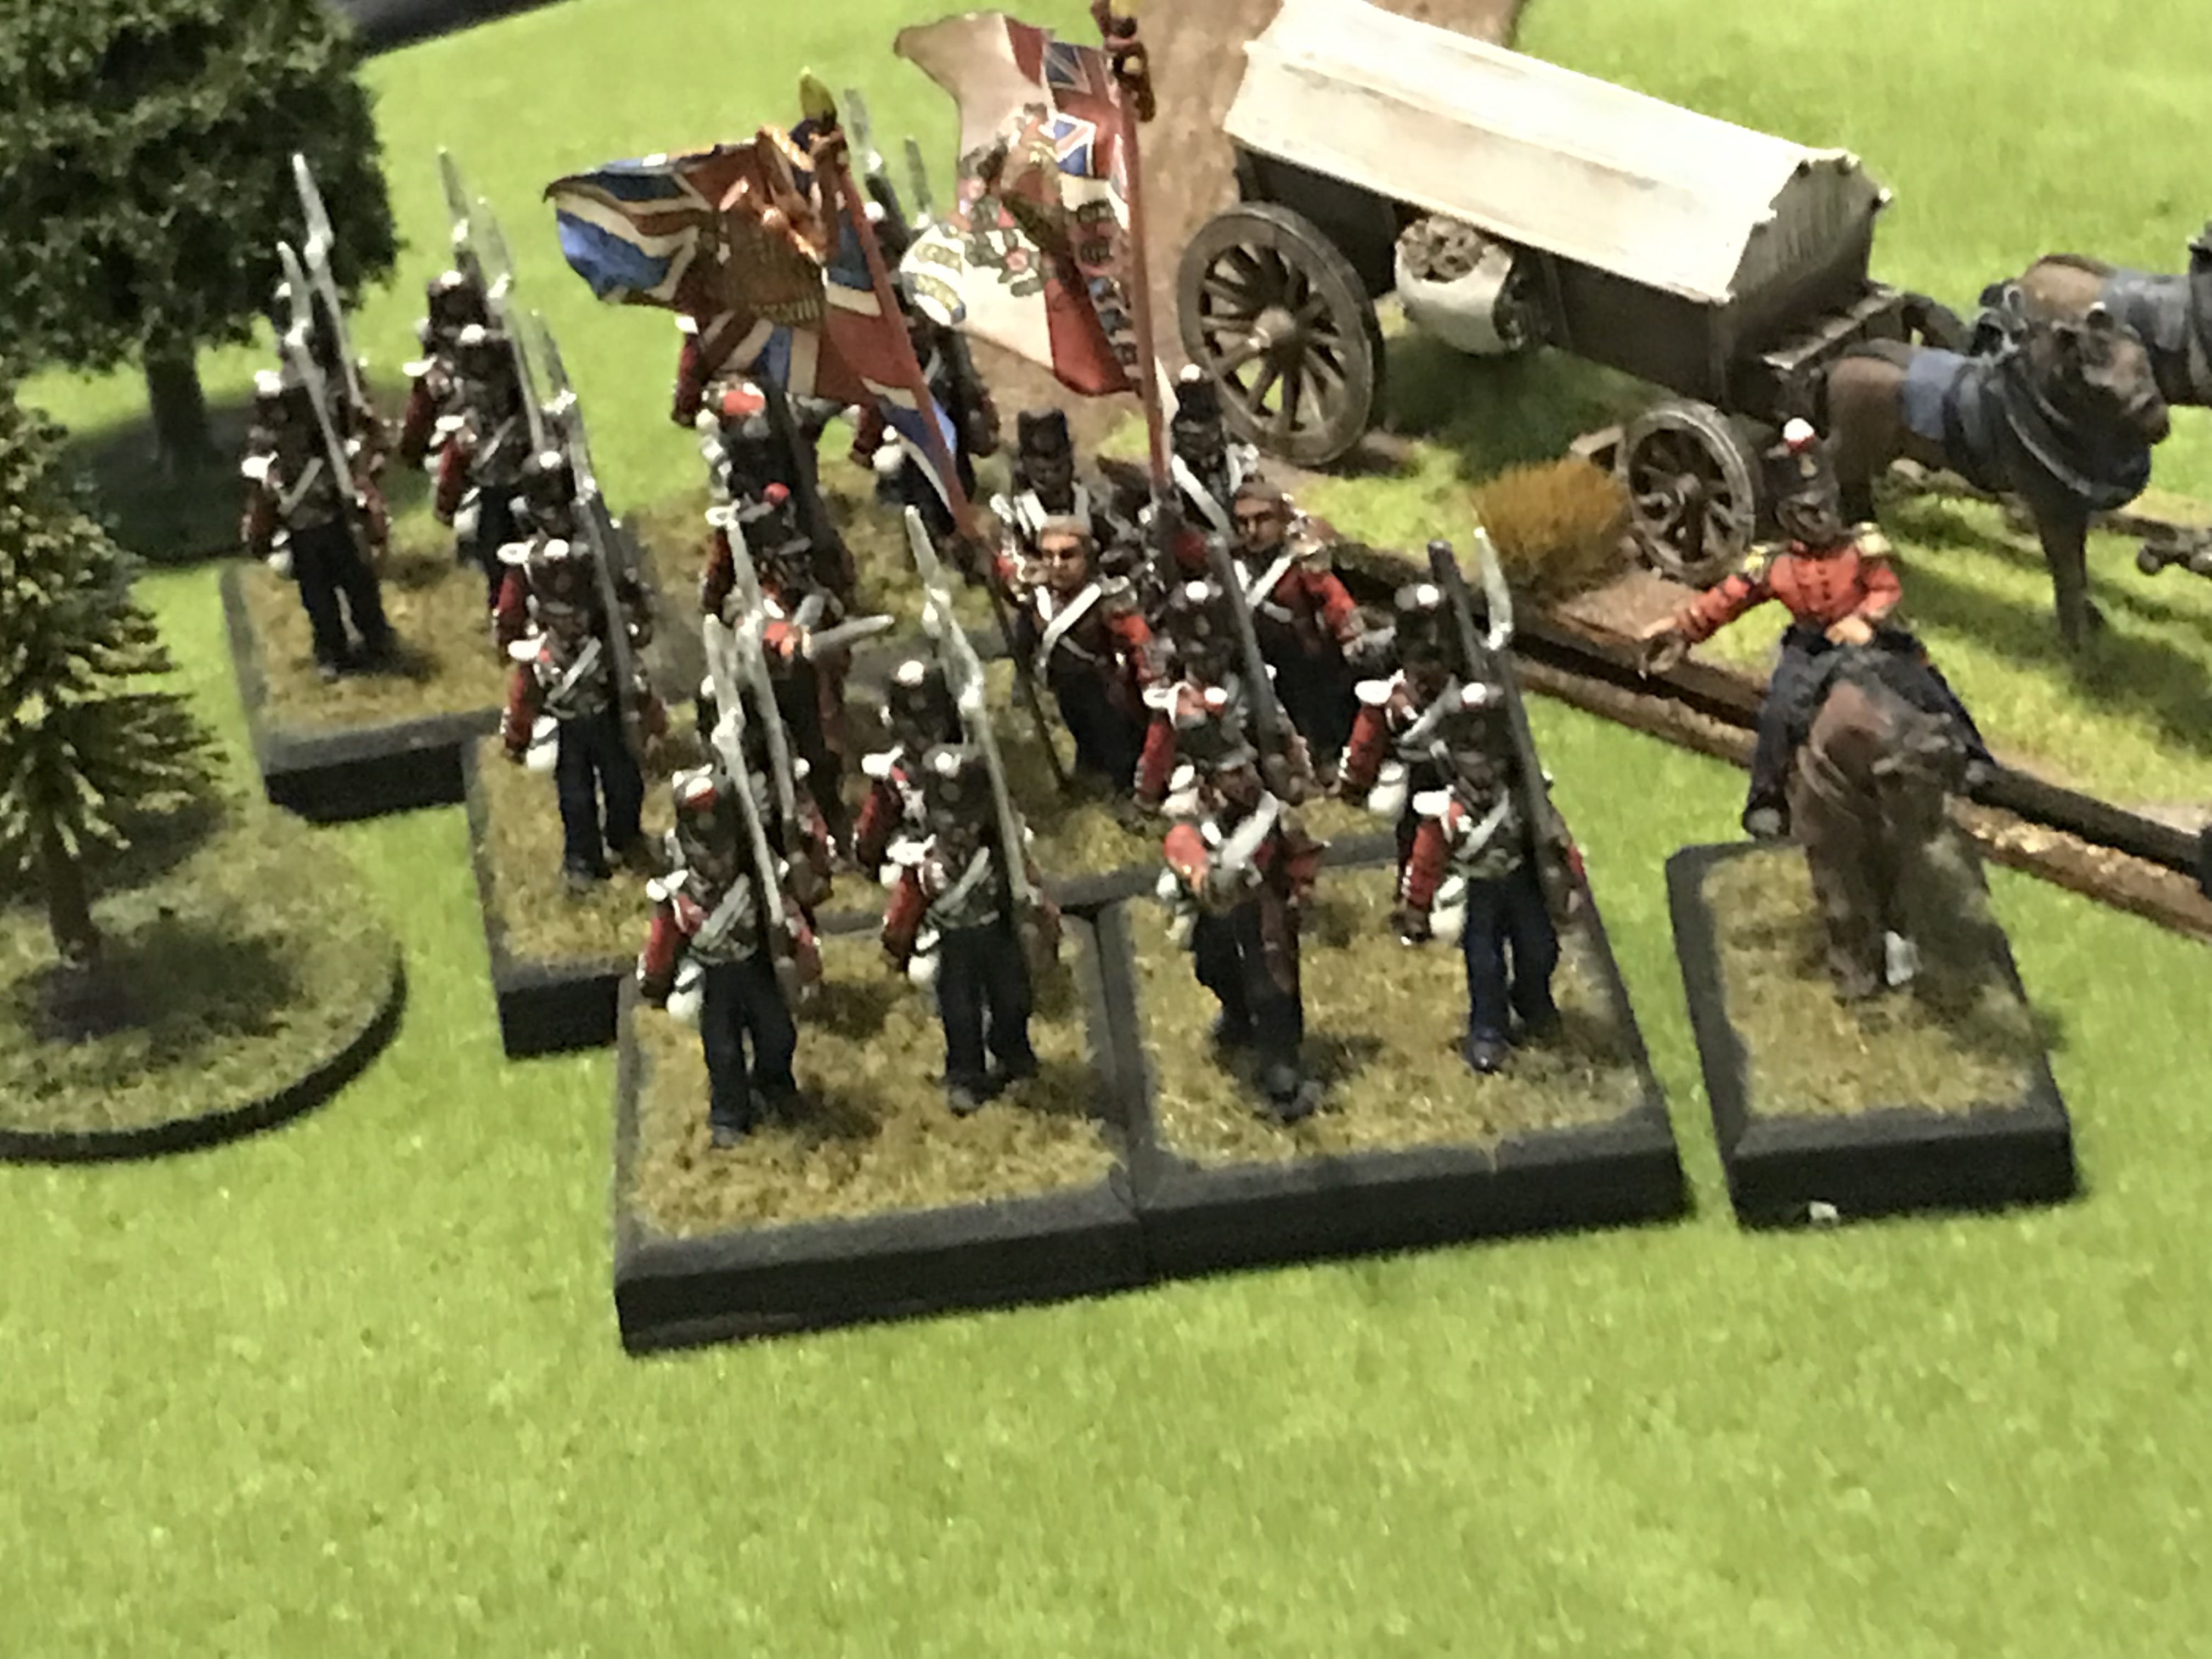

The 23rd deployed quickly from column into line to protect the wagons. They then fired a volley at the advancing enemy infantry. The 33rd started towards the front but spotted yet another Russian cavalry Regiment (Kiev Hussars) formed on a low rise towards their right. They also formed line and fired a volley.
(Remember in these rules a regiment may spend a command point to do something extra)
Turn 5:


The Vladimirski battalion charged the 23rd while the Kiev Hussars took on the 33rd. The Lancers maneuvered to take the flank of the 23rd. But before they could close both British battalions were able to get a volley in.

The Kiev Hussars slammed into the 33rd and forced them back to the other side of the wagons. There they rallied back to good order. The Hussars quickly attacked the wagons, destroying two of them.

The Vladimirski also slammed into the 23rd, but with different results. They had taken casualties and were thrown back.
Turn 6:

The wagons were moved off the road and both British battalions redeployed to better cover them. The 33rd opened fire on the Kiev Hussars causing them more casualties and a morale marker.
The Vladimirski and Lancers moved up to try a coordinated attack this time.
Turn 7:
The 33rd destroyed the Hussars through firepower with the pitifully small remnants of the Hussars running away.

The Russian infantry and cavalry both hit the 23rd, and forced them back. This enabled the Lancers to destroy another wagon. The Vladimirski changed front to face the 33rd.
Turn 8:

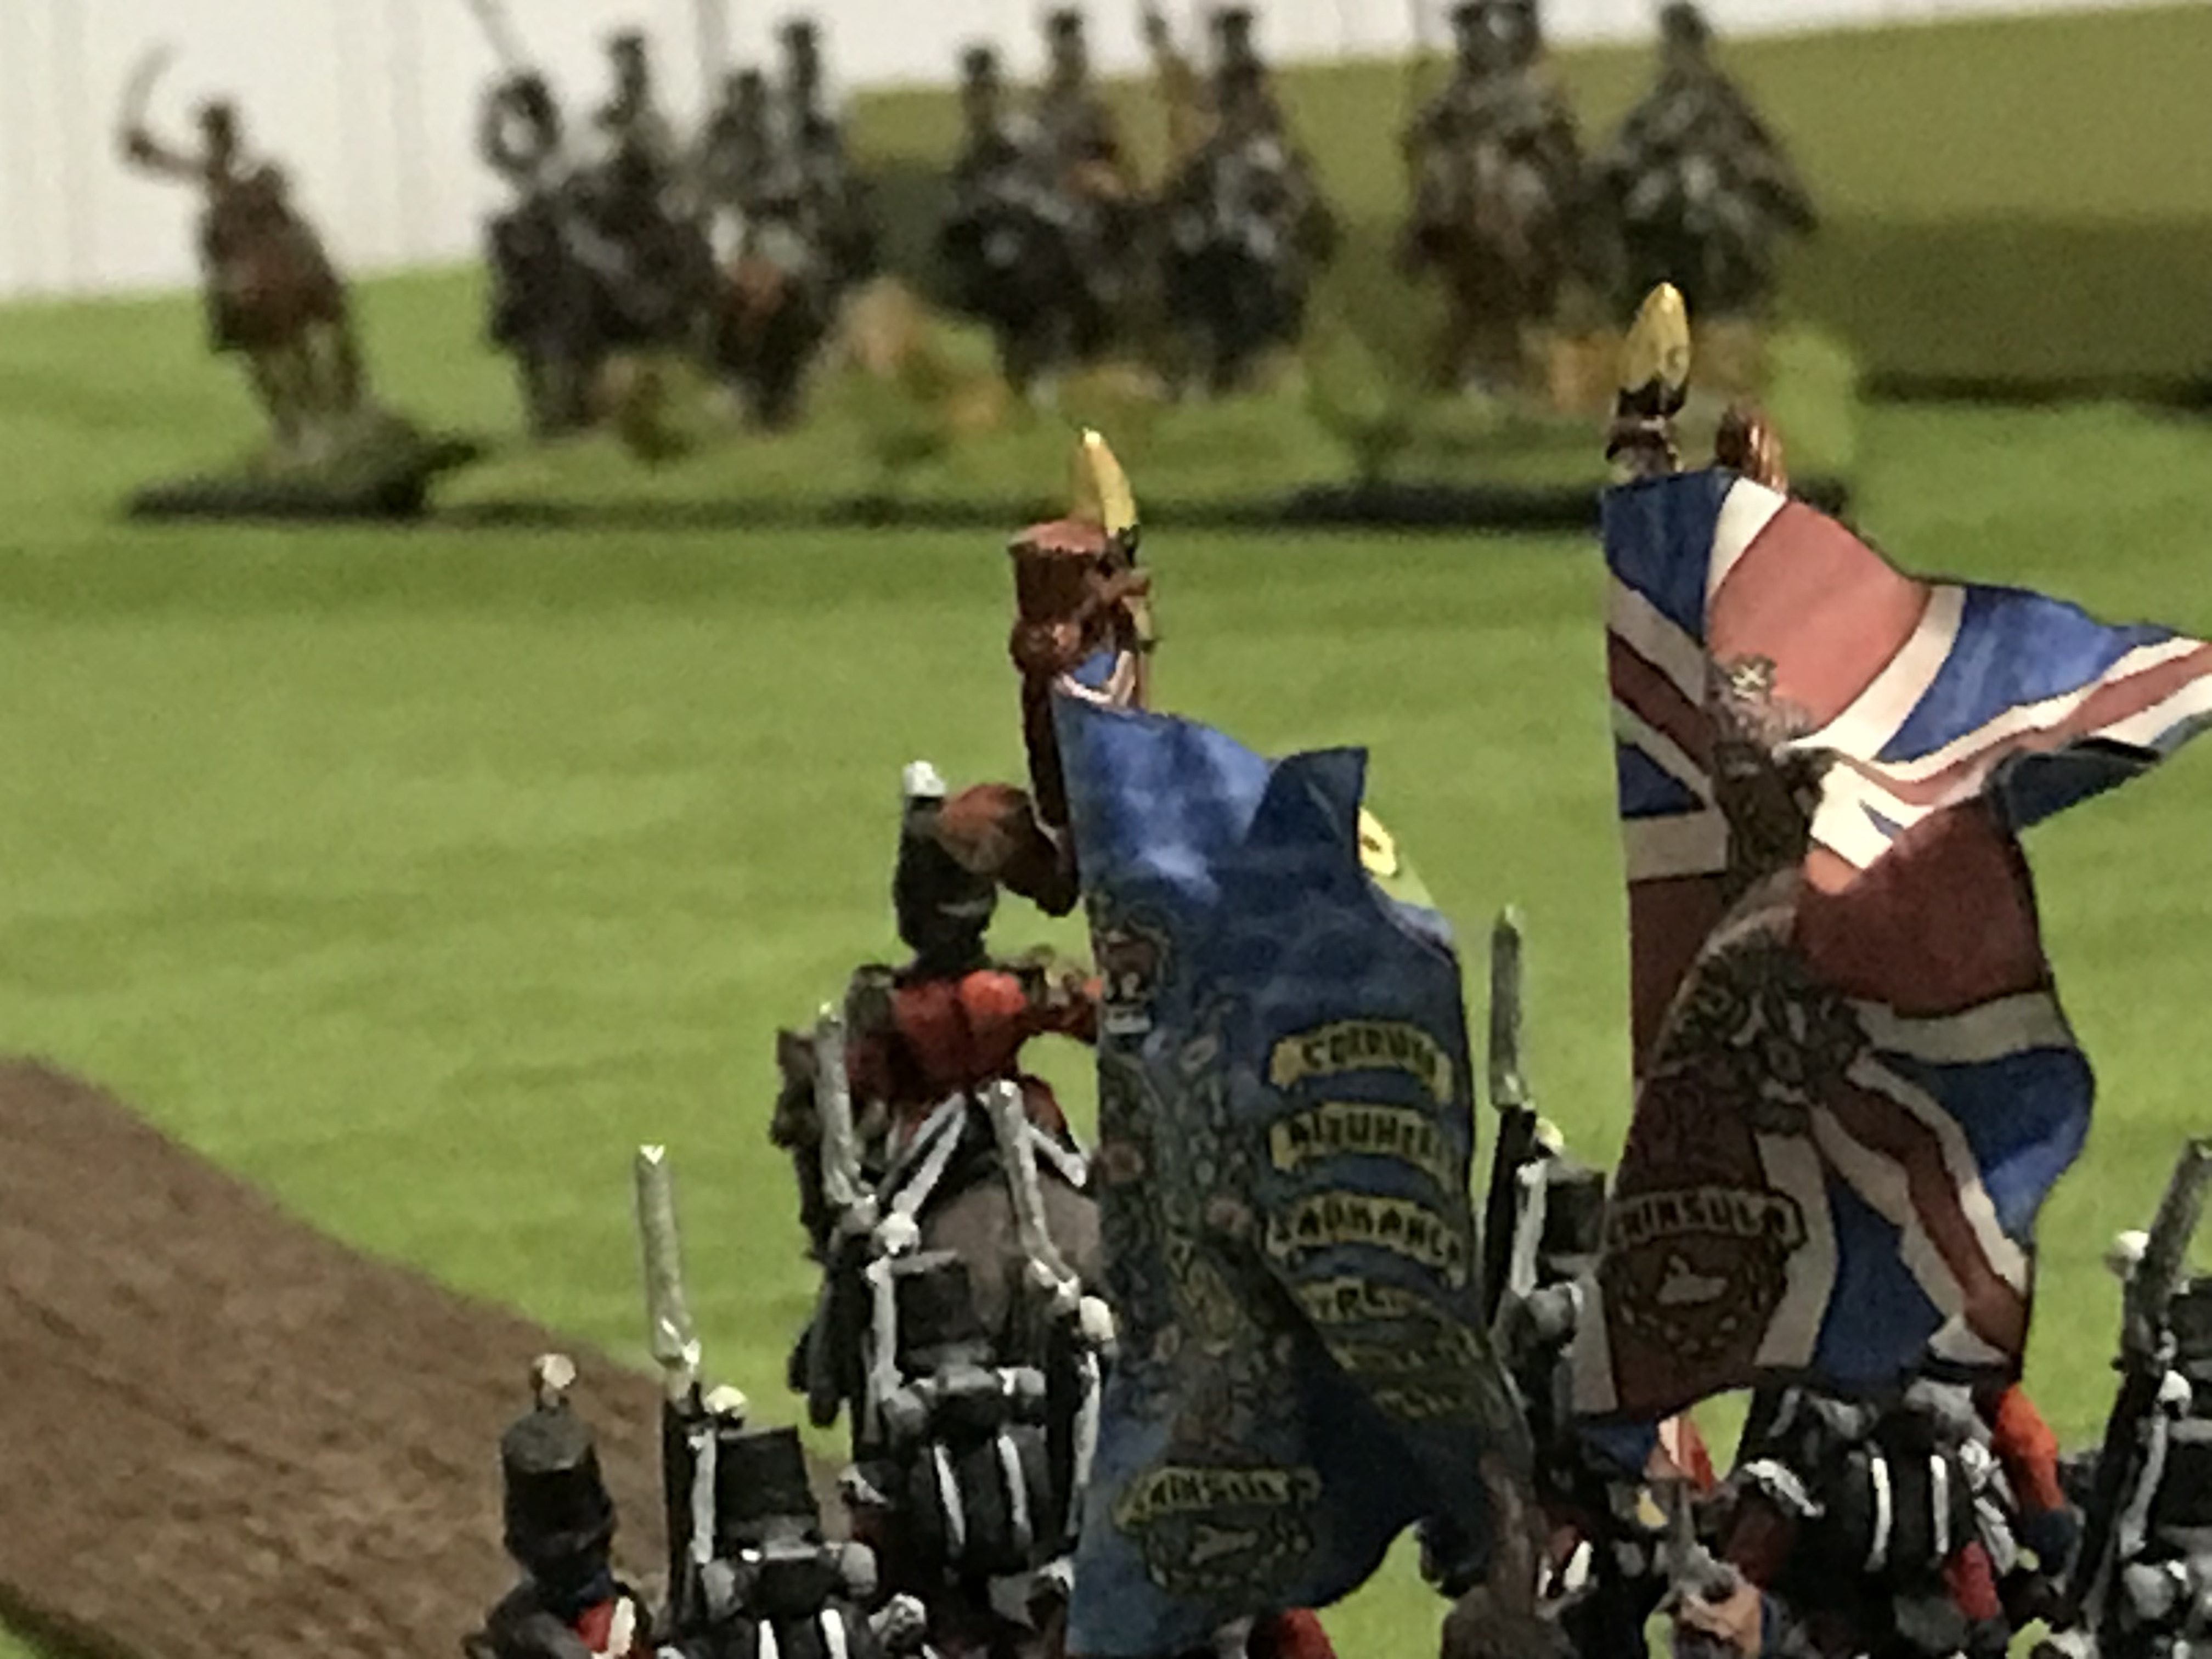
The sound of bagpipes was heard in the distance as the 93rd Highlanders made their appearance!

With the British redeployed and guarding the remaining wagon the Russian commander decided to withdraw. He had successfully destroyed three of the wagons and that was a lot of supplies the allies would not get today.
Conclusion:
A fun fast game that I enjoyed very much. I can see why this is an old favorite and can be played over and over with no two games the same. It also can fit into almost any time period. I can definitely see playing this with either my War of 1812 or Rev War armies.
I think the adding of the additional Russian cavalry regiment helped balance the game. The Russians were also blessed with great pre game dice rolling to get all three of their units in the table right where they were needed and almost at the sane time. I think next time I would give a little more space between where the attackers arrive as they were right on top of the wagons right away. But perhaps that was fair as it was after all an ambush.

Feeling slightly better today (friday) I thought I would set up the table for a small game. That took most of the morning, having to rest every few minutes! What game to play? I wanted to continue with my Crimean forces. Something small but interesting. I decided on Charles Grants wagon train tactical problem. Grant's book "The Wargame Companion" is one of my favorite wargame books and the one I reach for when I need inspiration or just a enjoyable read. So I have wanted to fight this one out for a long time. I will also use this game as an explanation of how I have been fighting solo battles.
My table is smaller then what is recommended so I modified the terrain to give me more room. I also added a number of wagons, four to be exact. If you're going to be escorting a supply train it should look like one. The escort are two British infantry regiment (33rd and 23rd). The 93rd Highlanders would march to the rescue on turn eight based on a dice roll. The attacking Russians would have one battalion of infantry and one cavalry regiment. Making another adjustment, I added a second Russian cavalry regiment. This was because of the British rifles and poor quality of the Russian cavalry.

The British supply train and escort enter the table on the road at the bottom of the picture. They have to exit off the table on the road at the top of the picture. I wrote down three formations for how the train would be configured and rolled to see which one I would use. A battalion in front and at the rear of the Wagons. Off you go now.
The Russians rolled two dice per unit. The first dice was for where they would appear on the table. On the right side of the picture the bottom right is "X", Middle of table " Y" and top right is "Z". Second dice is for which turn they arrive. Infantry and one cavalry both arrive on turn three, with infantry at " Y" and cavalry at "Z". The second cavalry arrive at " X" on turn five.
All this done I placed my troops on the table. Since nothing would happen until turn three I moved the troops up to that position. At this point I stopped as it was getting late would continue the game tomorrow.
Stay turned for more!