Showing posts with label Rules. Show all posts

Friday, February 17, 2017

Mr Madison's rules, Mr Madison's Game.....


   After a week of adjustment from fun to work and from sun shine to snow and cold I wanted to put figures on the table and try a game.  While I generally do not do too much solo gaming I wanted to illustrate how my rules for War of 1812 will work.  So I put out a simple meeting engagement with not much terrain to complicate things. Only three battalions of infantry plus a gun for both sides, all rated 2nd class.  The Americans must cross a bridge and hold the crossroads while the British must take those same cross road.

Turns one through three.
Americans advance over the bridge and deploy to the right and left.  They quickly get the artillery into place.  Die
roll for roads are four average dice so plenty of movement.  The British advance infield column.  They are slower to deploy in to line (bad dice).  Artillery takes a turn to deploy into line so it's having a difficult time either staying with advance or unlimbering.  Remember,  you get a disorganization point (DP) for changing formation so most units now have 1 DP.  To remove this you stand still one turn (i.e. dress ranks)  or have a general remove it.  So
commanders are kept busy sorting out the mess their troops get into.  Note the dice behind battalions which tell you how many DP's they have.


  Turn four. 
  American Artillery has long range fire.  No result since you subtract two from die roll for first fire against target.  Commands still hurry about removing DP's.  Both sides sorted out into line, Americans standing still while British March forward.

  Turn five.
  American Artillery fires and hits (i.e. now adds plus one to roll for same target at same range) causing 1DP on the 100th Regiment of Foot.


Turn six and seven.
  American Artillery is in close range. Fires at 100th Regiment of Foot and rolls a 6.  This causes 1 casualty and 1DP.  Close range artillery can be very bad if you are the target.  Muskets along the line cause minor hits so a few DP's scattered among units. Remember that rolls for muskets and rifles are usually long range so not very devastating.  Close combat is close range fire and moving towards contact.

Turn eight, charge!!
  Both sides fire only artillery. You can either fire or move not both.   British gun rolls high and American 1st Regiment gets a casualty and DP.   British 100th Regiment of Foot gets three DP's from artillery fire so now has total of five DP's, with only five stands (from a casualty).  So it is in very very bad shape.

British 1st Regiment of Foot charges the American 23rd Regiment,  while the American 1st Regiment charges 100th Regiment of Foot,  and the 8th Regiment of Foot charges the American 21st Regiment.   Let's look at how close combat works.

1st Regiment of Foot vs 23rd Regiment;  each regiment rolls one dice per stand.  1st Regiment of Foot rolls a 12;  add 2 for bayonet charge but subtract 2 for DP equals 12.  American 23rd Regiment rolls a 14 with no add/subtract.  Difference in dice is 2 so Americans get plus 2 and British negative 2.  Results are British driven back with 2DP's and one casualty and retreat full move back.  The 23rd get 1Dp.

100th vs 1st;

  The 100th rolls 20 on five dice.  Subtract 10 for five DP's equals 10.  The 1st rolls 20 also, but adds 2 for bayonet charge and subtracts 2 for DP.  Difference is 10.  The 100th is routed and disappeared from the board.

8th vs 211st;
The 8th rolls 27 plus 2 for bayonet charge.  The 211st rolls a 27 but subtracts 6 for three DP's for a 21.  Difference is 8 and this time the Americans rout. Run away!


At this point I called the game.  With two battalions gone the British are in serious trouble.

As I say to my kids, what did we learn from this?  I hope I gave  better understanding of  the rules and how they play.  The key point here is the use of DP's.  They can cause no end of trouble.  Commands spend time cheering up units.  A unit with lots of DP's are easy pickings.  More importantly fresh units are valuable.  Long range fire is annoying but not deadly.  Close combat can be decisive but damaging to both sides unless defender is softened up.  Fresh units (less DP's) can be deadly.  Next time different moral classes and skirmishers added!

Friday, November 18, 2016

Loose Files and American Scramble rules


   For my Rev War gaming I have been using these rules since they came out in the 1980's.  Written by Andy Callen they appeared in the first issue of Wargamers Illustrated and are now available throughout the internet on various sites for free.

   What attracted me to the rules when they came out were the at that time ground breaking use of disorganization points or DP.  This represented temporary problems with the battalion or regiment.  The number of DP's effect combat and firing and too many would cause your unit to disappear from the board.  Better trained units could remove DP's quicker, while poor units needed brigade or higher commanders to help out.  DP's cause you to loose a die for firing, and negative for combat.  Get too many (maximum of five per unit) and additional DP's cause casualties which means you remove whole stands.  I like this since units stay on the table longer, and you can pull back a unit and redress ranks and return it to the fight.

   Games run like this.  Start of the turn you have retreats and rallies from end of last turn.  You adjust morale for units effected. Again better trained units weather misfortune, lower grade units can fall apart. Commanders ride about trying to help out regiments in trouble (remove DP or inspire by adding +1 to die roll).

   Next is small arm and artillery firing.  Units can either fire or move but not both, unless they are skirmishes.  So you have to plan accordingly.  Infantry throw a d6 per stand of three figures.  Hits are a 6 on your die roll, which cause a DP.  Fire at skirmishers or troops  undercover and you half your total of dice thrown.  Remember this is long range musket and rifle fire.   Artillery is a little harder with plus and minus to roll for a hit.

   Next is movement.  Units throw  average dice to move.  A house rule I use is regiments must move full die roll, unless you point out a terrain objective like a hill or fence to stop at.  In addition another house rule let's units within a brigade roll once for each unit.  Skirmishes can fire and move, regular infantry either fire or move.  Slippery fellows those skirmishers.

   If regiments move to within 4 inches of an enemy they are in close combat.  This represents close range fire and closing to melee.  Both units roll die, add modifiers and compare difference in scores.  Close combat can be deadly.  Evan combats grind up units, while better regiments rout poorer regiments with disastrous results for friends around them.

   One part of close combat that confused players is the British getting +2 for bayonet charge while Americans do not get this.  This represents the British standard tactic of charging Americans without firing first.  For a better explanation please read With Zeal and Bayonets by Matthew Spring.  I like this as it represents the British standard operating procedure.  But, if not carefully managed you get no better then a stand off result which causes a second round of fighting and the British now get two DP's so are fighting at a disadvantage.  Basically the Americans were not impressed, stood their ground and shot you up as you came in.  Lesson to learn is use this against a wavering line.

   I have recently modified the rules for use with 25mms figures and also for the War of 1812.  There is also a link to bring you to one of the many sites where you can down load an original set of the rules

Tuesday, August 2, 2016

Charge of the Light Brigade rules review


I have been playing "Charge of the Light Brigade" since 2003.  These are home brewed self published rules from the author David Raybin so possibly only a few of you have tried them.   I thought I would share some of my impressions about the rules and how they play.  I will also post a battle report of a game we played with pictures to show how they work in a latter post.  They provide a fun game which captures the spirit of the period and deserve a wider audience.

  I will state right off I am a big fan of these rules. I like simple rules, but with a twist. I like regiments to look like regiments.  And it is important to me that that a group of colorful miniature soldiers represents such and such a regiment.  I want a game I can play in a evening, gives a period "feel" for the time period played, have fun with and come to a conclusion.  "Charge of the Light Brigade" does all of these.

The rules are a simple I Go U Go but with a difference.  Each side rolls for initiative with high side getting first go.  If you won the roll last time you add one to your roll.  Each of your regiments or batteries do one action (move, change formation, fire or remove a morale point).  To move roll two dice (or more depending on formation) and that is how far you can move.   After all your units have moved  you may spend a command point (CP) per unit and that unit may do a second thing.

  Here is something that sets this set of rules aside from all others. The author has taken the simple move/counter move system and twisted it. Every unit has a commander (i.e. Colonel). He has so many command points (CP). More if he and the regiment are good, less if mediocare or poor. Russians often get around 8 (sluggish, dull)  while British line get 12 and elite Guards might get as many of 16.  Better units can do more at critical times. But when your CP are gone they are gone.

OK, now it is your turn, and every unit on your side has done one free action. You may then spend a CP and do something else. Fire, remove a Morale marker or what ever. It gives you a chance to take advantage of something or react to what is happeneing on the table. BUT for every action there is a reaction and the enemy now gets to react against that unit and can either return fire at you or change position/facing.   But only against the enemy that spent that CP.   In a past game a Russian battalion removed a Morale pip by paying a CP. The British reacted by firing at the unit and puting 2 morale pips right on back (darn good shooting with the Guards who rolled four 6's). So you spends your money and takes your chaces.  This portion of the rules is what gets a lot of comments and attention from people who  have played this game for the first time. And rightly so. It is simple, inovative and fun. But I would recommend a GM to run the first few games you try to ensure you all stay on tract and not move ahead.  To track CP I put a sticky note under the command figure stand with the number of that units CP.

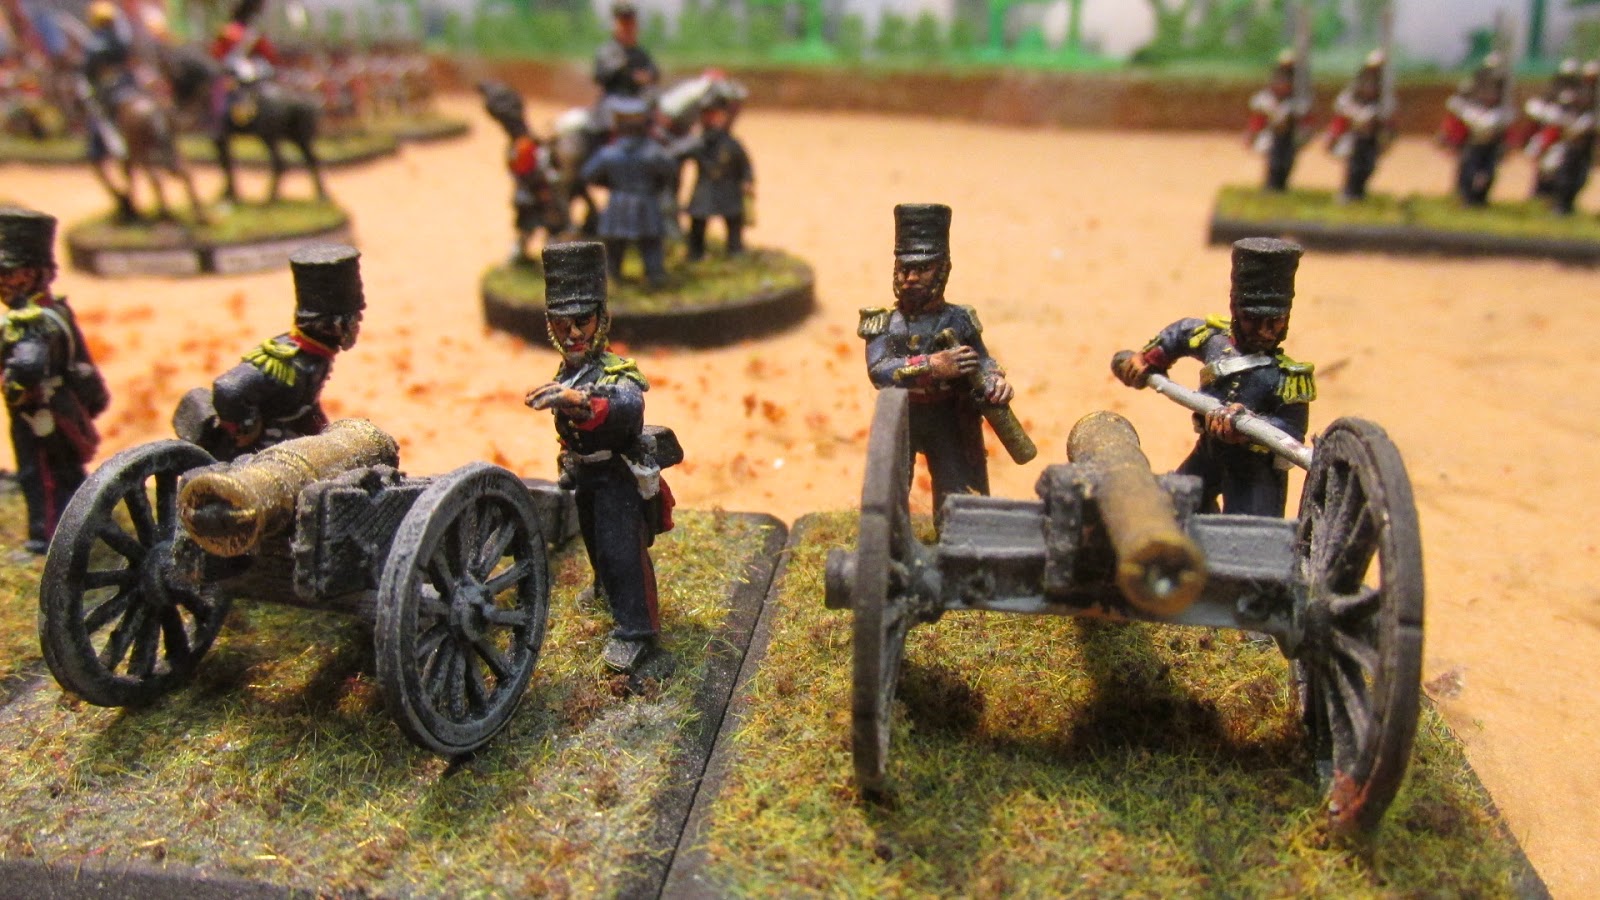
  Firing is simple. You throw 1D6 per stand for Infantry and 2D6 per artillery stand. Cross refinance with the firing chart for weapon vs. target and this gives you the chances for a hit. Since there is a possible saving roll you might not lose all those figures hit. Yes, the dreaded saving roll.  But here it takes the place of all those calculations you have to do with other rules.  Watch out for double 6's as they can cause a morale marker to drop onto your unit.  Each infantry stand has four figures. Once all four figures are gone you remove the stand.  Until then the stand fights on.

To me, the neat thing about this system is that you forget about calculation, tables and charts. Hits, saves and morale are all tied into each other. The save chart also brings a little of the old "national modifiers" into the mix. With Russians, who get saved on a 5 or 6 no matter how many stands are left you have to beat each one with a stick until they are all dead. You get that steady, dogged feeling you read about. The British start with a high save chance (they dodge bullets like the bat man said the rules auther) but as they loose stands save chances go way down so they wither away. A little fragile. Poor Johnny Turk never gets a save


Morale is a sneaky system that most folks don't think a lot about until it bites them! You get a morale pip for any number of things (crossing an obstacle, being fired at or having friends route past you). Since you subtract 1 pip from every die roll morale effects everything you do. Move, shot or fight it ties into morale.
In a past game a Russia commander with three morale markers on a regiment found out fast that he could not shoot, or save casualties with that unit. With morale markers, once you get into trouble it comes fast and furious. To me this is a superior system then used in many rules. The unit is effected, and everything it can do is effected.

Close Combats takes a bit getting used to since it is very different from most rules. You do not charge like in other rules. You move within 2' of the enemy. THEN, you would have to pay a Command Point or wait till next turn to close and fight. This gives the defender a chance to do something. Like blast the enemy with a close range volley that causes casualties or mabey a morale marker.  It is actually hard to close into close combat due to small arms fire.  But when you do it can be devastating.

  I really love these rules. The game feels like the Crimean to me based on my reading.  Also for a I Go U Go both sides get to do something so no sitting around. In my games Russians tend to form columns (or at least reinforced lines) and try and close with the British quickly.  (One player has nicked named them "Zulu's in overcoats.") Russian artillery is better then the allies and there is a lot of it.  Russian cavalry is, well, sluggish.  The British tend to want to shoot at things. And shoot a lot. Cavalry is small but very aggressive.  By the way small numbers of cavalry will not damage infantry who can usually shoot them down before they close. Many of my games have seen a single British battalion stopping massed charge like at Balaklva.  The French are interesting as their line have muskets while elite troops like Zouaves have rifles and  more CP.  So each army is very different from the other.  You have to work with what you have and get the best out of them.