Friday, March 12, 2021

Battles of Frenchtown 18 & 23 January 1813


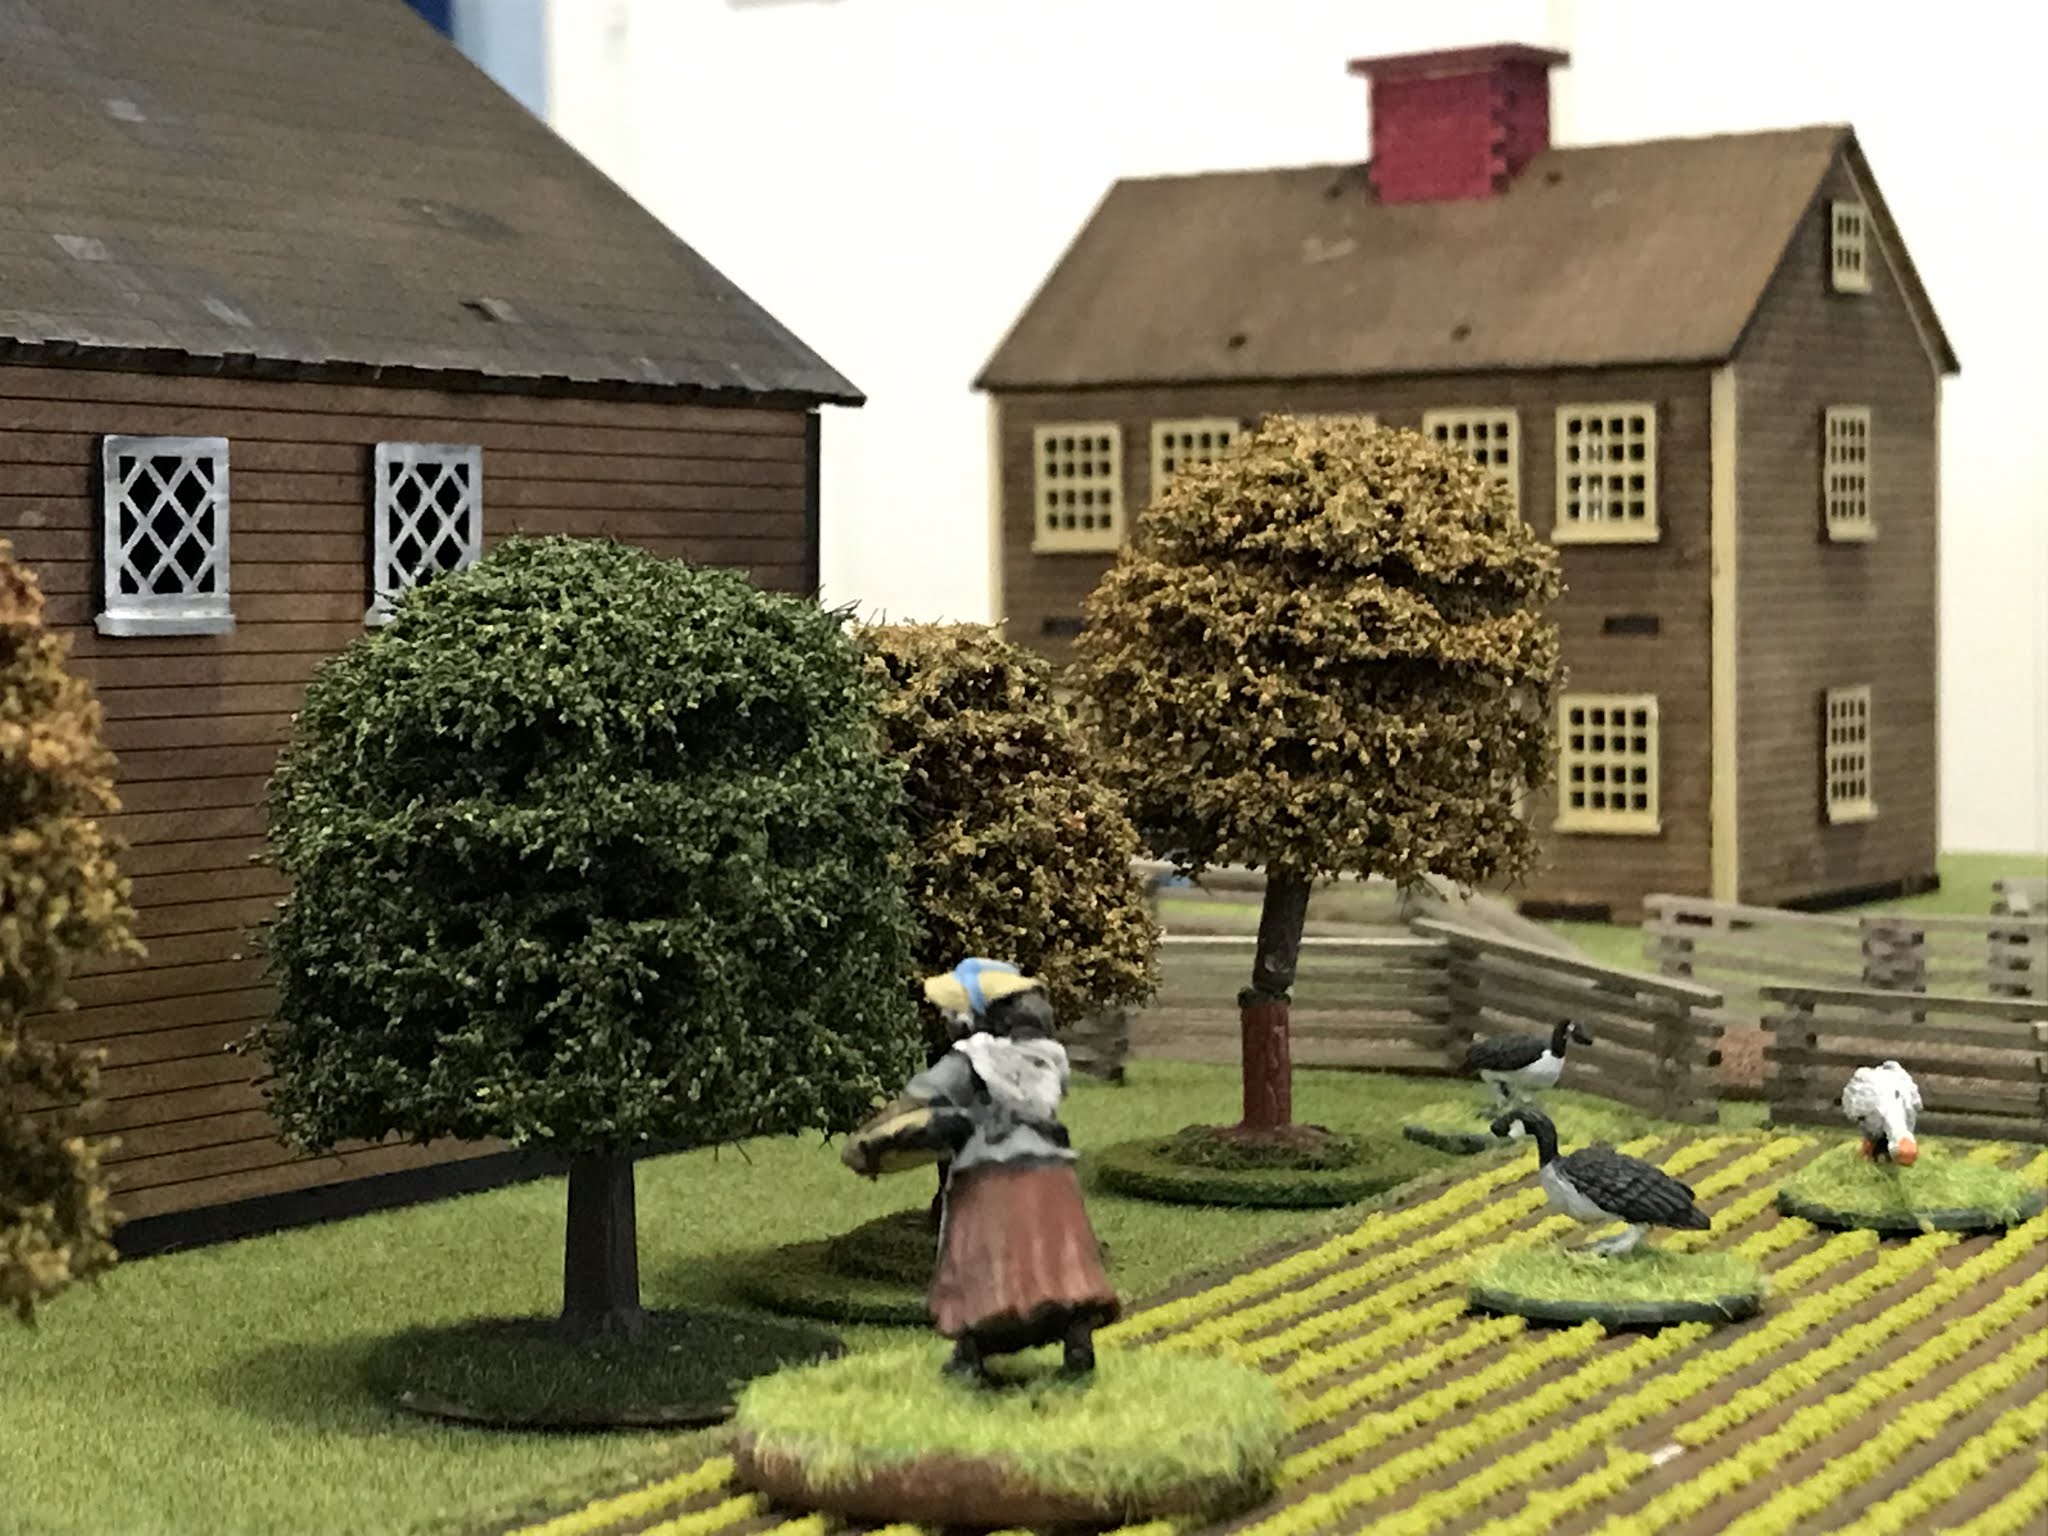
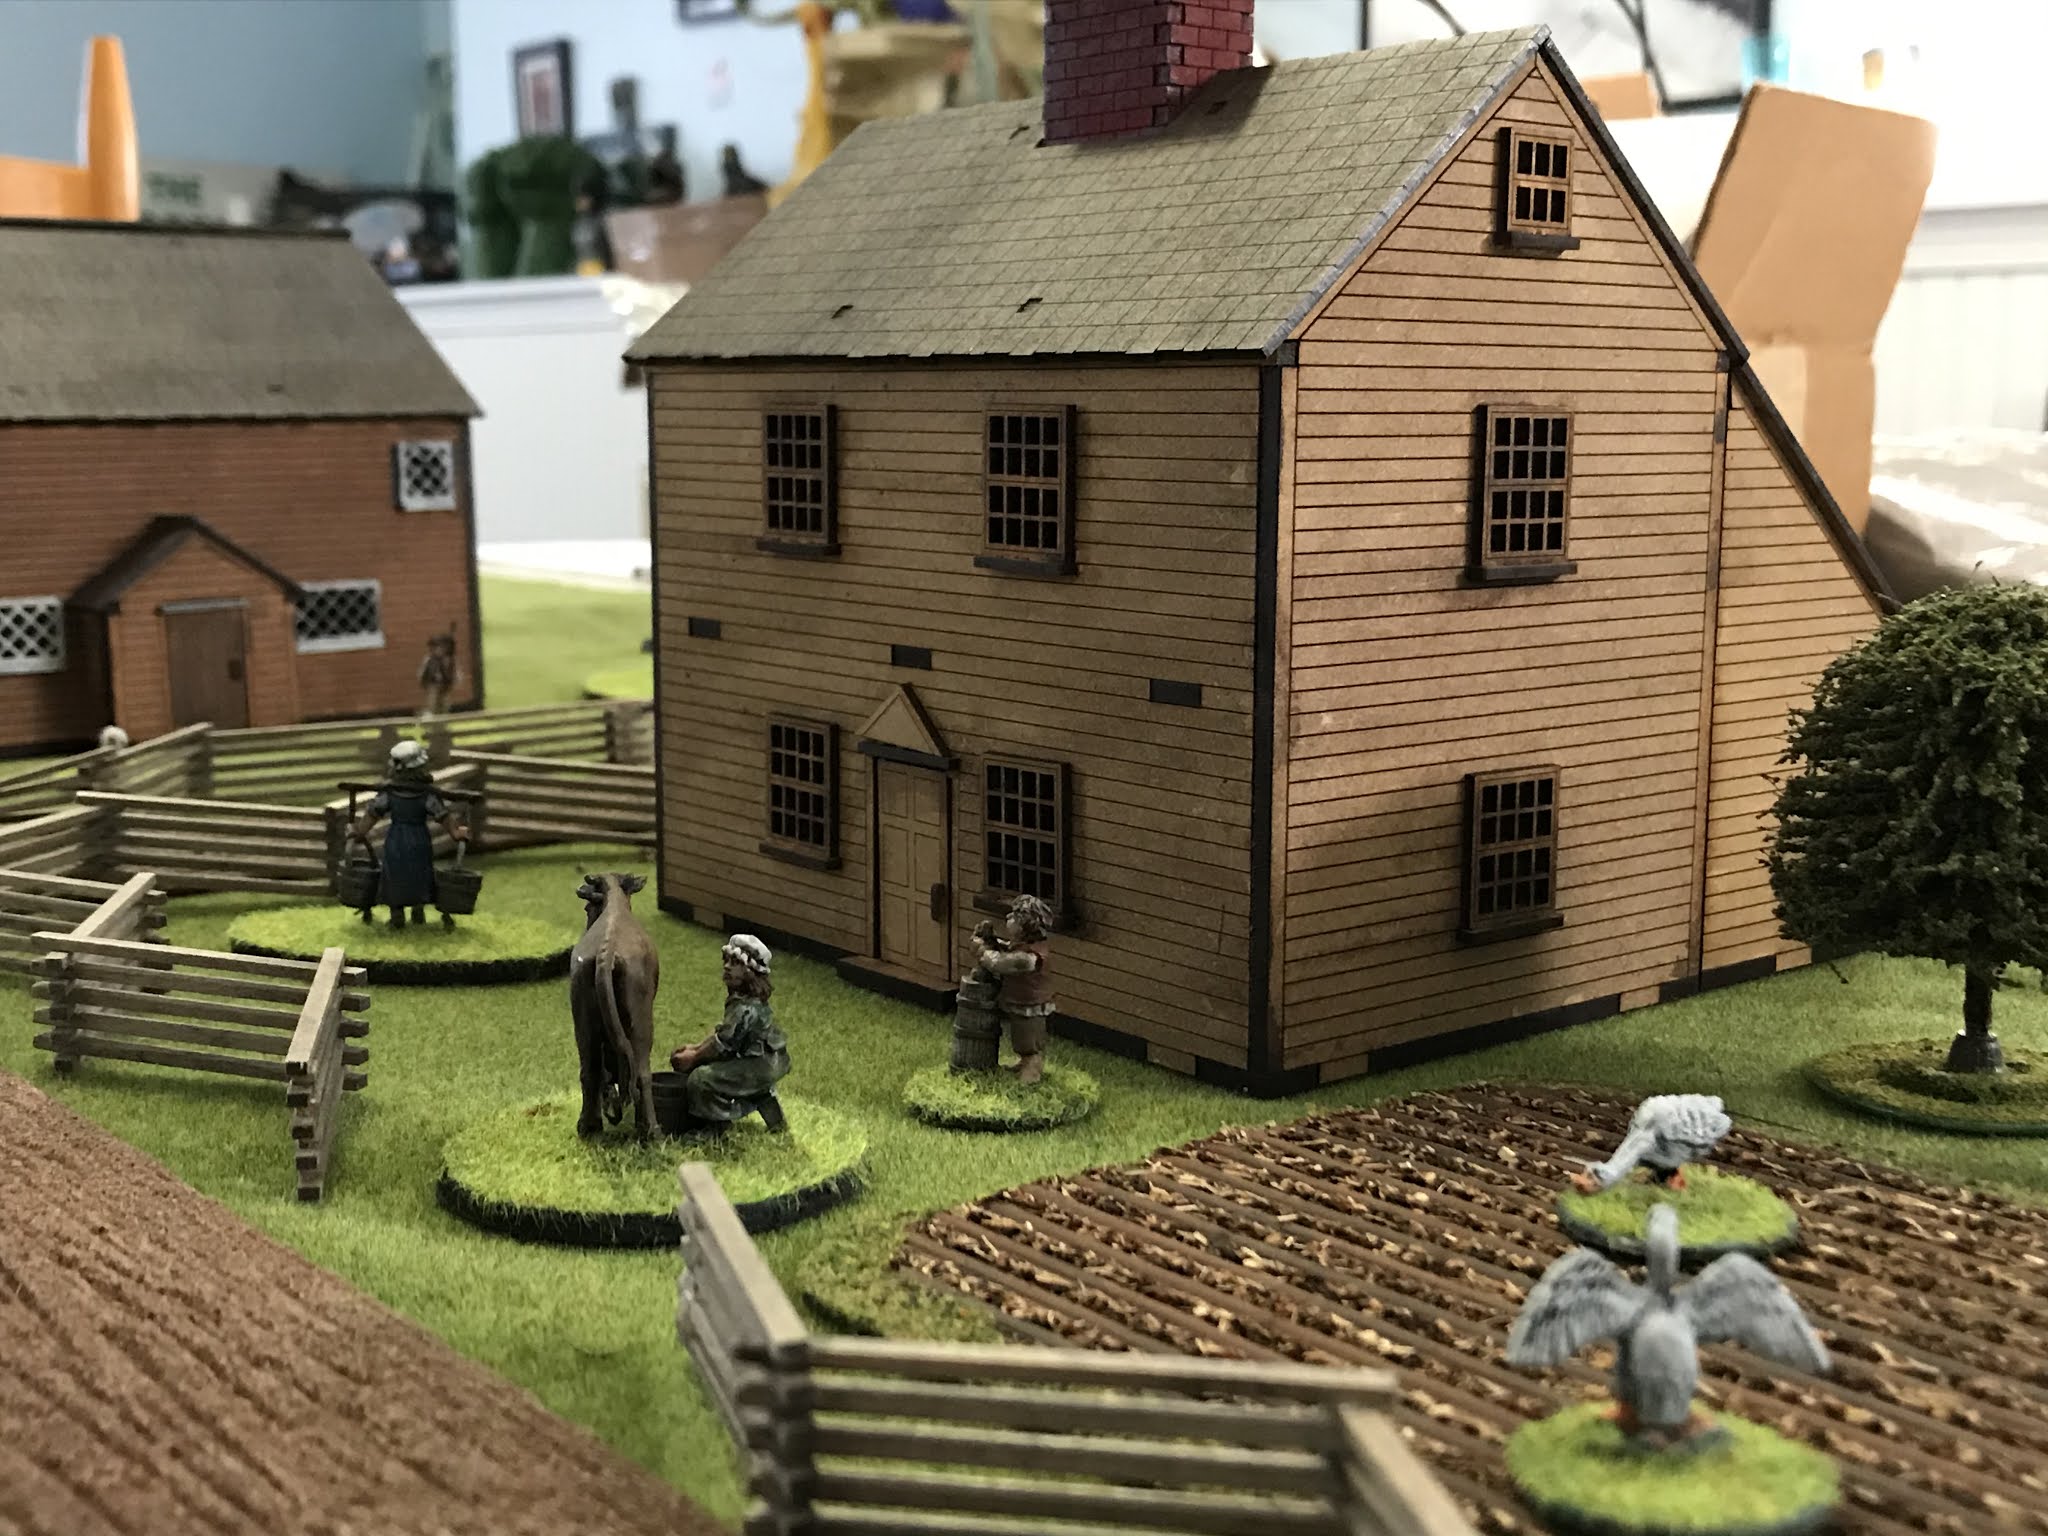
The Battles of Frenchtown, better known as the Battle of the River Raisin or the River Raisin Massacre, was a series of battles in Michigan Territory that took place from January 18–23, 1813.  These were two separate and different actions fought during the War of 1812.  They were also different from most battles I have fought in that the majority of troops were Militia, Volunteers and Native Americans.  The second battle did include small detachment of regulars for each side.  Both battles were fought in the winter so again these will be very different types of actions.  


Wayside from battle site of the second battle.


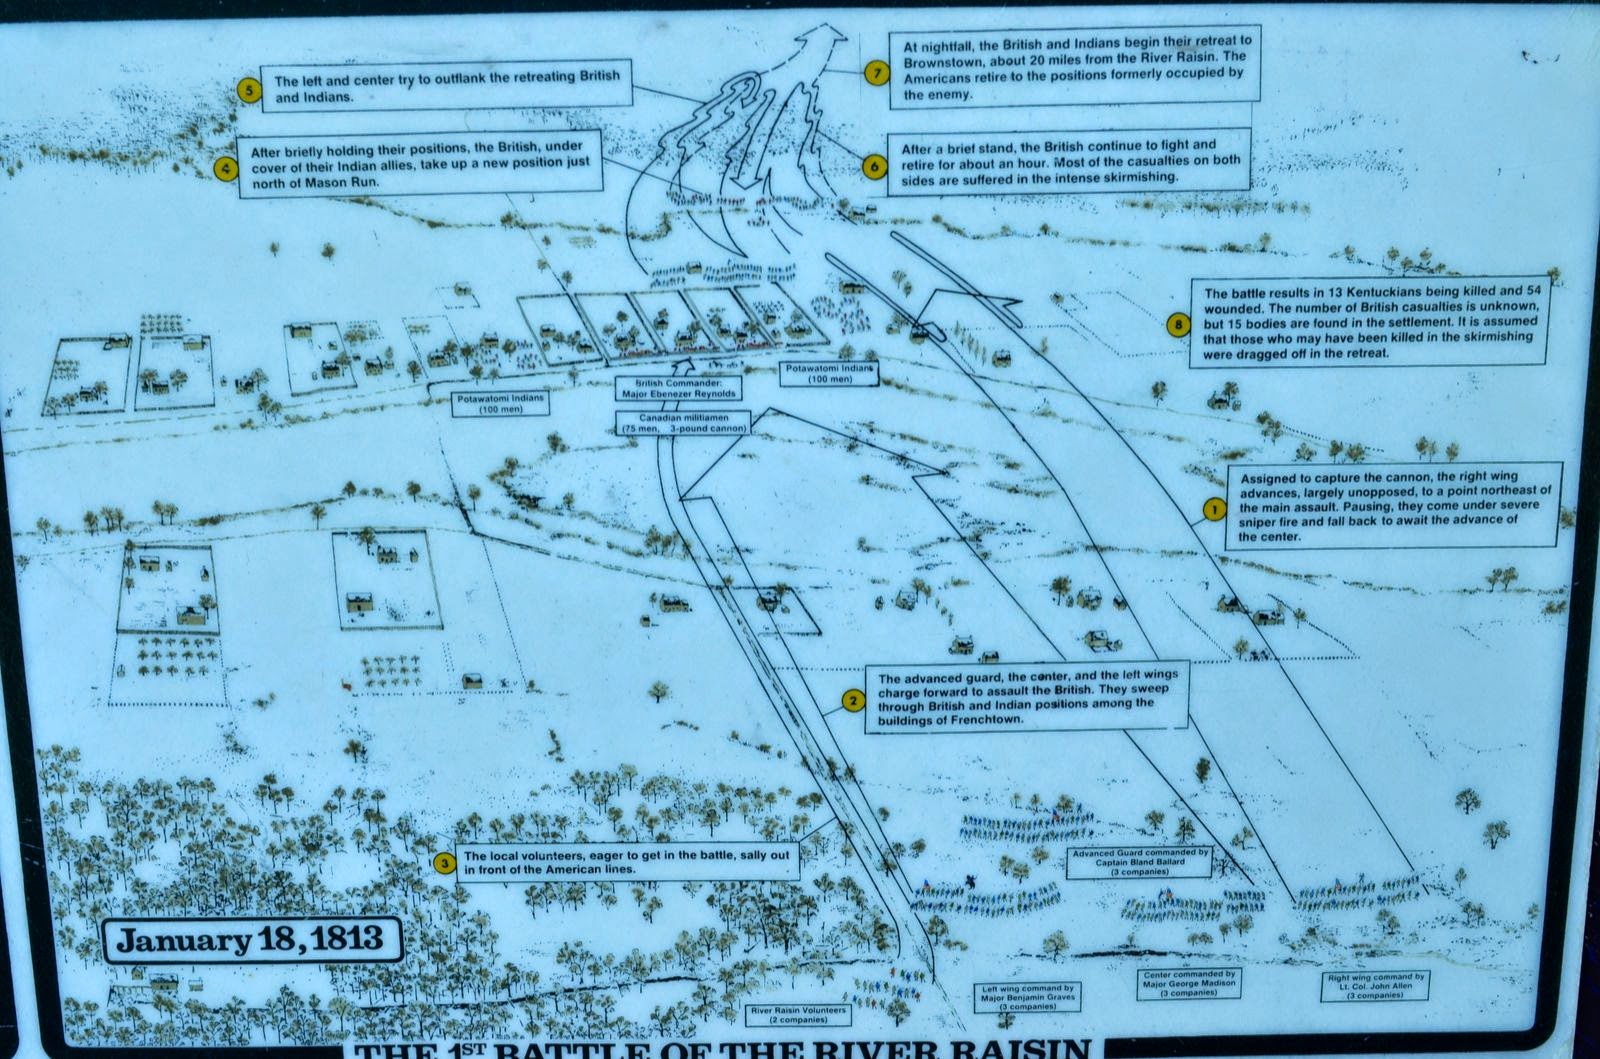
Wayside of the first battle.

For a quick history lesson here is a recounting of the actual historical events.  http://en.wikipedia.org/wiki/Battle_of_Frenchtown

The first battle (January 18) saw a American Force of Kentucky Militia and Volunteers capturing the village from a smaller group of Indians and Canadian militia.  The second battle saw the British/Canadians recapturing the town.  Both sides included regulars and the British had two small cannon.  The battles were  better suited to a skirmish action or a Sharp Practice type game.  I am upping the number of figures per each unit but keeping the ratio of figures per side to fit my collection.  So this will not be a full historical recreation.  More of a Hollywood based on type story.

Order of Battle:

18 January:

Defending the village of Frenchtown:

Canadian militia regiment (24 figures)

Native Warriors (12 figures)


American attacking force:

2x American militia regiments (24 each)

1 x Rifle regiment (12 figures) 


January 23;

Americans defending Frenchtown

2 x Militia regiments (24 figures)

1 x Rifle unit (12 figures)

1 x US Regulars (24 figures)


British Canadian attach force:

1 x British Regular (24 figures)

2 x Canadian militia (24 figures each)

2 x Native Warriors (12 each)

Royal Artillery (2 x light guns)


Thursday, March 11, 2021

Got my first Vacine Shot!


Today, 11 March I got my first Vivid Shot!  The first step on the road to normalcy.  It was the Pfizer shot and so far I feel fine.  No issues.  


The second shot is scheduled for April 1st.  Someone has a sense of humor.


Friday, March 5, 2021

Remember the Alamo


Back in March 2015 Jane and u took a trip down to Texas with our friends Scott and Arline.  We visited a number of sites connected with the Texas War for Independence 1836.  But the highlight was of course seeing the Alamo.  An unexpected part was stumbling on the History Shop as we were walking over to the Alamo.  Inside was am amazing diorama built by Mark Lemon.  It was about 15 feet long and incredibly detailed. Images of it was used in his book, "The illustrated Alamo 1836."  There was a sound and light show around it and Phil Collins narrated the events of the siege and battle.  Well worth while and very well done. I have recently read the store closed and I do not know the fate of this incredible model.  But I found these picture and hope you enjoy them on the anniversary of the battle.


Tuesday, March 2, 2021

More pictures of my growing village


 Just an excuse to post a few mire pictures of the growing village of houses from Things from the Basement.  One thing these pictures have shown me us the need to get some sort of background picture!  I do not think people want to look at boxes and other things in the room.  Also, most of the fun items scattered throughout these pictures like the geese, sheep and cat are from the Hovels catalog.  They are fun items which add a lot to your table top terrain.


Monday, March 1, 2021

St. David's Day


  " 1st March 1775;  This being St. David's Day the officers of the 23rd Regiment, or Royal Welch Fusiliers, dinned together according to the custom.  All the General & Staff Officers, the Admiral, and several other person's were invited to dine with the Regiment...."

From the diary of Lieutenant Frederick MacKenzie.


   The "custom" was on each Saint David's Day following dinner the regimental goat with the drummers and fifers are led around the mess table.  The drum major has a silver plate with raw leeks and the mess sergeant carries a loving cup filled with champagne. They halt by the newest joined officer who then stands on his chair with his left foot and places his right foot on the table and eats a leek while the drummers play a continuous roll.  Once he has consumed the leek he is handed the loving cup and before drinking toasts "And Saint David!"  All present who have not eaten a leek, including guests are expected to do so. Similar ceremonies occurs in the sergeants and the other ranks mess.  This custom, described as "ancient" in 1775  is still observed in peace and during war time up to the present time.


Friday, February 26, 2021

Painting 18th Century New England Houses


For those of you that may buy the historical New England  buildings from "Things from the Basement" and are curious how to paint  them here is some historical information I found.  The following information was from the Ipswich Historical Society web page.   The original article can be found here:   https://historicipswich.org/colors/)


This is a great guide they created to help home owners paint their older homes to stay within the colonial period.  Please consider that this guide is for New England.  Other regions of the colonies and Canada were different both in architecture and style.  Also that this is just a guide and not a definitive end all authority.  I have followed it in my painting for houses for my American Rev War and War of 1812 houses.  I post it here to explain why I did what I did and to help out others.  If you have different or other information please feel free to drop me a line.  I am always interested in learning more.


 COLONIAL AND FEDERAL period from 1640-1840. Paint was used on the three main parts of Colonial and Federal houses exteriors.  These were:

Body: the walls – usually clapboarded or shingled, sometimes boarded.

Trim: the decorative woodwork that framed the large wall surfaces and often the smaller elements such as windows and doors.

Sash: The movable elements – doors, windows, shutters.

Period houses rarely painted trim and sash in different colors and so were generally of two colors only; later styles often had three.


Colonial Period (1640-1780)

Architecture: asymmetry, verticality. 17th-century colors were derived from earth, stone or other natural pigments.

Body: clapboards, originally not painted or stained but weathered to dark brown. 

Trim: Unpainted or painted red/ brown to contrast with unpainted body.


Second Period or Georgian (1725-1780)

These houses favored stronger colors from naturally derived pigments. Colors imitating stone construction were popular exteriors, interiors were bolder and brighter than once thought.

Modest and rural houses often not painted. Strongly contrasted color schemes favored.

Body: dark stone colors, chocolates, orange, ochers, greys and reds.

Trim: Almost always white, but a softer, yellower white than today’s white. Cornices, window and door casings, cornerboards and molded details often simulated stone – pale grey, yellowish-white, very pale blue, sometimes with sand blown into the wet paint.

Doors: always dark color – chocolate, red, green or blue.

Roofs: occasionally red, chocolate or yellow


Federal Period (1780-1830)

Fashionable taste moved away from the more robust Georgian toward lighter colors: white, off-white, pale shades of stony gray, and ochre. Bright, clear tones in interiors, often in contrast with pale trim – creams, pumpkins, sage green, muted blues etc. The 1812 painting guide by Hezekiah Reynolds of CT advised a palette of “white, cream, straw, orange, pea-green, parrot green, grass green, red, slate and black.” Lighter colors were fashionable, but darker ones were still used for more traditional tastes. Contrasts were less marked than on Georgian houses.

Body: White, cream, straw were fashionable, but orange, pea-green, red, slate met more conservative, traditional tastes.

Trim: White, or sometimes the same color as the body. Shutters and doors were dark green or black.

House fronts were sometimes painted in fashionable, lighter (and more expensive) colors, while the back and/or the sides were in the more traditional, and cheaper, reds.

Rural houses were often unpainted until the middle of the 19th century


Tuesday, February 23, 2021

New England houses from "Things from the Basement"


   In addition to the Salem Meeting House Things from the Basement has also released two New England style houses.  These can be built as is, or you can add the extension kits to make them into the traditional salt box style homes.  I have chosen to add the extension as I really like that style and worked inside that type of house during my career with the park service.  Both houses are alike so I will just describe building one of them to give you an idea of how they go together.  A second post will go into how to paint these period houses and how I painted them.

  First off I lay out the parts sheet to familiarize myself with them.  After downloading the assembly plans from the site I am ready to start putting these together.  I use superglue to assembly the building.  I then usually add a beading of white glue along the inside edges for added strength.  


  One of the nice details is the windows of these buildings.  There are two parts and you snap out the windows and ledge you want.  I tend to do these all at one, assembly line fashion.  Glue the window to the ledge and then push it through into the opening.  These give a nice effect and each has great details.  


Also note there are two doors for each building.  One fancy, which I will use for the front and the others plain which I will use for the back.  


Next step is glue the four walks to the floor.  Again take A moment to fit the pieces together before you glue them.  You may want to secure them with a rubber band as they dry.  There is a second floor to the building which you can just drop in.  This is for skirmish type gaming.  I glue the floor for added strength as I do not bother putting figures into the buildings.  I also glue down the roof but you do not have to.


Lay out the chimney assembly.  I suggest carefully fitting it together before gluing.  Its a little fidgety so take your time.  Same with adjusting the roof around it.  Make sure the glue is dry on the chimney and take your time fitting it together.  When done fit to the house.  You can glue it to the house or not to fit your games.


  Lastly, once together I assembled the extension.  No need to go into the details.  It fits to the main house easily.  once done you have a great little house put together to grace your table top terrain.  Well, actually two houses with this kit!  


Next time I will go into a little about historical home colors in New England in the 17th and 18th century as well as how I have painted these homes.  See you then! 


Hey!  Get your chickens off my lawn!


Update:


The second one house you get in the package us slightly different then the one I built here.  So you get two of the same house types but both are slightly different. More value for the money. Well done!