
Here we go with the second of three table top battles based on the river crossing scenario devised by Norm on his blog "Battlefields and Warriors. " For details of the game please reference back to the previous post.

Set in 1814 on the Niagara Peninsula an American and British force are attempting to capture a major bridge crossing. Because of its importance the bridge cannot be destroyed but must be captured intact. Both sides have similar sized forces which reflects the armies of their time period. Victory conditions are to capture and hold both sides of the bridge by game end. If either force is reduced to under 50% that side must retreat off the board and has lost. In addition both sides may select one unit to out flank the enemy and appear on a random turn on the enemies flank across the river. I rolled to see which side of the table to set up on. I also came up with two battle plans for each side for what they wanted to do.

Order of Battle
American Army
General Brown Commanding
Unattached:
New York Militia Dragoons (6)
Ritchie's battery US Artillery (24)
1st Brigade: General Scott
11th US Infantry regiment (24)
22nd US Infantry regiment (24)
25th US Infantry regiment (24) (turn #3) (Elite)
2nd Brigade: General Ripley
1st US Infantry regiment (24)
21st US Infantry regiment (24)
23rd US Infantry regiment (24)

British/Canadian Army
General Drummond commanding
2nd (Light) Brigade: Lt.Col. Pearson
100th Regiment of Foot (24)
Glengary light Infantry (GLI) (24)
Incorporated Militia Upper Canada (IMUC) (24)
3rd Brigade: Lt.Col. Morrison
8th Regiment of Foot (24) (elite)
41st Regiment of Foot (24)
49th Regiment of Foot (24)
Unattached:
Royal Artillery
Niagara Light Dragoons (6) (enter turn #3)
After rolling for sides the British/Canadians set up inside the river bend. The Niagara Light Dragoons were sent on a wide flanking march. The Americans set up opposite them with the 25th US Infantry detached to out flank the enemy.


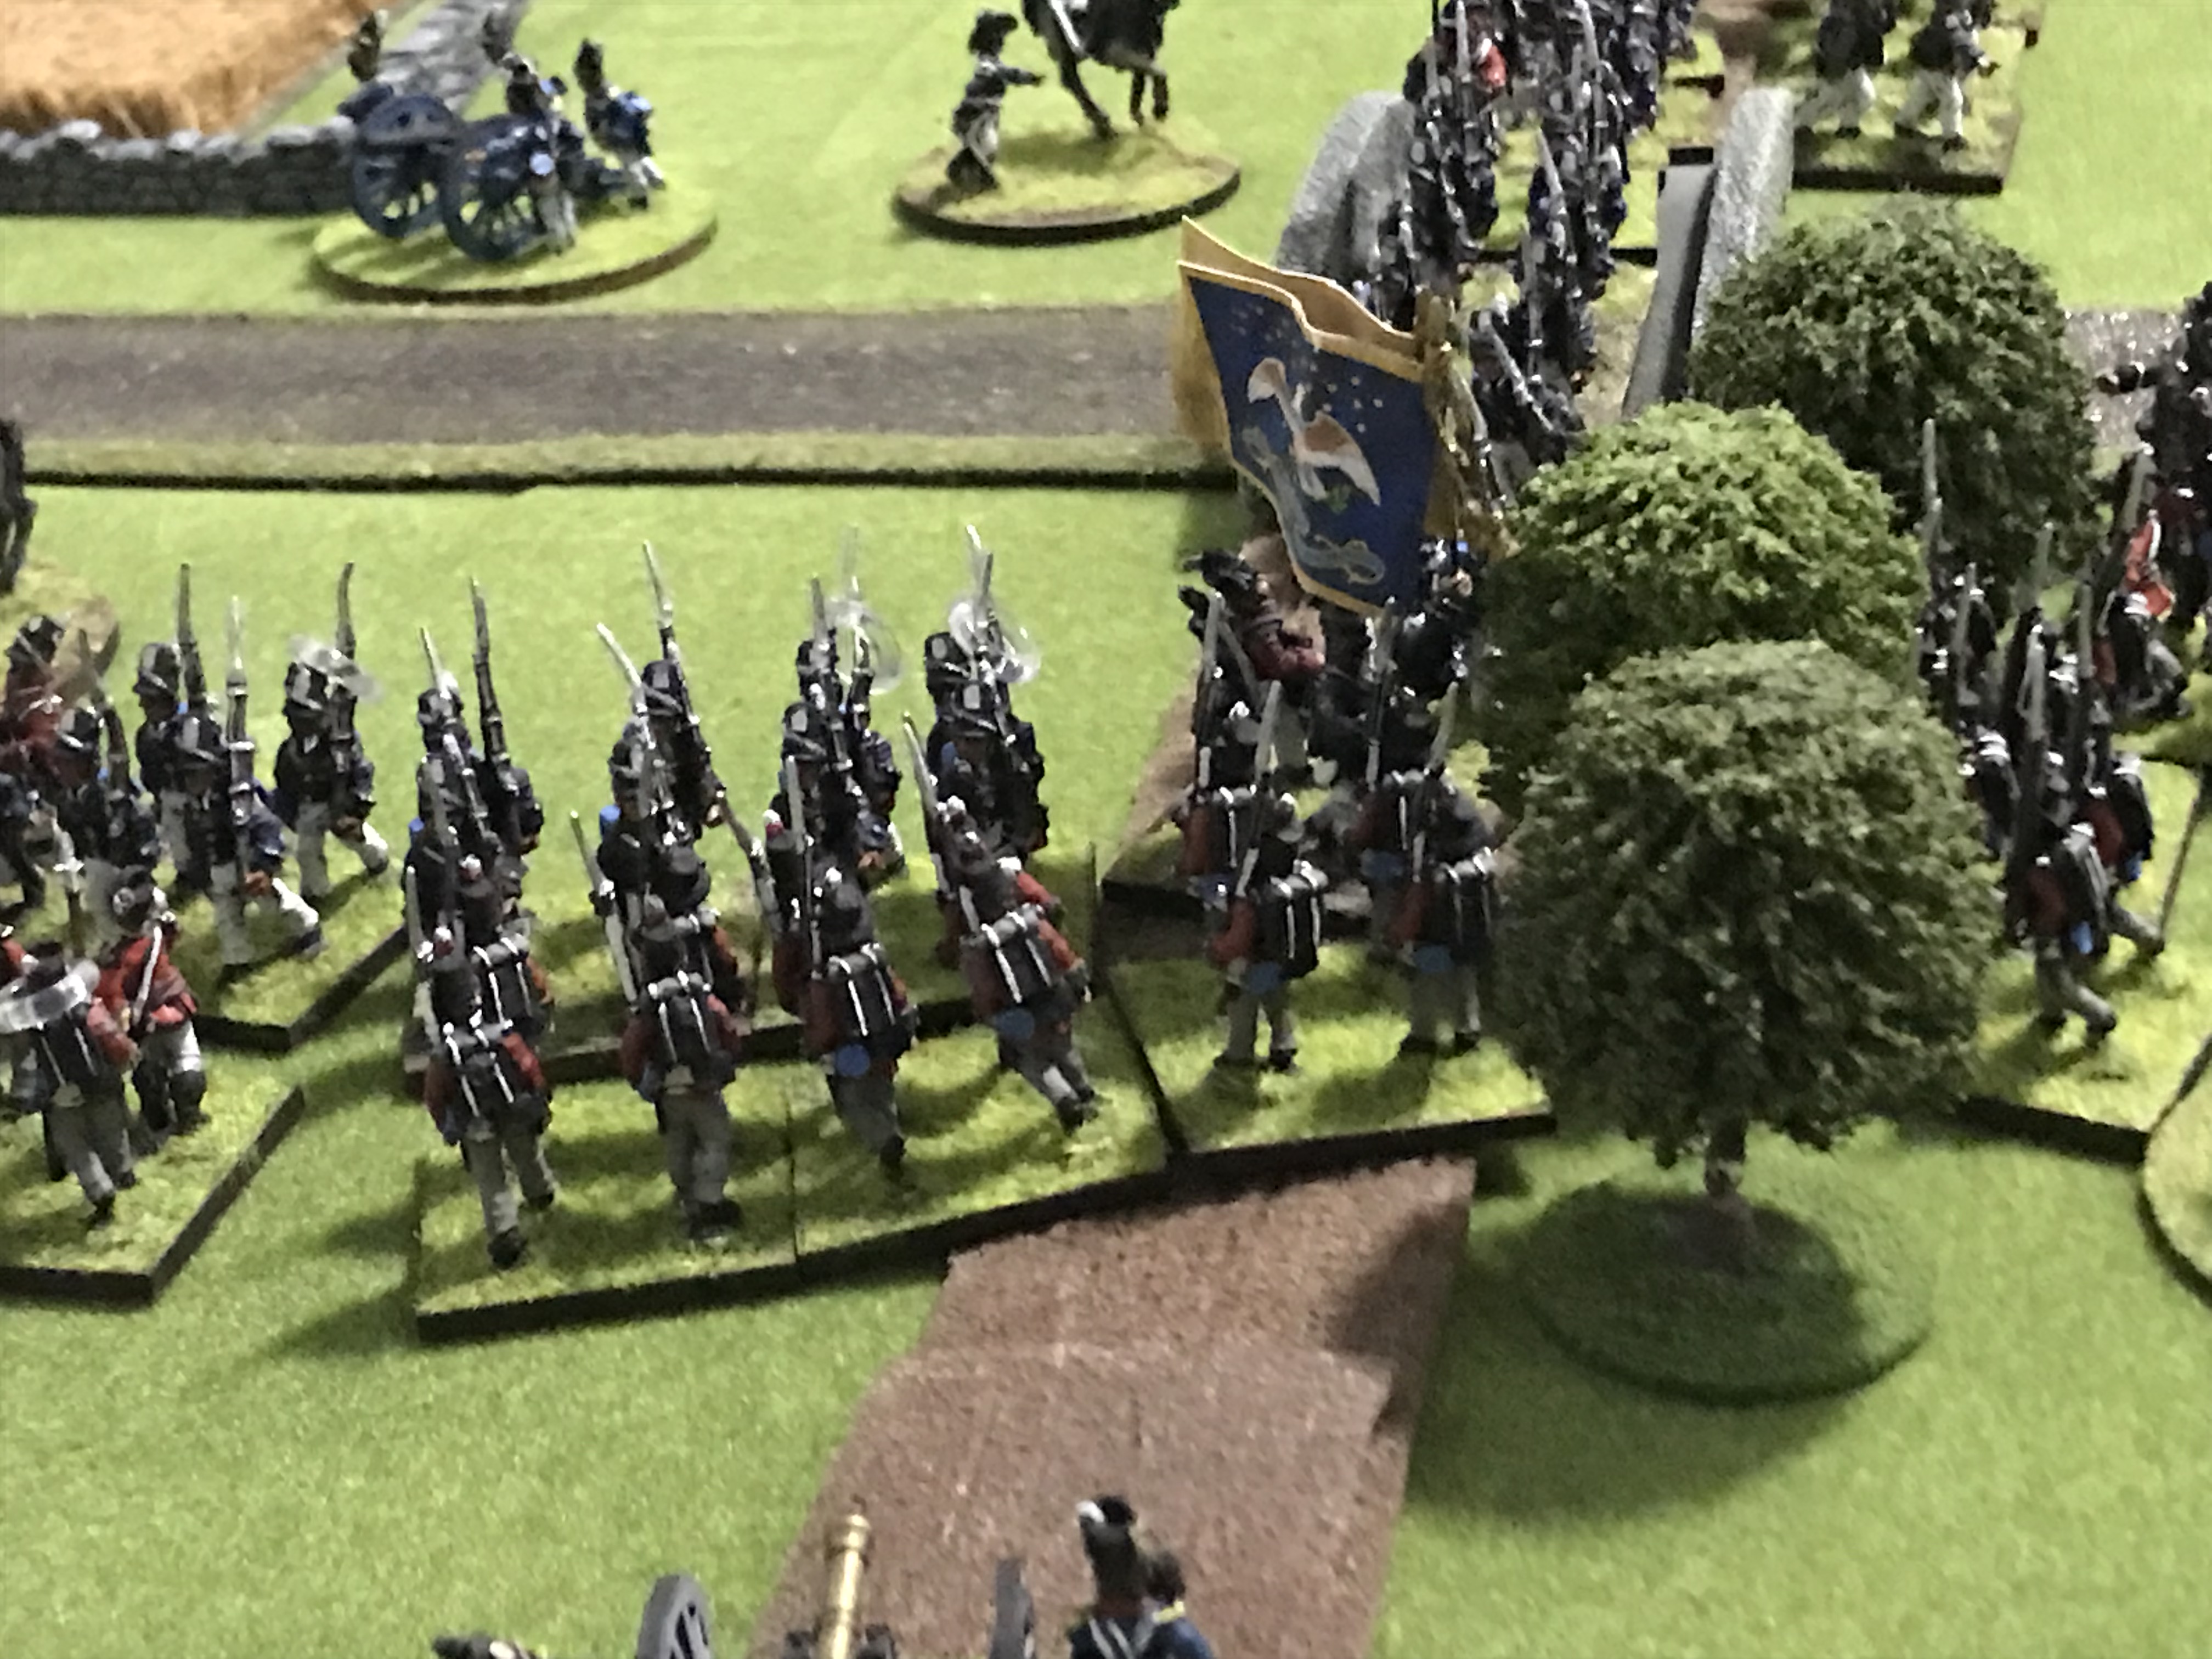
On the first move both sides moved up towards the river. Pearson sent the GLI forward in skirmish formatuon with the IMUC in support. The Royal Artillery unlimbered in the road with a clear view to the bridge. Morrison advanced with the 8th and 41st in line and the 89th held back to guard the flank.


General Ripley advanced the 21st and 23rd US infantry towards the stone wall enclosure with the 1st deployed to guard their flank. Ritchie's Battery in lumbered in the center. Scott advanced the 9th in line with the 22nd in column ready to advance up the road.

The NY State militia horse set up by the woods to guard the flank.
For the next two turns both sides exchanged artillery fire. The Americans attempted counter battery fire while the British concentrated on infantry. Neither side made much damage.


But on turn three things got interesting. By a coincidence both sides out flanking force arrived on the table. The 25th US moved up to and exchanged fire with the 89th Regiment. The Niagara Light Dragons charged the NY Militia Dragons and drove them back but the militia horse rallied and returned to the fight.

Fighting broke out all over the board. The 25th US charged the 89th Regiment. Although the British got a volley in it did not stop the 25th US who closed. In the ensuing melee the 89th's morale failed and they routed back.

The 8th Regiment moved forward to try and stop the Americans now crossing the bridge. Although taking heavy casualties from the 8th and Royal Artillery the 9th US held firm. The Americans pushed their infantry to cross the bridge as soon as possible.
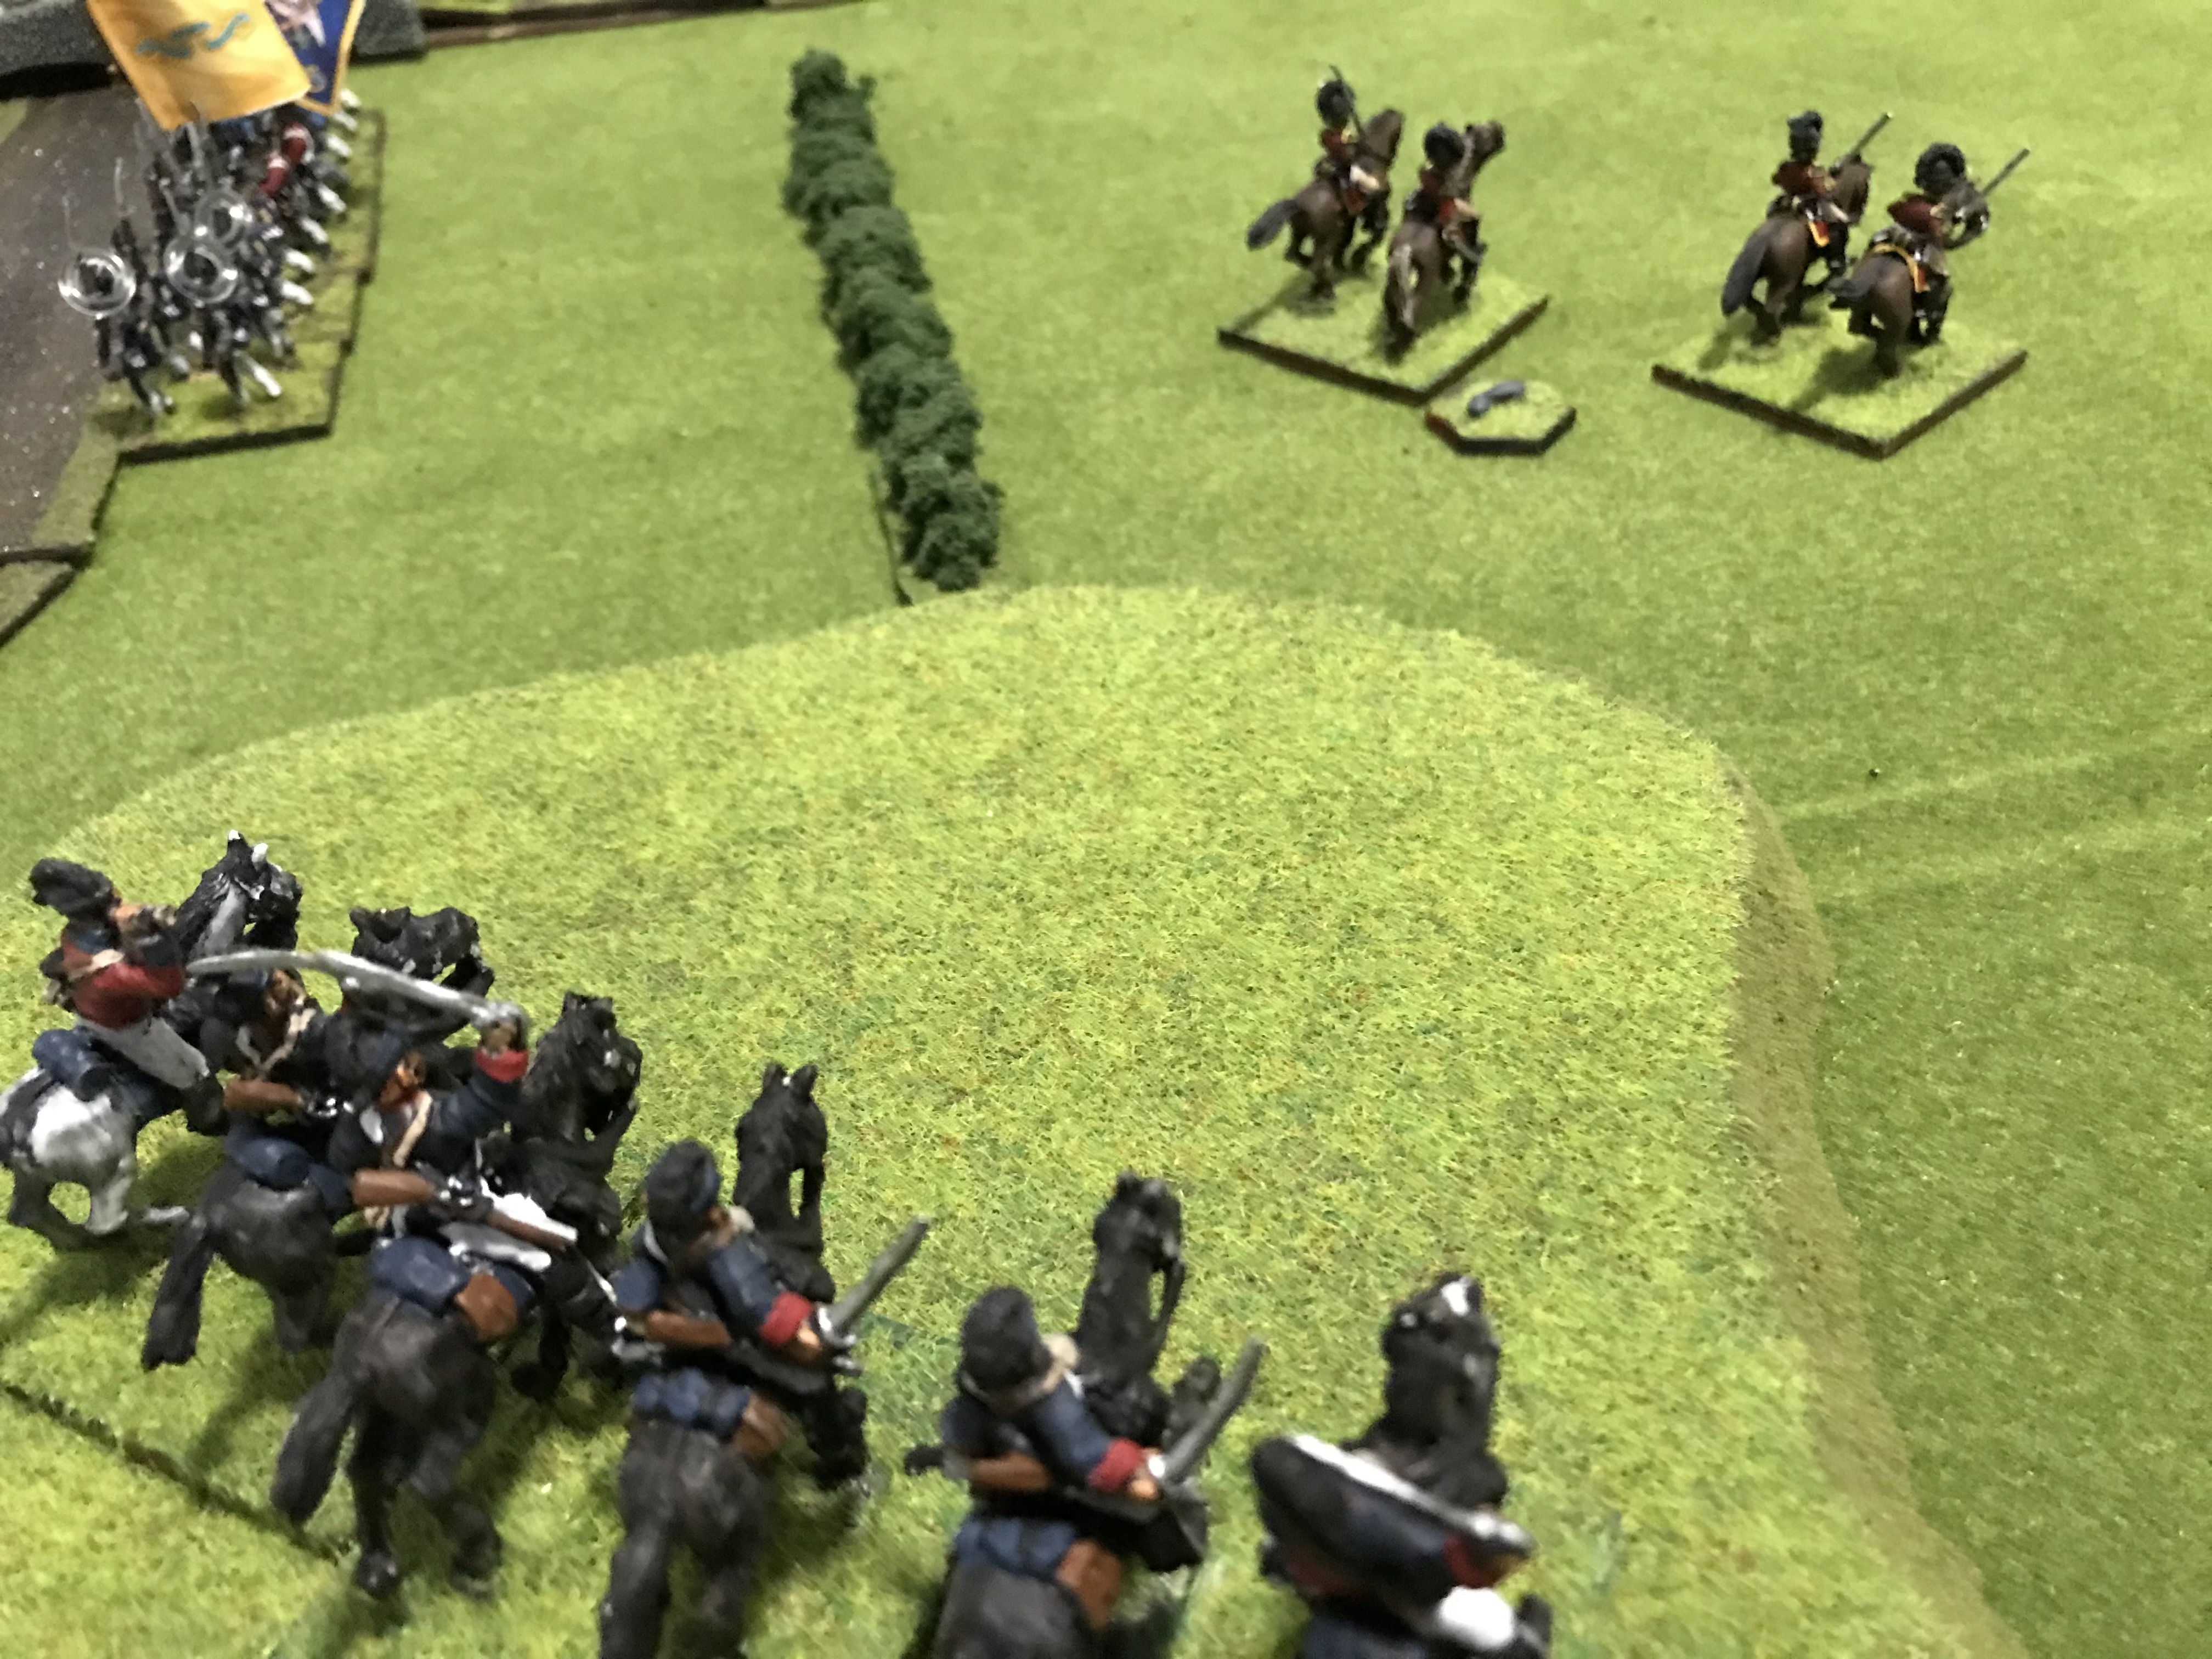
This time the Niagara Light Dragons broke the NY Militia horse who were sent racing away.

The 8th Regiment held firm against the 21st US and 22nd US holding the center.

As the 23rd US crossed the bridge they received heavy fire from both the Royal Artillery to their front and the IMUC to their left flank. They passed the morale check but had lost heavily.

Flushed with their victory over the 89th the 25th US charged the 41st Regiment. The British regiment passed their morale and turned to face the attackers. In the melee both sides loss men but the 25US failed its morale and retired shaken. The 41st followed up its victory by driving the Americans off the board.


The American line in front of the bridge now crumbled. Although they had forced the 8th Regiment to retire the 100th Regiment moved up to restore the line while the 41st returned to turn the American flank. The IMUC now came in on the opposite flank and the three decimated American regiments collapsed in retreat. The American commander threw in his hat and the game ended.
The bold strategy that had won victory in the previous game did not work out as well here. The more cautious British/Canadian forces held firm. Again this scenario provided a fun and exciting game which came down to the last die roll. The game had worked well in both periods. Can it work well in a third time period? Stay turned as the Crimean armies are set up next!
Another wonderful looking table and very believable scenario Mark, I am really enjoying your trial of Norms theory! I am expecting a third British victory in the Crimea in due course!
ReplyDeleteThank you! I think for the Crimean I will use the French division vs the Russians. Just for something different.
DeleteThanks Mark I enjoyed this very much and of course seeing your lovely armies in action (fave photo - the close up of the Royal Artillery).
ReplyDeleteThank you for the very kind compliment. I am enjoying b the game very much and its a challenge. Rereading your battle with great interest. I think this one is a winner!
DeleteAnother fine action there Mark and interesting to see how the game unfolded. Norm's tweaks regarding finding fords to add some variety to the scenario were not needed here it seems. Looking forward to the Crimea:).
ReplyDeleteThe game was much closer then it appeared. If the 41st had broken it might have given the US time to bring more troops across the bridge.
DeleteI have not included Norm's tweaks as yet. I do like the hidden fords but will stick to the original for the final action.
Another splendid looking and sounding game Mark…
ReplyDeleteA good close finish as well… which always makes things more fun.
And as always it’s great to see your War of 1812 toys on the table.
All the best. Aly
Thank you!
Delete