
The game starts with the British 24th regiment having surprised the American skirmishes at Sucker Brook. The rest of the British are in column marching down the trail. The American Continental line are forming march column on monument hill heading towards Castleton. Both sides have rolled for possible reinforcements and the turns they will arrived are marked down. Rules used were Loose Files and American Scramble. All figures are 25mm.
Rather then a straight simulation of the historical battle this game includes possible reinforcements. I have also rounded up the unit strengths but kept the figure ratio. Lastly, I will use the battle to explain how I play the rules. These include house rules and my interpretation.
And now onto the battle!
Turns 1& 2


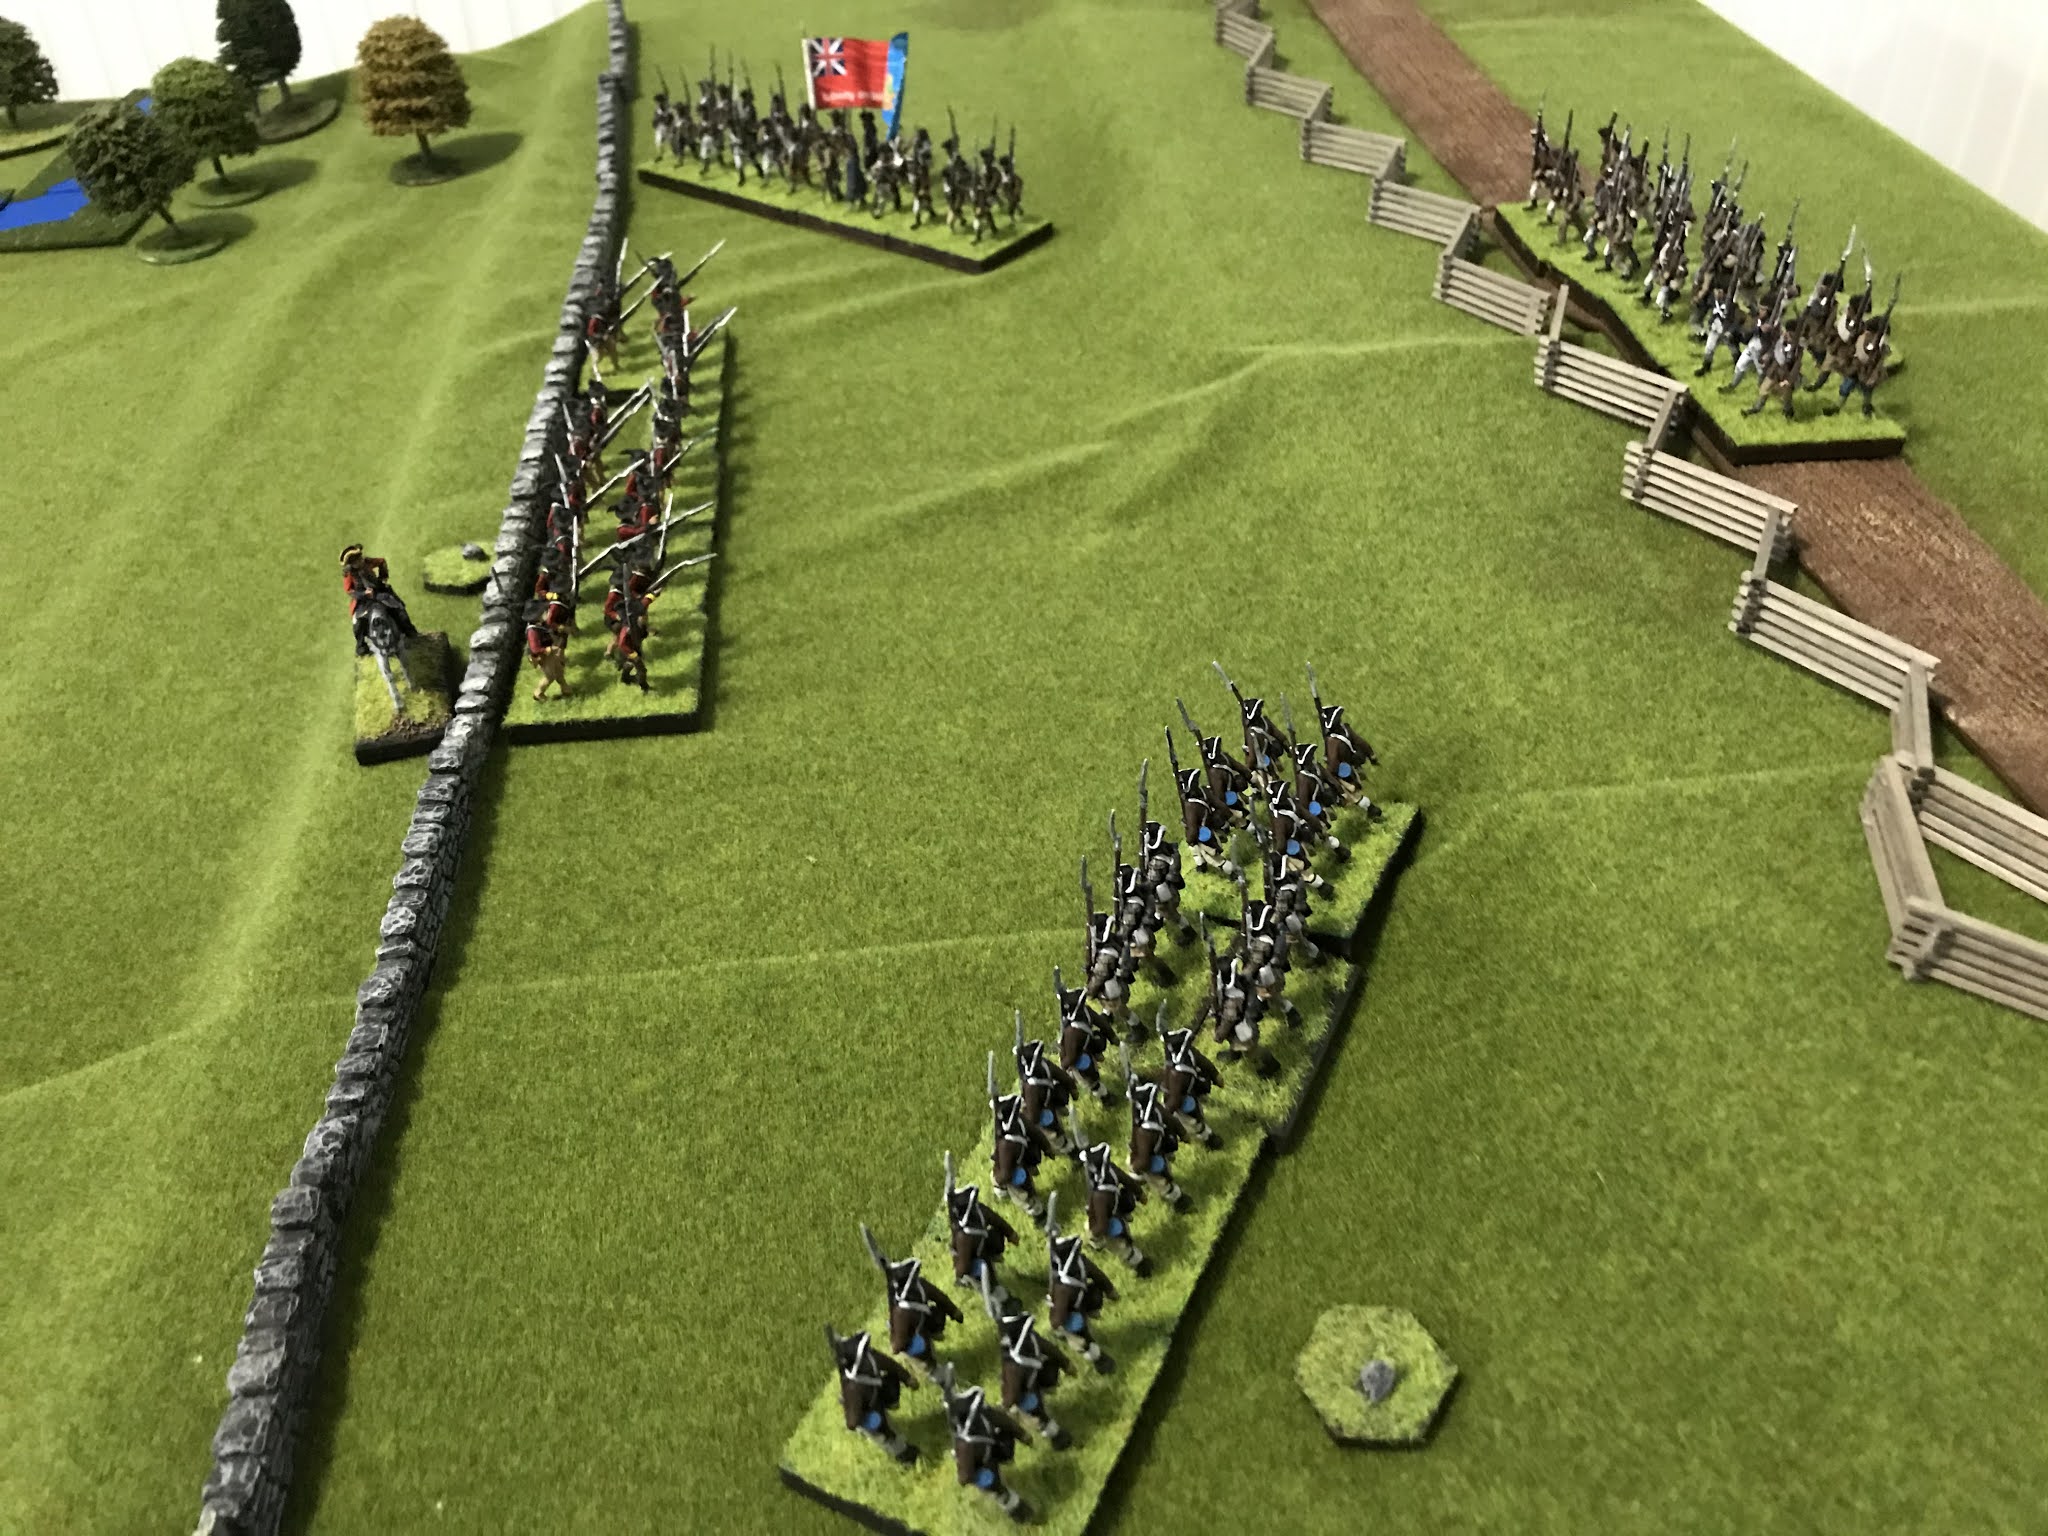
Up on monument hill the Americans change facing and move up to the fence line. The nect move move they cross the fence line (and take 1DP each for this). They make for the stone wall on the lower slope and await the British.
Turns 3 & 4 & 5:
The 24th and Light Infantry cross the brook and form line to advance against monument hill. General Fraser rides up to the 24th to remove the DP's (note if a line regiment stands in place for a move it removes a DP. Generals can use there Command points to also remove a DP).

The Grenadier cross the brook and advance against the retreating skirmishes.
THe Continental line await behind wall. They have removed the DP's from crossing the fence and are in excellent shape to await the British. They are uphill and behind a stonewall.


But during their movement turn Warner moves his regiment off the hill and threatens the Grenadier's flank. The Grenadier turn about to face the new threat.
The remaining Americans on monument hill start a long distance shoot against the advancing British. The few hits are quickly rallied off before the British continue their advance.
Turn 7:

The two American militia regiments arrive on the table edge. Fraser wonders where are the Brunswickers!

The Americans along the stone wall fire a long range volley which puts three DP's on the 24th, who half in place to rally one off. Line regiments remove a DP if they stand fast for a turn.


Note, casualties are three figures. Thus gives the unit a -2 for for the rest of the game.
Turn 8:

Both American regiments behind the wall now check morale due to the retreat of the center battalion. They each get 2 DP for seeing the battalion retreat. During movement they fall back a half move facing the enemy.
The Grenadier charge and rout Warner's regiment. But at the sane time the two militia regiments arrive on their flank partially hidden in the woods.
The 24th, with three DP is rallying and trying to remove one before it can do anything.
Turn 9:


Warner's regiment halts behind the stone wall. The militia who are in range open a long distance fire on the Grenadier causing 4 DPs! The Grenadier battalion now has 5 DPs and is in a world of hurt. any further DP will result in casualties.

Up on the hill the Lights fall back behind the stone wall and are joined by the 24th.
Turn 10:

The Grenadier fall back away from the woods. The lights and 24th hold and rally off DPs. This gives the Americans time to retire behind the rail fence. Warner arrives atop the hill to help rally the troops.
At this point things are not looking good for the the British. The Grenadier battalion is disordered and the militia are going to continue to snipe at them. The American Continental line us once again snuggly secure behind cover and in good shape. With no sign if reinforcements on the table the British decided to call the game. The American rear guard had held them off and given time for the army to escape.
Conclusion:
This was a fun game and the addition if possible reinforcements and rolling for when they arrive adds interest. The British have a edge in quality of troops which in close combat with these rules is very decisive. But there are more Americans and they have terrain advantages. I think rolling for a very late arrival of the Brunswickers and the early arrival if the militia proved decisive for the American victory. Just too much for poor General Fraser.
The rules give a very fast game with I think a good historical flavor. The disorganization points represents things going wrong and by taking a regiment out if line and rallying it can come back in better order. I think my house rule of letting the Americans fire first and the British move first captures the tactical standard operational procedure for each side. Overall I am most pleased with the results.
Excellent report, Mark! I am very tempted to give Hubbardton a try on my table.
ReplyDeleteIt provided me with a very please game. By adding the reinforcements you get some unpredictability and a slightly different game each time.
DeleteIf you do right it out I look forward to reading about it.
Great report Mark and after reading up on this action last night, seems like a fairly accurate refection of what happened - the Brits only won by the skin of their teeth and the arrival of their German allies - which did not happen in your scenario - so seems like a fair result. For the rallying off of DP's, can a general add to the effect of standing still IE can they rally off one DP by not moving and then rally off a second in the same turn by having a general come over?
ReplyDeleteIt did play out similar to the actual battle. Unfortunately for General Fraser the Germans rolled very high (turn 11) so never arrived and the militia turned up instead!
DeleteYou are right a general can ride up to a regiment (cost 1cp) and rally off a DP (costs 2 cp). Then the unit rallies off one too.
Thanks Mark very enjoyable narrative and table. I like the contrast, in what is a very manageable scenario, between the trained British and the terrain advantage of the Americans. The rules have an old school charm and 4 DP's on the Grenadiers by the militia ..... well that twist of fate just adds to the dynamic of play. All good.
ReplyDeleteIt was a very good game. Looking back the very good shooting from the 2 militia battalions turned the game.
DeleteI have enjoyed re-fighting this battle many times. You do it honor!
ReplyDeleteMany thanks for the very kind comment. I appreciate it.
DeleteHope this doesn't post twice, but first post seems to have gone astray.
ReplyDeleteFine looking game. Two questions: I believe British bayonet charge is +2 but suffers in a stand-off. You have units retreating half speed facing the enemy. Is that a house rules or did I miss something in the rules? It wouldn't be the first time...
I should have mentioned the stand off result for British bayonet charge. Very good point. I think most people who game this misunderstood the meaning behind it. Good point.
DeleteOn the retreat I did pull them back but next move moved them around. Goid eye there!