
"...a thin red streak topped with a line of steel..."
William Russell, dispatch to The Times.
Its a rainy, chilly day here in New England. So the perfect time to get out the figures and play a quick game. Being in a Crimean War mood I think its time to play out that most iconic of all Crimean actions; the stand of the 93rd Sutherland Highlanders at Balaclava.
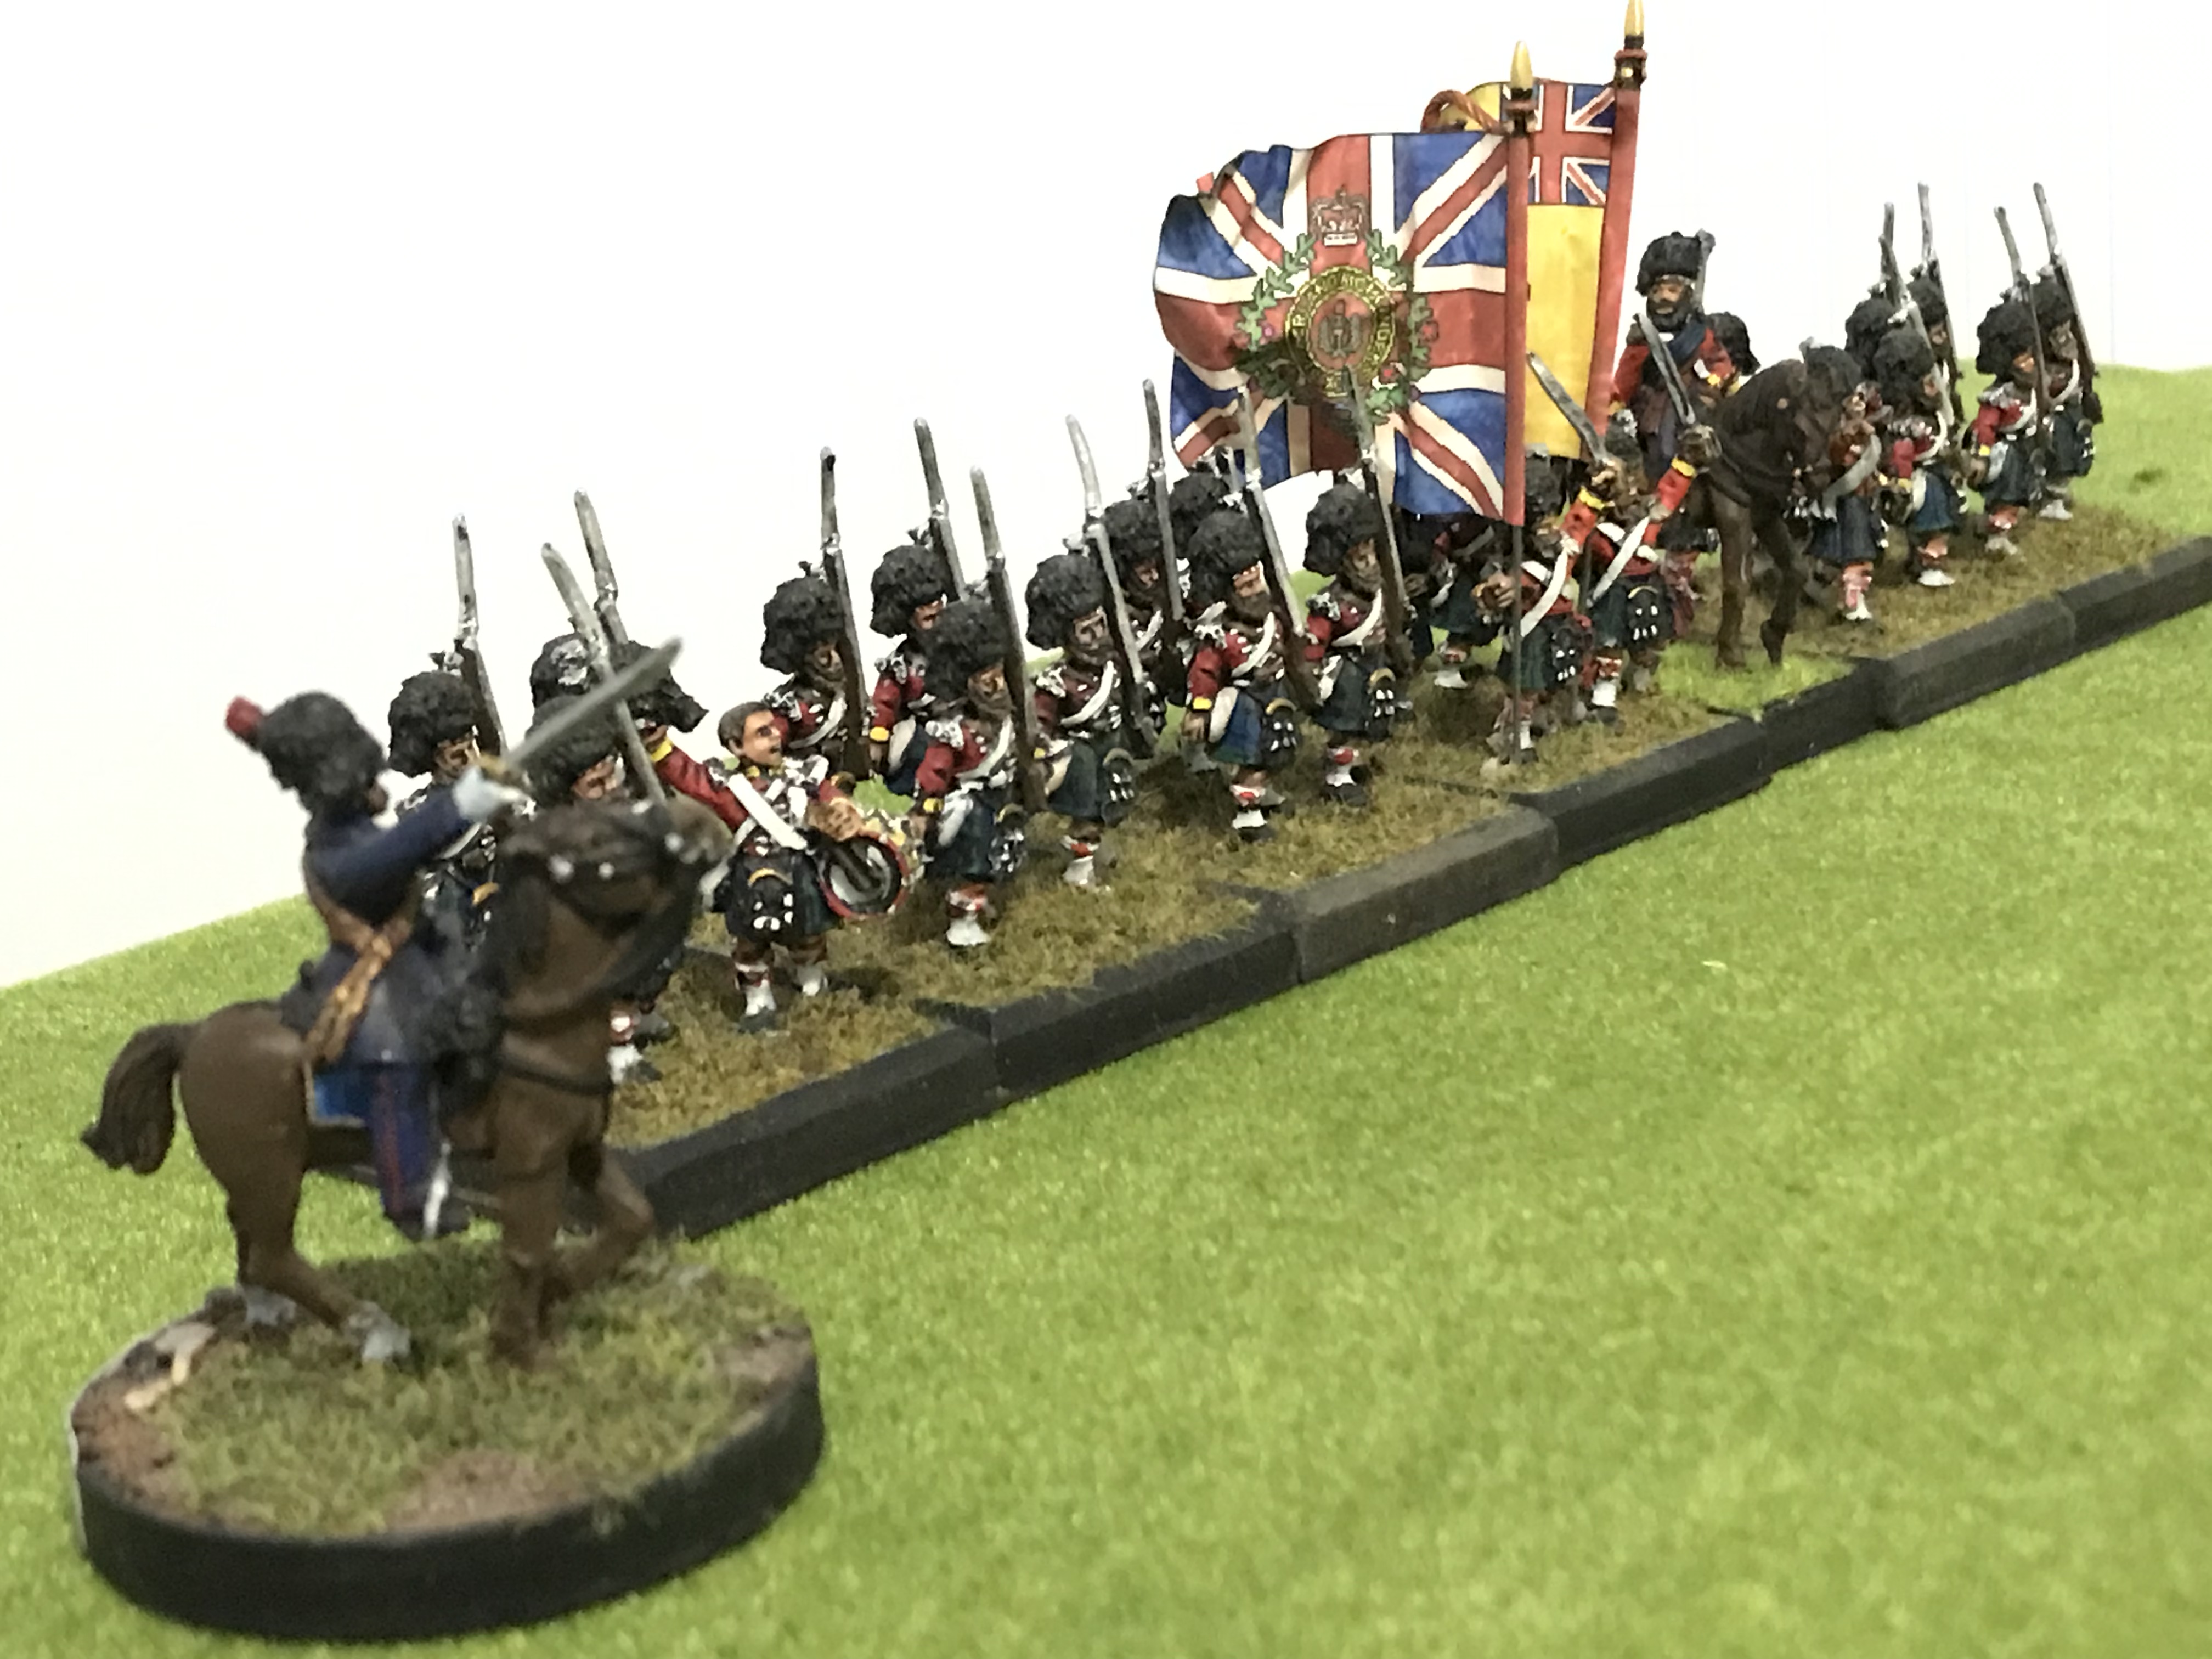
The Battle of Balaclava ( 25 October 1854) A Russiancolumn attempted to get between British forces besieging Sebastopol and thir supply base at Balaclava. Best known for the "Charge of the Light Brigade" but also for 'when a single Scottish Highland regiment, the 93rd Highlanders, remarkably halted a Russian cavalry charge.
Four Russian cavalry squadrons, numbering around 400 men, advanced on some 500-600 Highlanders. At this time, infantry were not thought to be able to withstand cavalry in the open, and woul usually form squares. On this occasion, the regiment deployed in line and fired three volleys, which inflicted terrible damage on the Russians, who halted and withdrew. An act of great courage and discipline, but also helped by a development. The 93rd was one of the regiments in the Crimea which had been issued and trained with the new pattern 1851 service rifle, which boasted improved accuracy, range and rate of fire. In addition a battery if artillery was nearby to lend their fire power.
The phrase "The Thin Red Line" is a misquote. William Russell wrote in his dispatch to The Times a "thin red streak with a line of steel.". In later accounts he changed it to " The Thin Red Line" which is how it is remembered today.

The game:

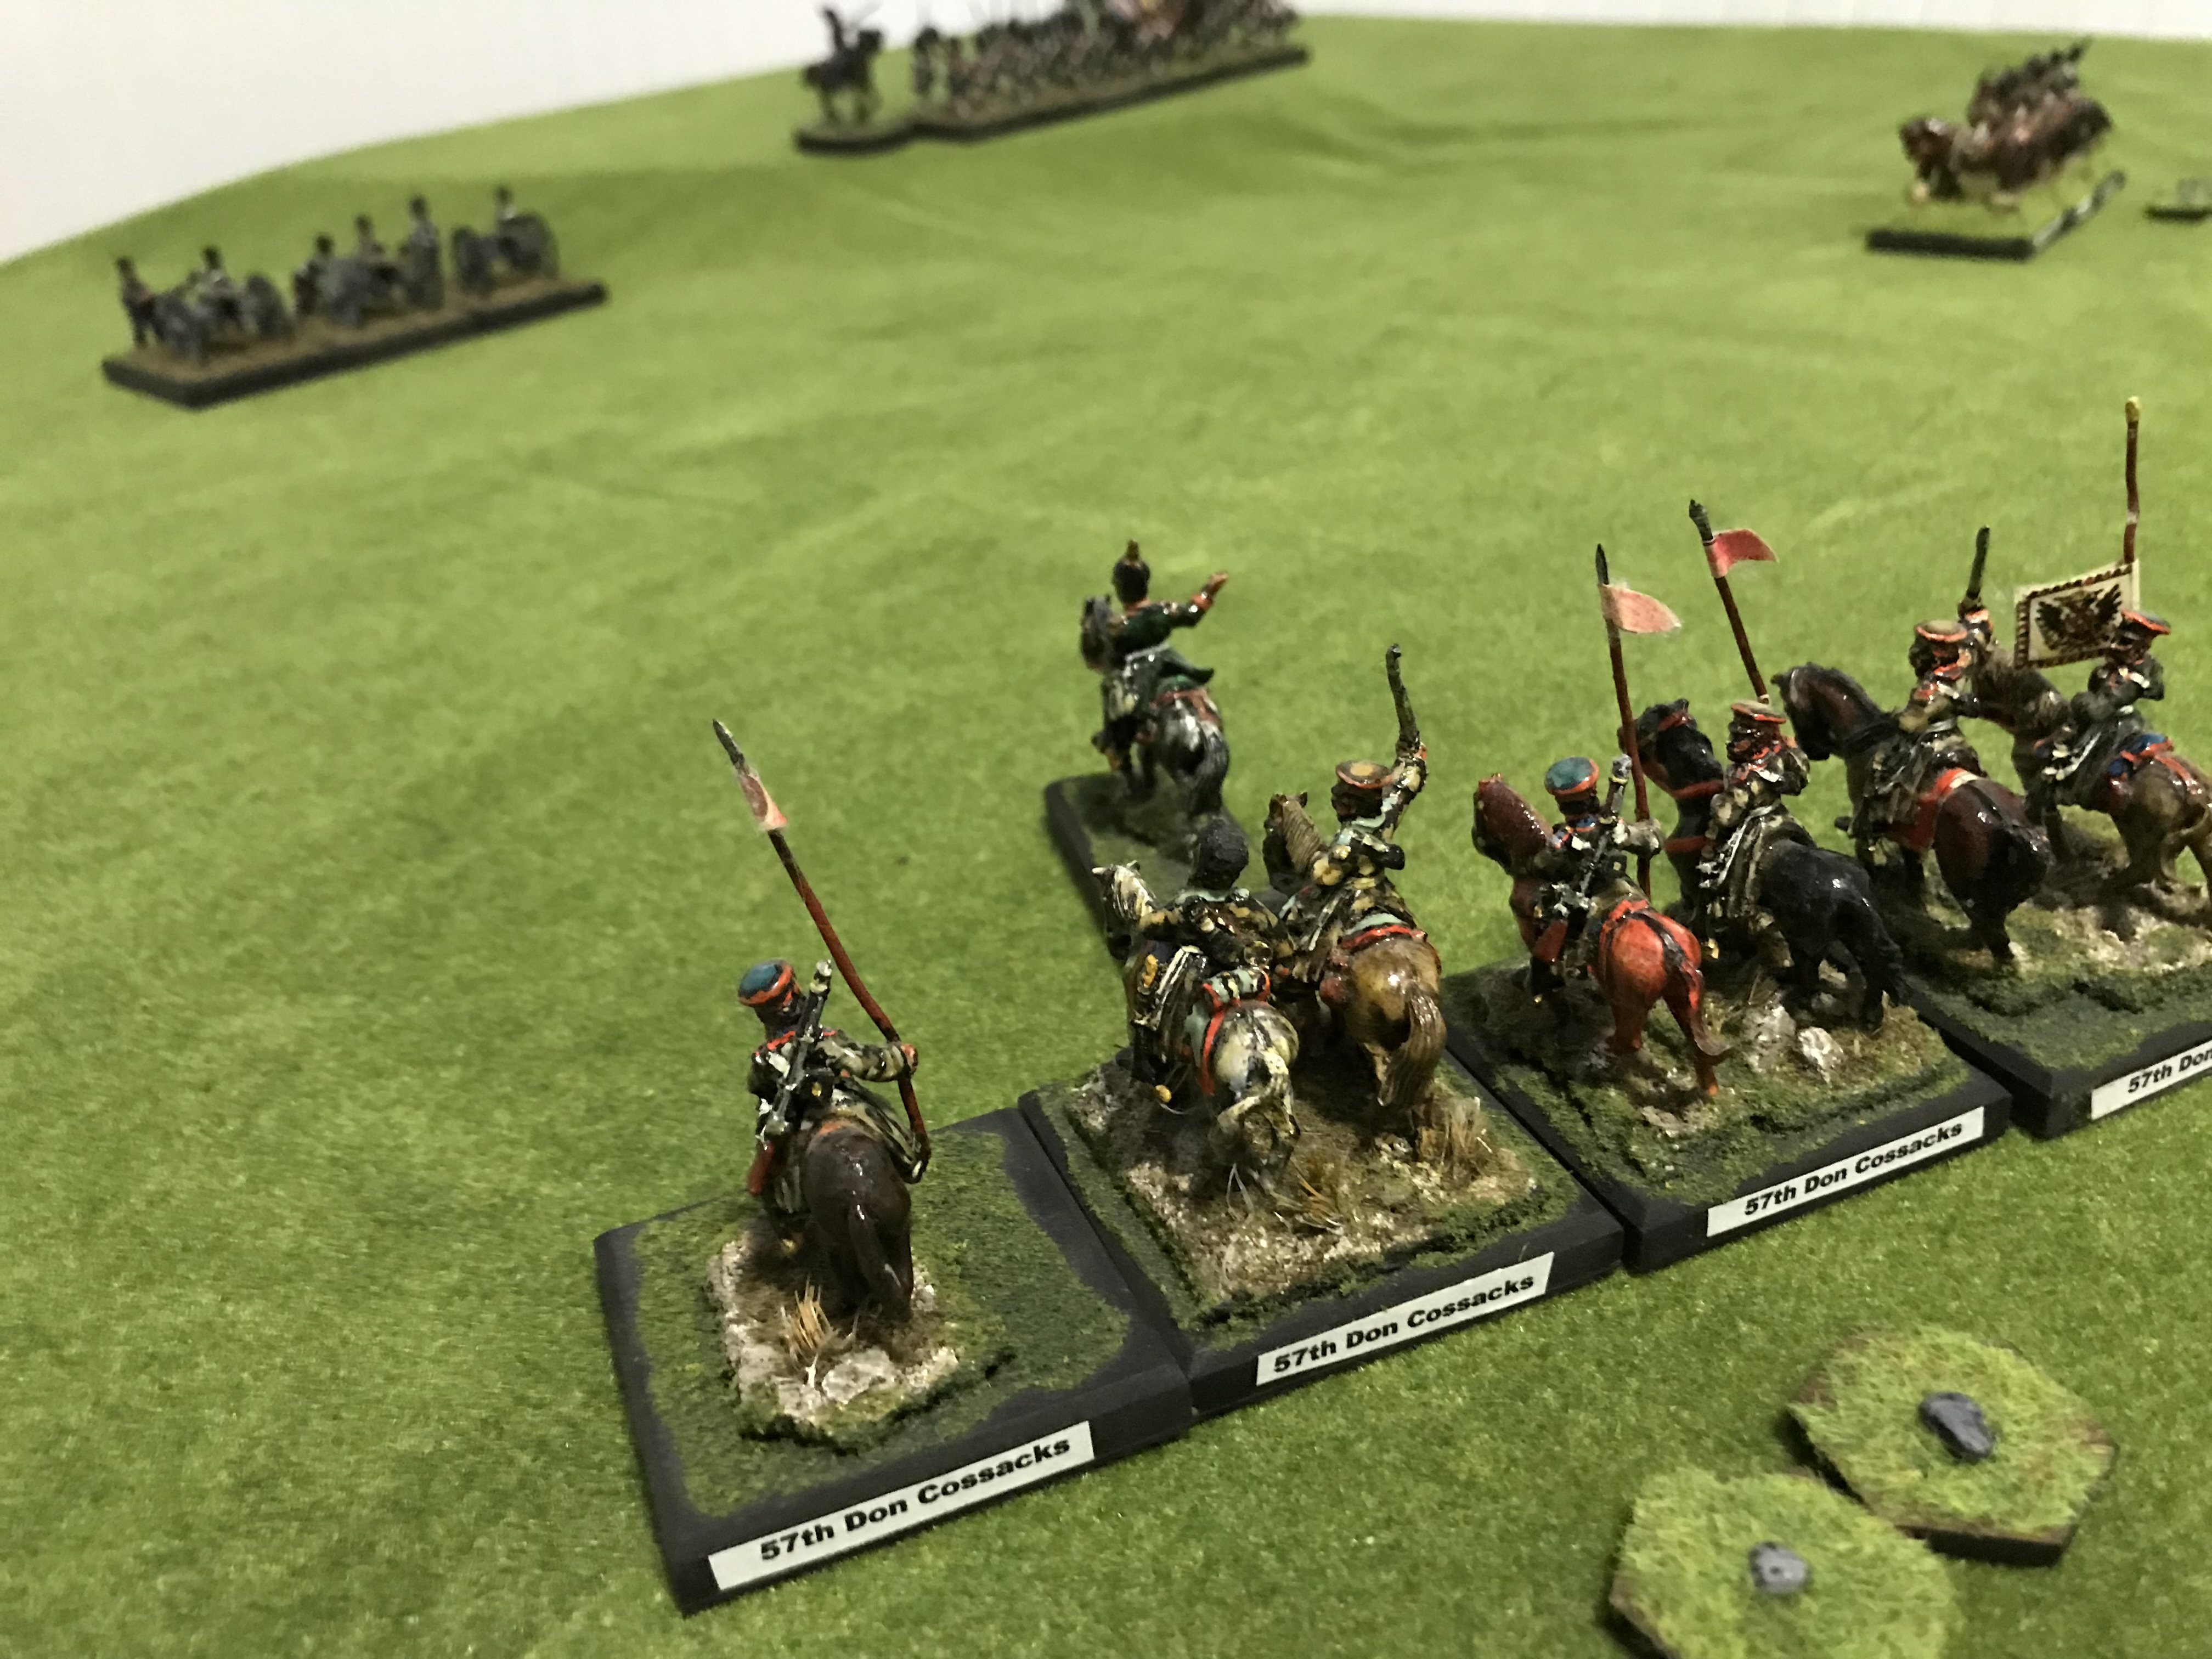
On the first turn the Russian commander won the initiative roll to go first. He sent his Cossacks Regiment to swung to the left and out flank the British position. The Lancers and Hussars entered the board in double line headed towards the 93rd. (The rules are a simple I Go U Go. Each side rolls for initiative with high side getting first go. Each of your regiments or batteries do one action (move, change formation, fire or remove a morale point). To move roll two dice (or more depending on formation) and that is how far you can move.)O
To advance quicker the Russian spent command points to move a second time. ( Every unit has a commander (i.e. Colonel). He has so many command points (CP). More if he and the regiment are good, less if mediocare or poor. Better units can do more at critical times. But when your CP are gone they are gone
Here is how it works: after the free move You may then spend a CP and do something else. Fire, remove a Morale marker or what ever. BUT for every action there is a reaction and the enemy now gets to react against that unit and can either return fire at you or change position/facing. But only against the enemy that spent that CP.)

The Royal Artillery opened fired on the Hussars causing casualties but more importantly put a morale chip on them. ( Morale is a sneaky system that most folks don't think a lot about until it bites them! Since you subtract 1 pip from every die roll morale effects everything you do. Move, shot or fight it ties into morale.)
Turn Two:
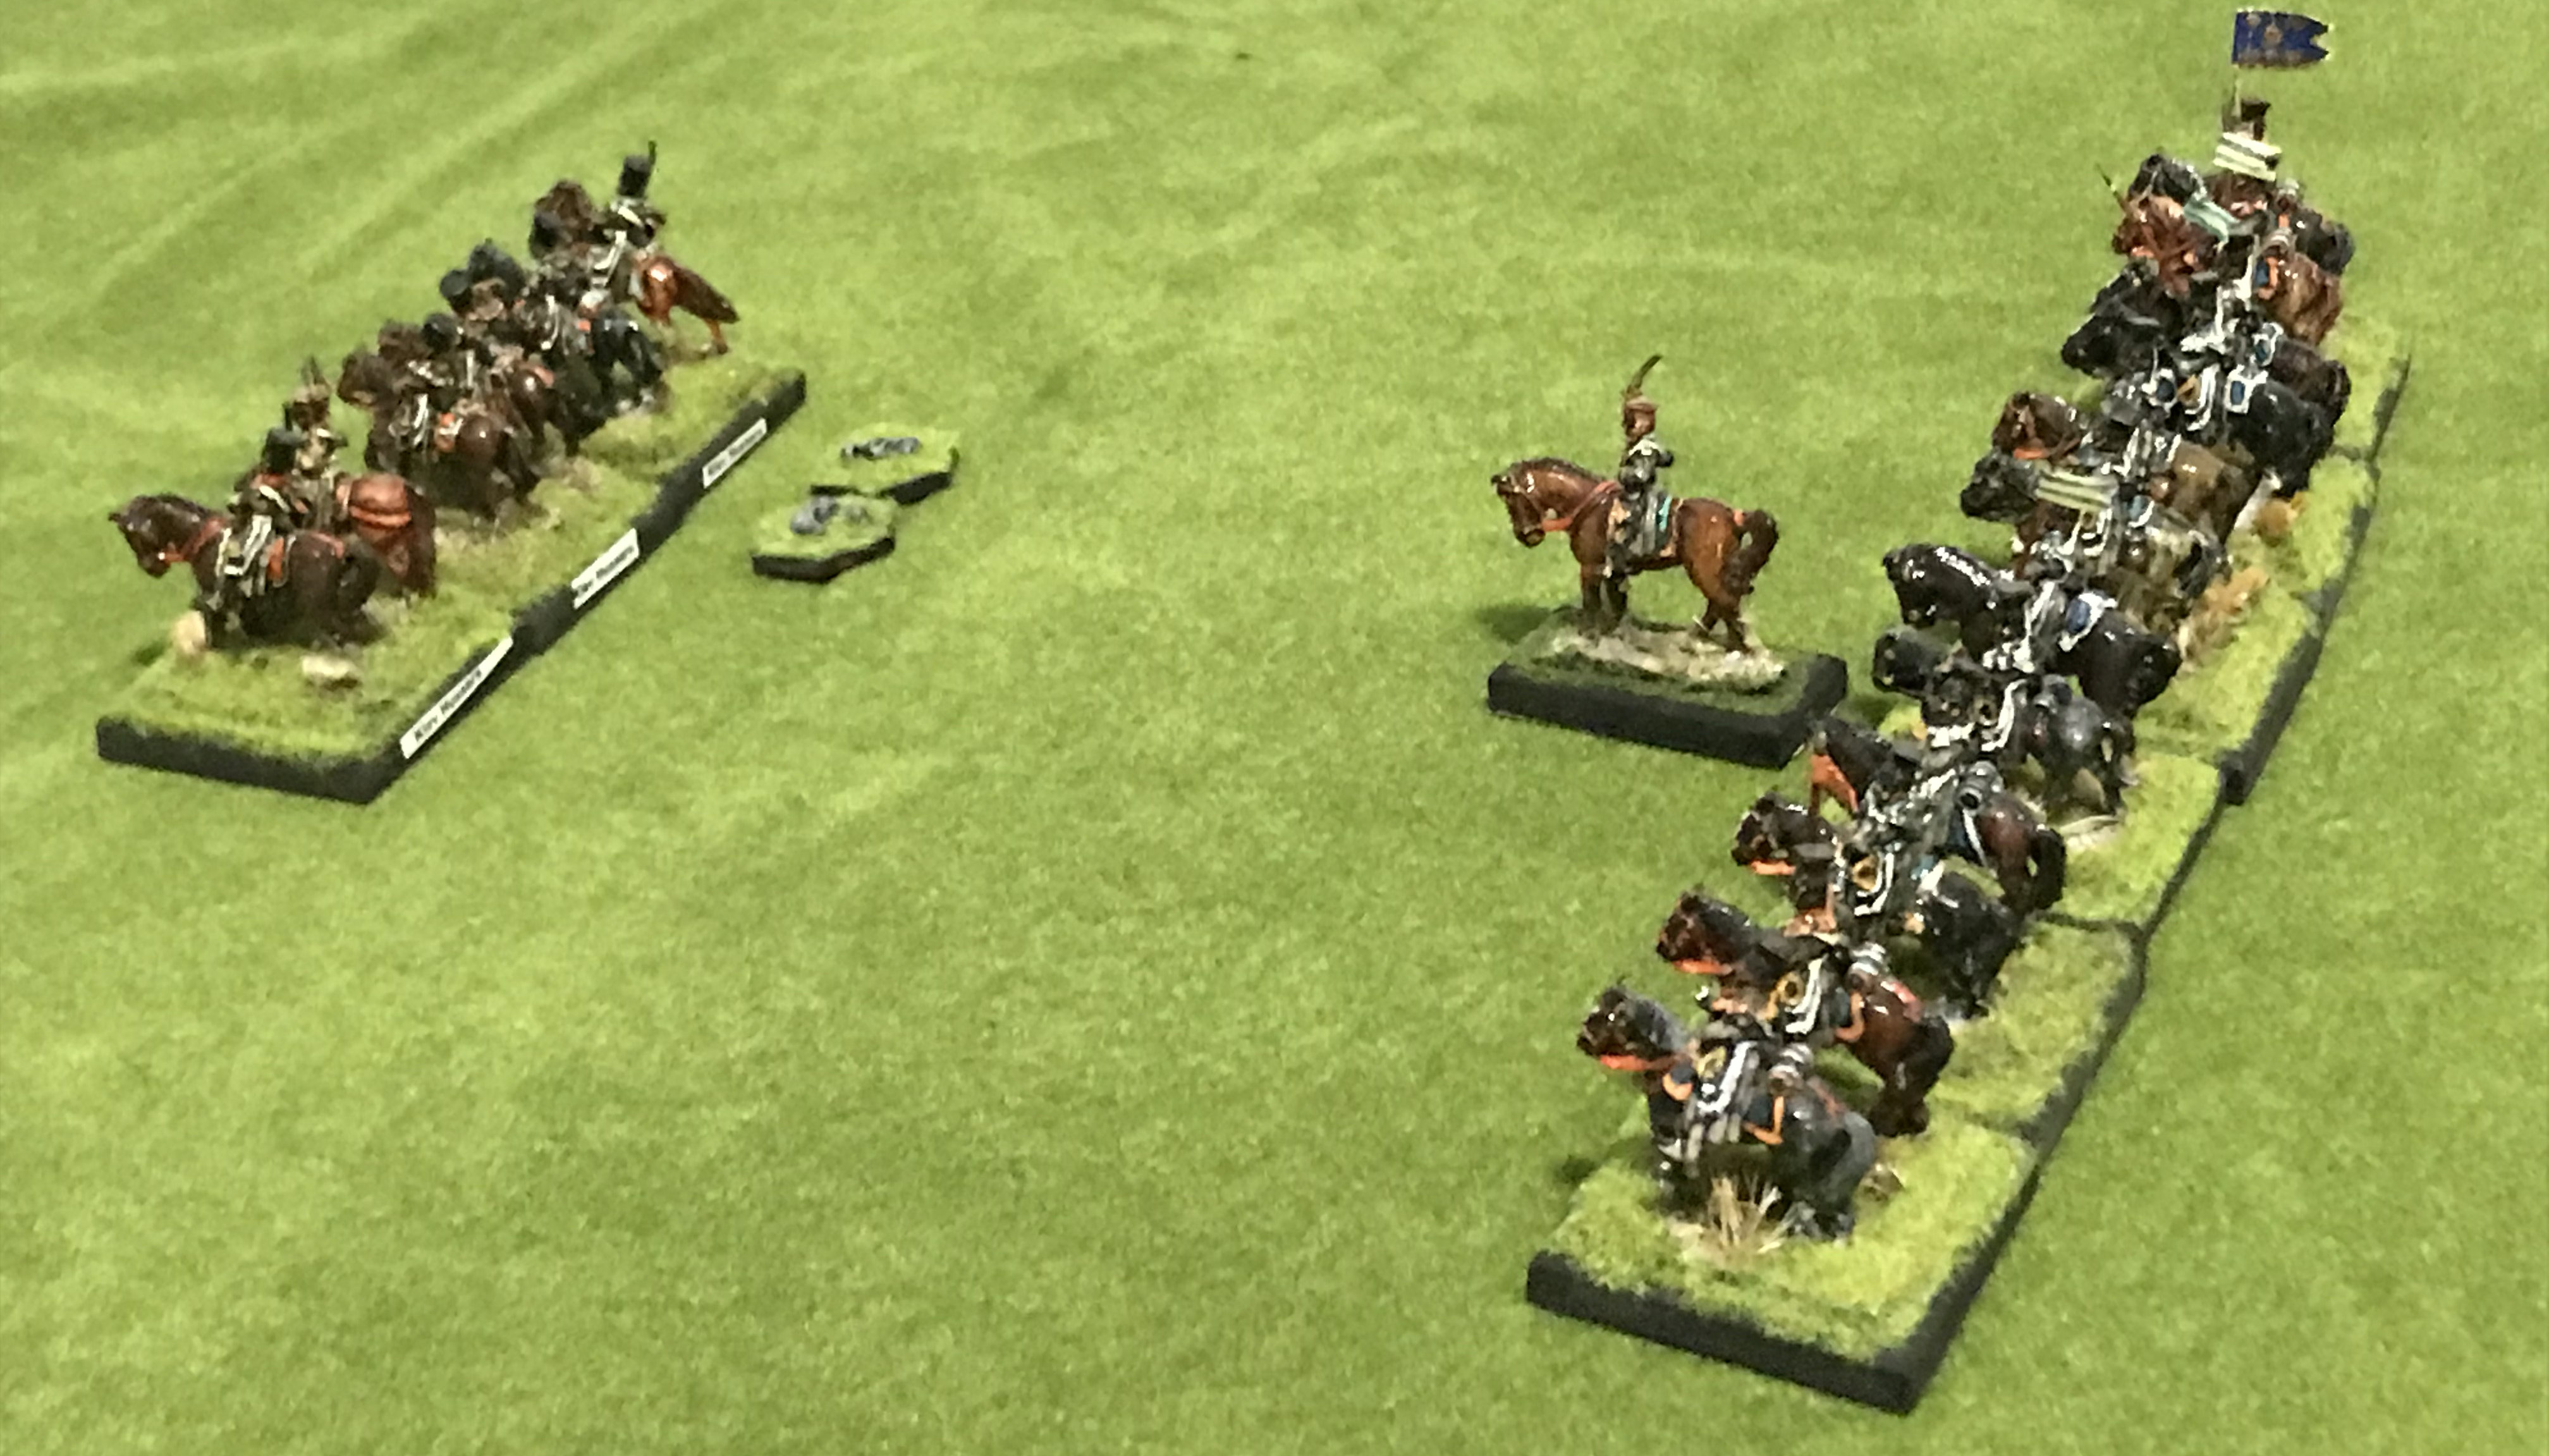
The Russians won the initiative roll and continued their charge, again paying a command point to move a second tine.

But now they were in range of not only the Royal Artillery but the rifled muskets of the 93rd. The Highlanders fired a devastating volley; six hits and another morale chip! (Firing is simple. You throw 1D6 per stand for Infantry and 2D6 per artillery stand. Cross refinance with the firing chart for weapon vs. target and this gives you the chances for a hit. Since there is a possible saving roll you might not lose all those figures hit. . Watch out for double 6's as they can cause a morale marker to drop onto your unit. The save chart also brings a little of the old "national modifiers" into the mix. With Russians, who get saved on a 5 or 6 no matter how many stands are left you have to beat each one with a stick until they are all dead. You get that steady, dogged feeling you read about. The British start with a high save chance (they dodge bullets like the bat man said the rules author) but as they loose stands save chances go way down so they wither away. A little fragile.)

The Russian move brought the Hussars to within two inches of the British. Paying yet another command point they attempted to charge into close combat. But the rifle fire caused two more hits and another morale chip. There were now as many chips as stands so the Hussars routed away.
Turn Three:
The Russians won the initiative roll to go first. (Close Combats takes getting used to since it is very different from most rules. You do not charge like in other rules. You move within 2' of the enemy. THEN, you would have to pay a Command Point or wait till next turn to close and fight. This gives the defender a chance to do something. Like blast the enemy with a close range volley that causes casualties or mabey a morale marker. It is actually hard to close into close combat due to small arms fire. But when you do it can be devastating.)


Charging forward the Lancers arrived within two inches if the 93rd. They paid a command point and charged into contact (after the 93rd fired at them). But in the close combat the Hughlanders easily defeated the lancers. (Uphill, and more stands) and the lancers turned about and routed.
The Cossacks seeing this also turned about to head for home. But not before the Royal Artillery score another series of hits on them.

A fine field day said General Colin Campbell!
Conclusion:
Again a entertaining game in a cold rainy day. This worked fine solo, but I doubt it would be much fun in a multiplayer game. But thus us the joy if solo war gaming. You can recreate moments if history, no matter how one sided they are without worrying if your friends will return for another game. In addition I thought to write thus up s an explanation if his the rules worked.
“
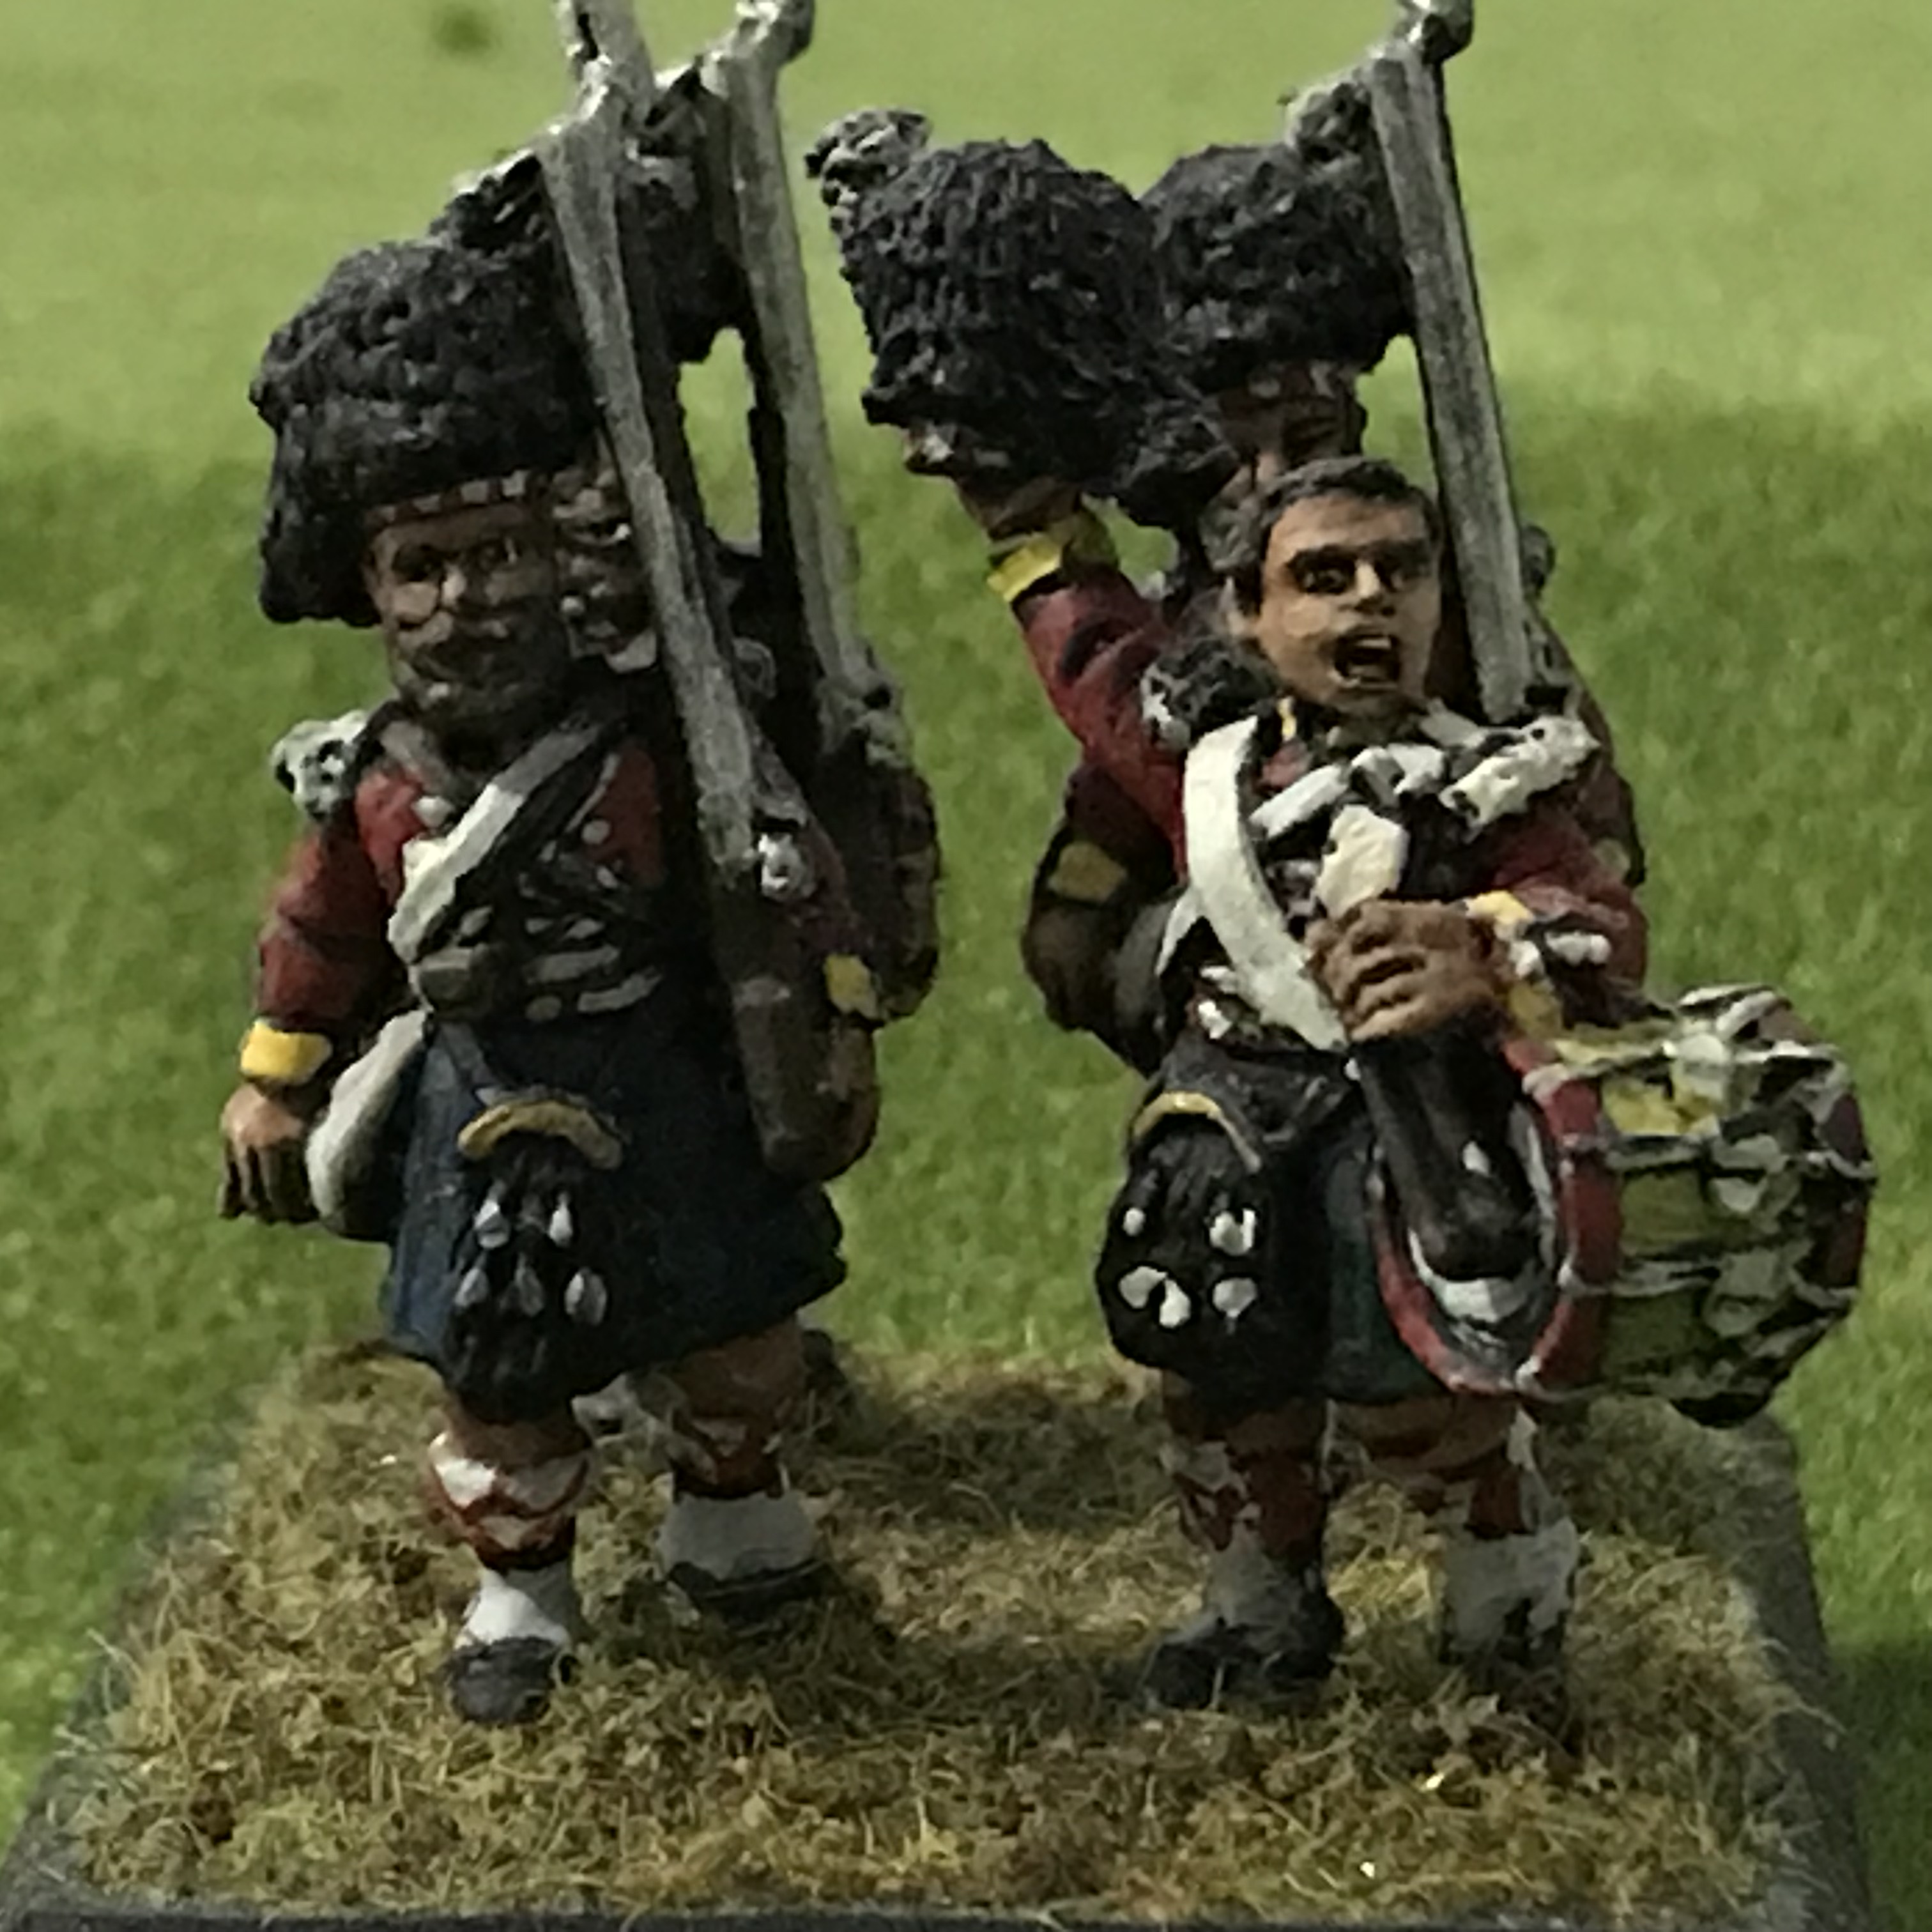
Beautiful looking game. The figures are superb! I particularly like the look on the drummers face in that last shot.
ReplyDeleteThank you very much. The drummer is one of my favorite figures done by WF.
DeleteAnother good day at the office for the Crimean Brits. Did the Cossacks Justin"choose" to retire, or was that some kind of failed morale test, after witnessing the lancers demise?
ReplyDeleteNo, the RA put another morale chip on them and they had the same number of chips as surviving stands so they routed.
DeleteThat's a nice little action and as you say, perfect for a solo outing, but maybe less so for a FtF game. The figures look great BTW and the rules have some interesting mechanics by the look of it.
ReplyDeleteThe rules are a lot of fun and I have been playing them for a long time.
Deletenicely done and very interesting.
ReplyDeleteThank you.
DeleteAnother really good looking game Mark, and good to see the 93rd take the day, my father was in the later version, the Argyll and Sutherland Highlanders but in WW2 not Crimea I hasten to add!!
ReplyDeleteThank you. Always nice to hear from you and I appreciate the compliment. The 93rd is one of my favorite regiments and I visited their regimental museum back in 1983.
ReplyDelete